| ##### IMPORTANT: - - There are three parts to this process: 1. Downloading the [Konica Minolta driver](https://onyxweb.mykonicaminolta.com/OneStopProductSupport?appMode=public&productId=2276&categoryId=1&subCategoryId=undefined) 2. Installing the printer on your device 3. Configuring the printer properly - All three parts are outlined below - **Please complete all three and follow these instructions completely. Otherwise, you will be unable to print successfully.** - If you encounter any problems, please come by the IT Help Desk in the main office or [submit a Help Desk ticket.](https://helpdesk.mlml.calstate.edu/) |
These instructions are for the NEW Konica Minolta copiers that were installed in December 2021 for use with newer versions of macOS. Older versions of macOS will have similar instructions, but certain fields may be named slightly different. If you find something that is out of date, please [submit a Help Desk ticket](https://helpdesk.mlml.calstate.edu/).
##### **1. Download the printer driver** - Click [this link](https://onyxweb.mykonicaminolta.com/OneStopProductSupport?appMode=public&productId=2276&categoryId=1&subCategoryId=undefined) to be taken to the Konica Minolta driver website for this printer (C550i) - Find your operating system and select it - If you do not know your operating system, click on the Apple icon in the top left corner of your screen and select “About This Mac” - Download the newest version of the full printer driver (.zip), as shown below. There may be a newer version than what is shown in this screenshot. - There may be multiple versions of the print driver. If so, make sure you are selecting the driver for Letter paper, as shown below. [](https://kb.mlml.sjsu.edu/uploads/images/gallery/2022-08/JmZ1.png) - Once the download is complete, open the .zip file to extract the .pkg file and run it [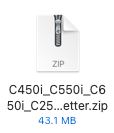](https://kb.mlml.sjsu.edu/uploads/images/gallery/2022-08/2.png) - When the installer launches, click continue/agree when prompted and complete the driver installation. If a pop-up comes up saying "Installer" would like to access files in your Downloads folder click **OK**. Move the Installer to Trash. ##### **2. Add the printer** - Access your **System Preferences** (in the drop-down menu from clicking on the Apple logo in the top left corner of the desktop). - Go to **Printers & Scanners**. Click on the **+** button to add a printer. *NOTE: If you have the old library or admin printer installed, remove it first by highlighting it, then clicking on the* ***-*** *symbol. [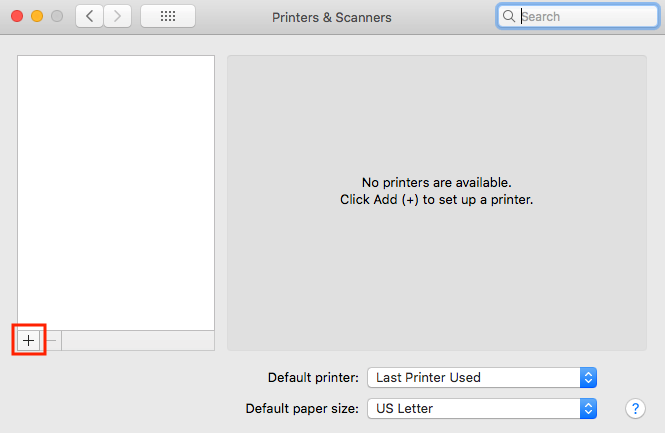](https://kb.mlml.sjsu.edu/uploads/images/gallery/2021-12/plus.png)* - Click the **globe icon/IP tab** at the top of the window **[](https://kb.mlml.sjsu.edu/uploads/images/gallery/2021-12/globe.png)** **OR** [](https://kb.mlml.sjsu.edu/uploads/images/gallery/2021-12/ip.png) - Enter the following for the printer you wish to add into the **Address** text box - Library Copier: **mlm-library-printer.sjsu.edu** - Admin Office copier: **mlm-admin-printer.sjsu.edu** - Select **Line Printer Daemon - LPD** from the **Protocol** drop-down menu. - Leave the **Queue** field blank. - Change the name of the printer to something that helps you easily identify the printer (eg. "Library Printer" or "Admin Copier"). You may do the same for the **Location** field if you desire. - Select the **Select Software…** option from the **Use** drop-down menu. Search for the model # of the printer - Library and Admin office copiers: **KONICA MINOLTA C550i PS** - Highlight the correct print driver and click **OK** without changing any fields, then click the **Add** button - Admin Copier Example: **[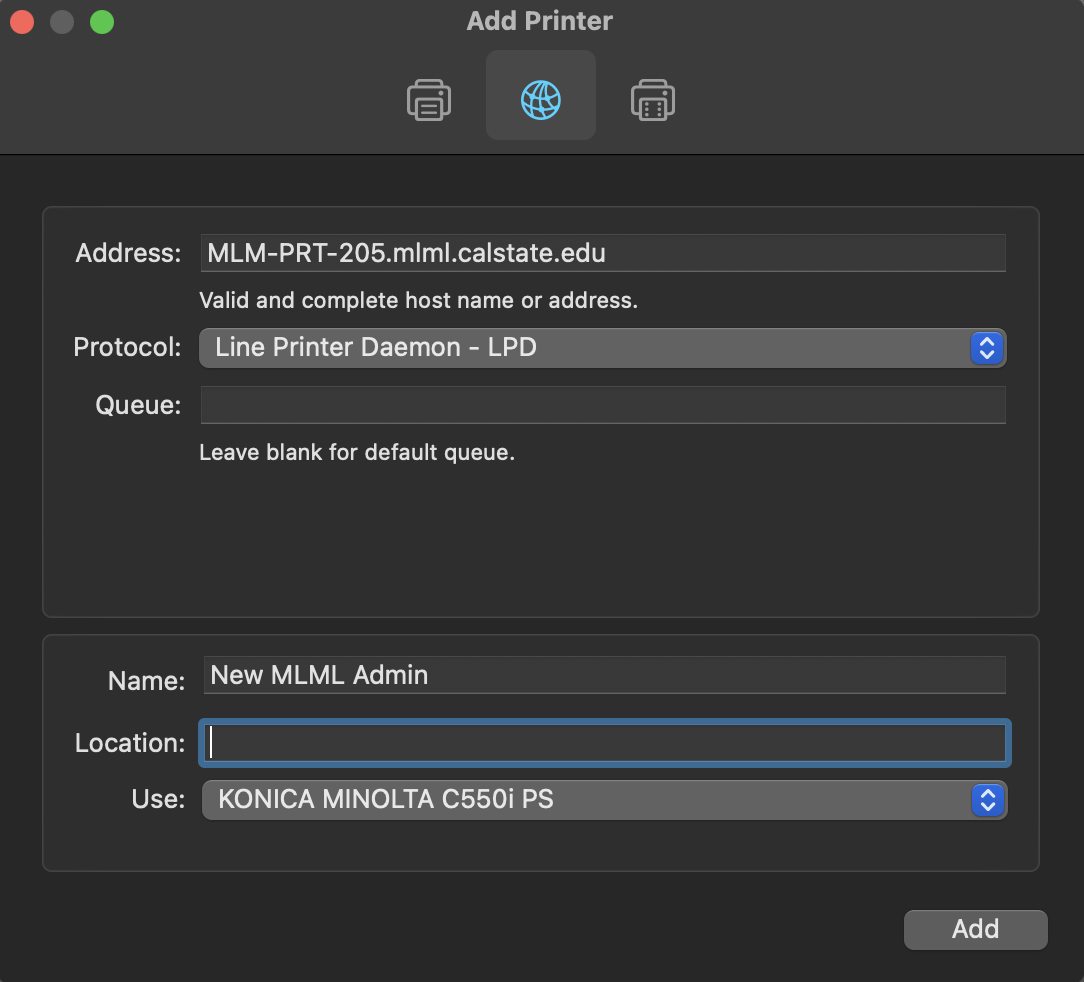](https://kb.mlml.sjsu.edu/uploads/images/gallery/2021-12/example.png)** - **Select the following options in the printer setup window then click **OK**:** - Paper Source Unit: **PC-416** - Finisher: **FS-539** - Leave all other settings as default, click **OK** **[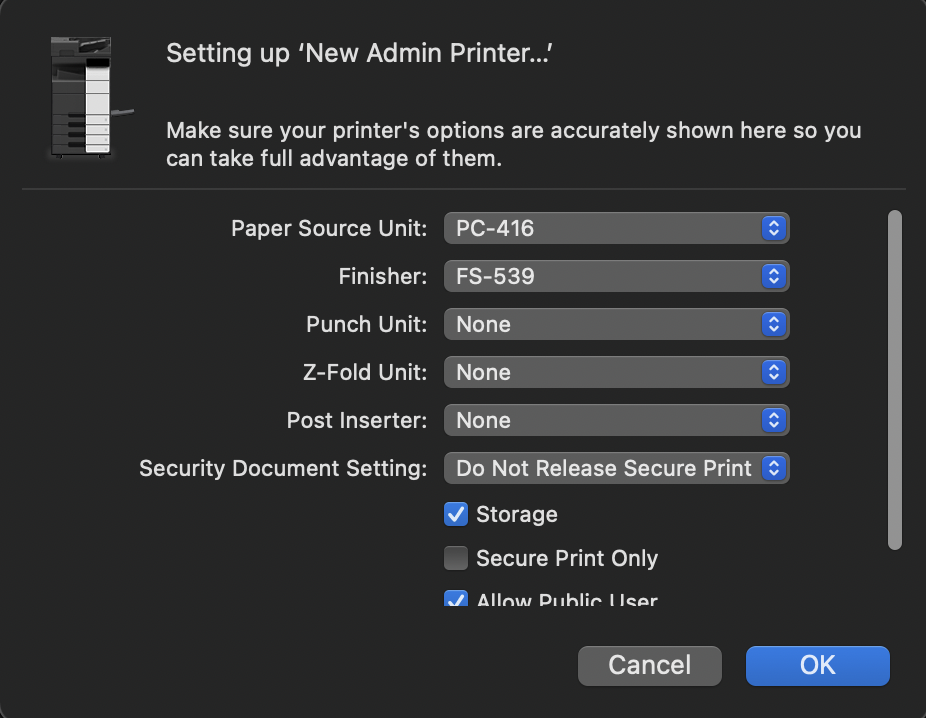](https://kb.mlml.sjsu.edu/uploads/images/gallery/2021-12/settings.png)** - The printer is now installed, follow the next steps in order to print successfully. ##### **3. Configure Printing Presets** - Open a blank Word document or text file. - Select **Print…** from the **File** menu - **From the drop down list in the middle of the print dialogue box select Quality [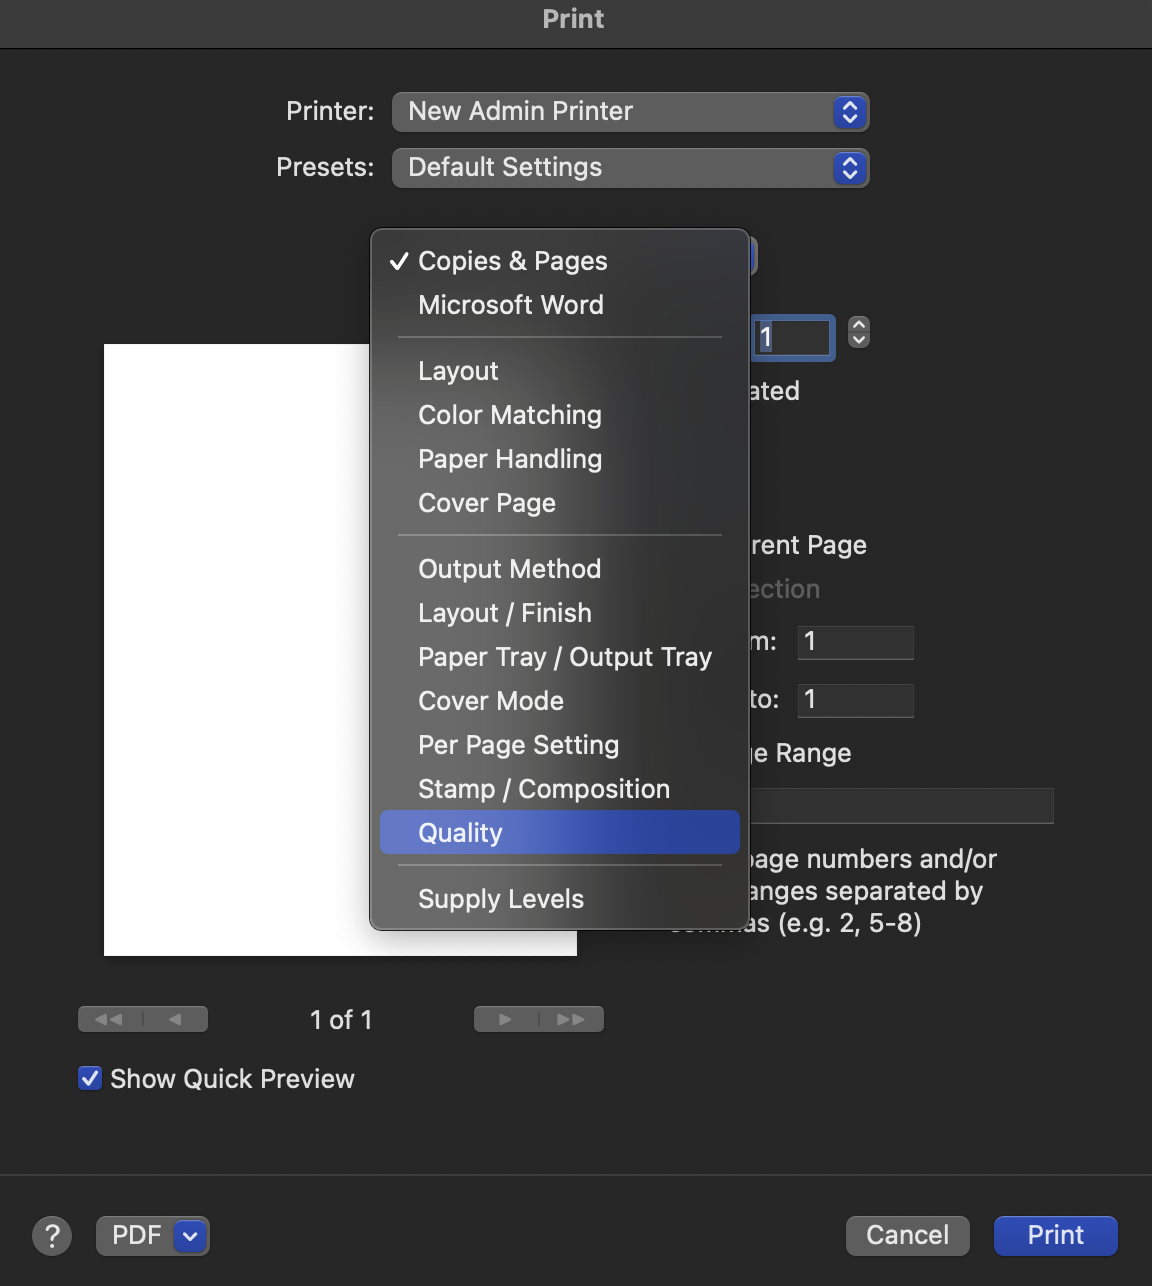](https://kb.mlml.sjsu.edu/uploads/images/gallery/2021-12/quality.png)** - Under **Select Color** choose **Gray Scale** [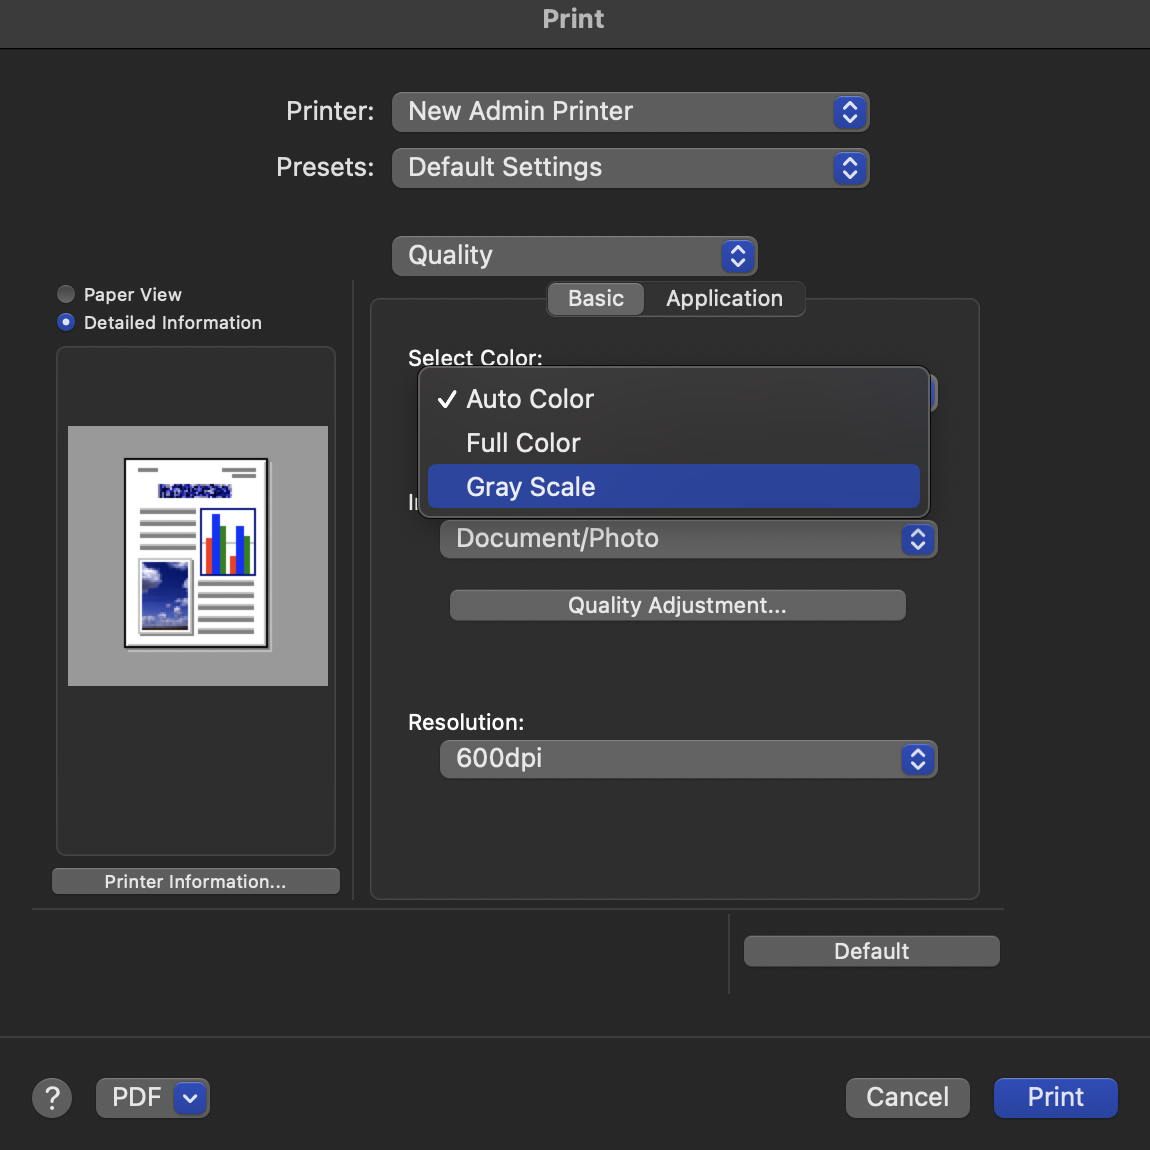](https://kb.mlml.sjsu.edu/uploads/images/gallery/2021-12/gray-scale.png) - **Go to the Presets drop-down menu and select Save Current Settings as a Preset… Name this preset something easy to distinguish, such as “MLML B&W” and apply only to this printer. Click OK. [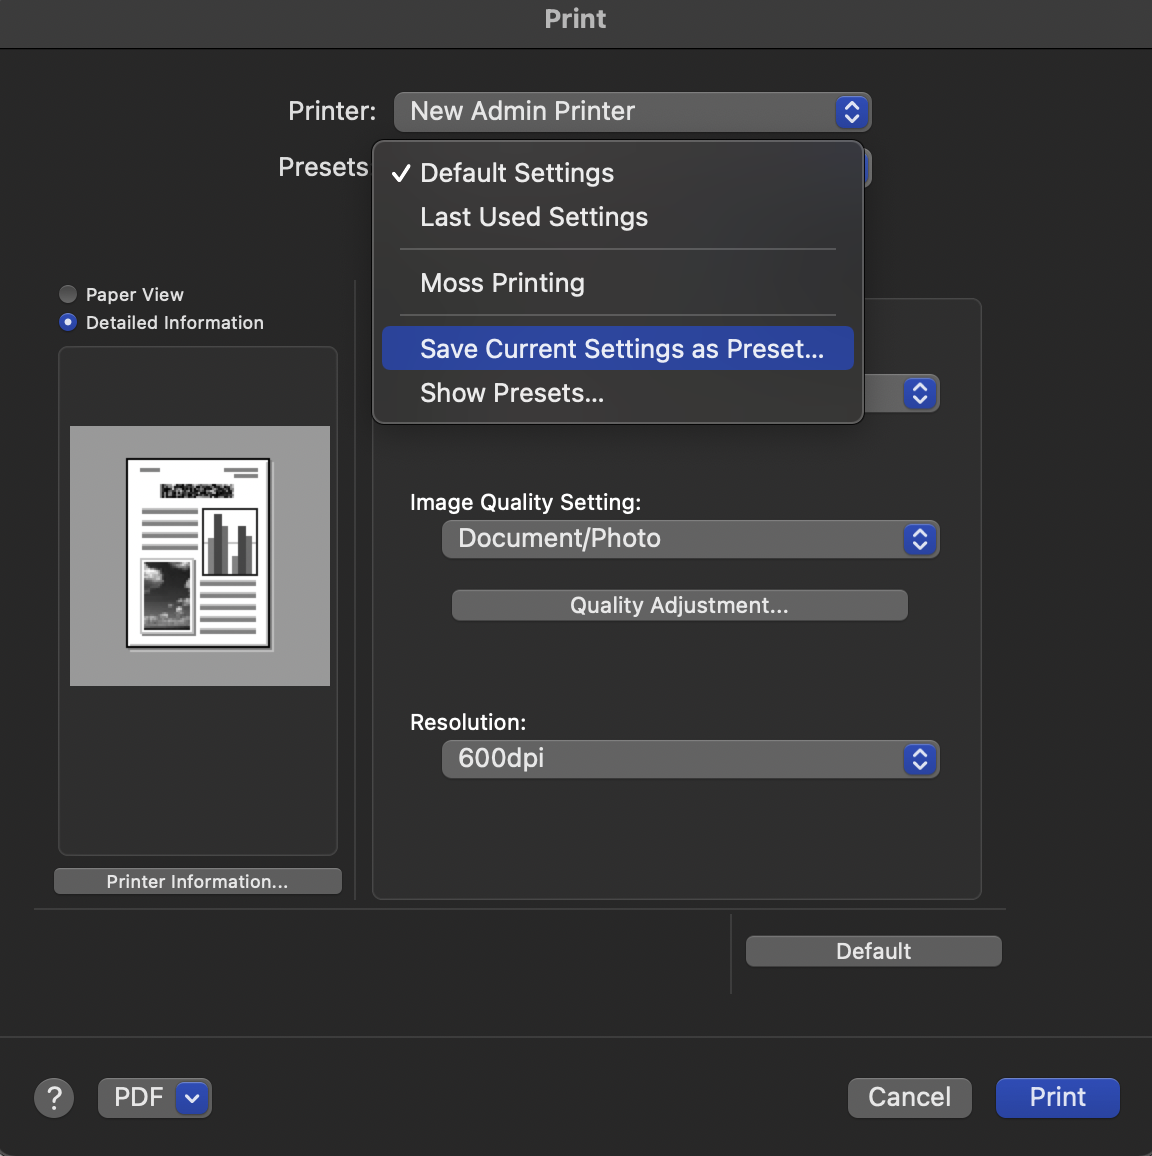](https://kb.mlml.sjsu.edu/uploads/images/gallery/2021-12/preset.png)** - Repeat these steps to create a preset for color printing by selecting **Auto Color**. - Click **Cancel** to exit the print dialog. - Ensure that you are selecting the correct preset when printing B&W vs. color documents.