# Backing Up with Windows File History
Windows File History is a backup solution included with Windows 10 that behaves similarly to Apple’s Time Machine. These instructions assume you are running Windows 10.
Note that File History will backup all folders and their contents within your user account’s home directory (C:\\Users\\<your username>). That includes your Desktop, Documents, and Downloads folders among others.
### Initial setup
1. Press the Windows key/click the Start button.
2. Type “backup” without quotes.
3. The search results should include “Backup settings”. Click “Backup settings”.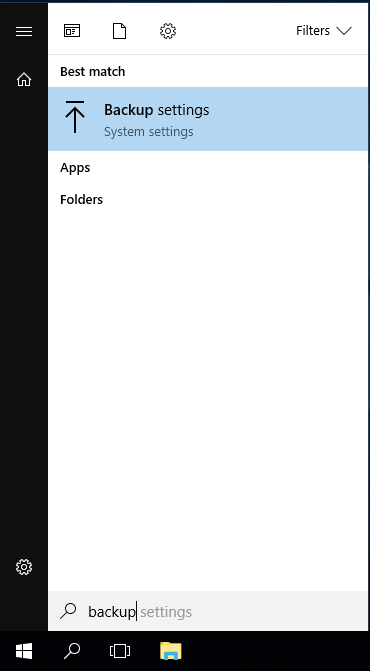
4. Click “Add a drive” to bring up a list of eligible backup drives.
5. Select your USB backup hard drive.
- Note that in this example a 32 GB USB flash drive is being used as the backup drive. This is an example only - use a USB hard drive for your backups.
6. “Add a drive” should now be replaced with an on/off switch for “Automatically back up my files” with the switch in the On position. Your files are now backing up automatically.
### Additional configuration
1. Return to the File History settings page (steps 1-3 of Initial setup above).
2. Click “More options”.
3. Back up my files: The default of every hour is good.
4. Keep my backups: I recommend setting this to 3 months, which will simply remove backups from over 3 months ago. Any reasonable timeframe or the “Until space is needed” option are fine choices.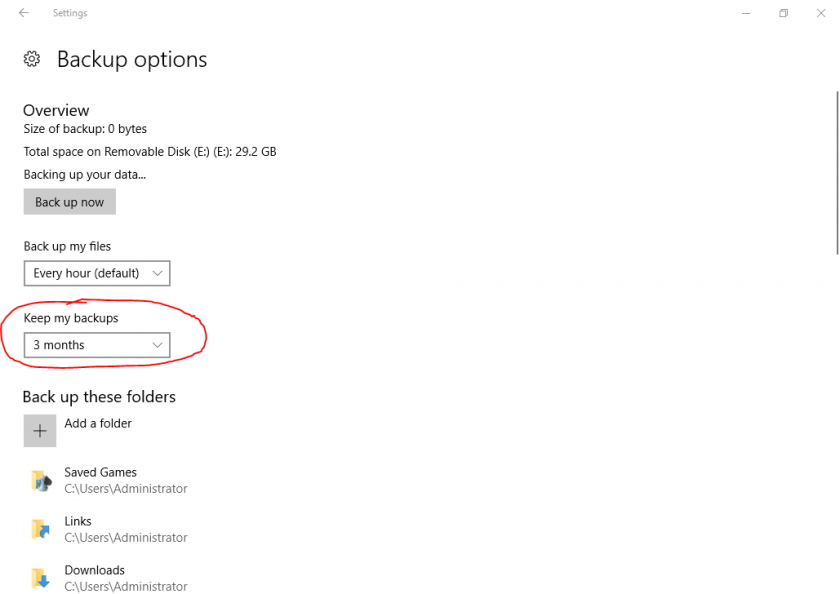
5. Add a folder: You can optionally add folders you want backed up that are outside of your user account’s home directory (C:\\Users\\<your username>).
### Restore files
1. Return to the File History settings page (steps 1-3 of Initial setup above).
2. Click “More options”.
3. Scroll to the bottom. Click “Restore files from a current backup” under “Related settings”.
4. Navigate to the time/date of the backup you wish to restore.
5. Restore SPECIFIC files/folders in-place
- Select the file(s) and/or folder(s) you wish to restore.
- Click the big green restore button labeled “Restore to original location” to replace the current version of the file(s) and/or folder(s) with the one(s) from your chosen backup.
6. Restore ALL files/folders in-place
- *NOTE: You probably do not want to do this. Changes to every file and folder since your selected backup will be lost and replaced with the version from your backup.*
- Click the big green restore button labeled “Restore to original location” to replace the current version of all your files and folders with the ones from your chosen backup.