A/V Studio and Equipment
General information and how-to guides for the A/V equipment available for checkout at the IT Help Desk.
- GoPro HERO7 User Guide
- Remote Teaching & A/V Recording Equipment List
- GoPro Gimbal (Feiyu WG2X)
- Transferring Media and Clearing SD Cards
GoPro HERO7 User Guide
To view GoPro's complete user manual for the HERO7, click this link.
Recording Video
- Power on the GoPro
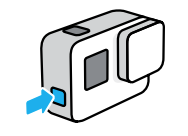
- Press the Mode button the the right side of the camera

- Press the Mode button the the right side of the camera
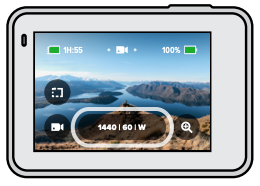
- Ensure you are in video mode
- Swipe the touch screen until you see Video
- Set up the GoPro on a tripod, gimbal, or head/chest mount
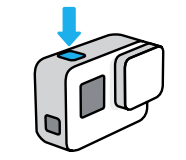
- Press the shutter button to begin recording

- When you are finished recording, press the shutter button again.
Recommended Settings
- Resolution: 2.7K
- FPS: 60
- Aspect Ratio: 16:9
- Field of View: Linear
**NOTE: IT will setup the GoPro with these settings, if you wish to change them you may do so, but please change them back.**
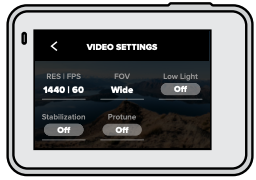
Changing Video Settings
- Tap the settings on the touch screen

- Change individual setting by tapping on them and selecting the new setting

Downloading Videos to Your Computer
Using the Quik Desktop App
- Download and install the Quik desktop app from gopro.com/apps.
- Connect your camera to your computer using a USB-C cable
- Power on your camera and follow the on-screen instructions in the Quik app.
Transferring Directly From the SD Card
- Remove the SD card from your camera.
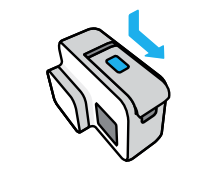
- Power off the GoPro
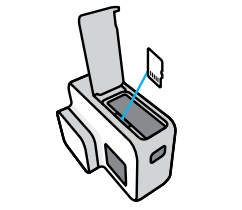
- Hold down the latch release button and slide door open

- Eject the SD card by pressing it into the slot to release

- Insert the card into an SD card reader or adapter.
- Plug the card reader into your computer’s USB port or insert the adapter into the SD card slot.
- Copy the files to your computer.
Remote Teaching & A/V Recording Equipment List
For Checkout:
For information regarding check-out/in of the following equipment, visit this KB page.
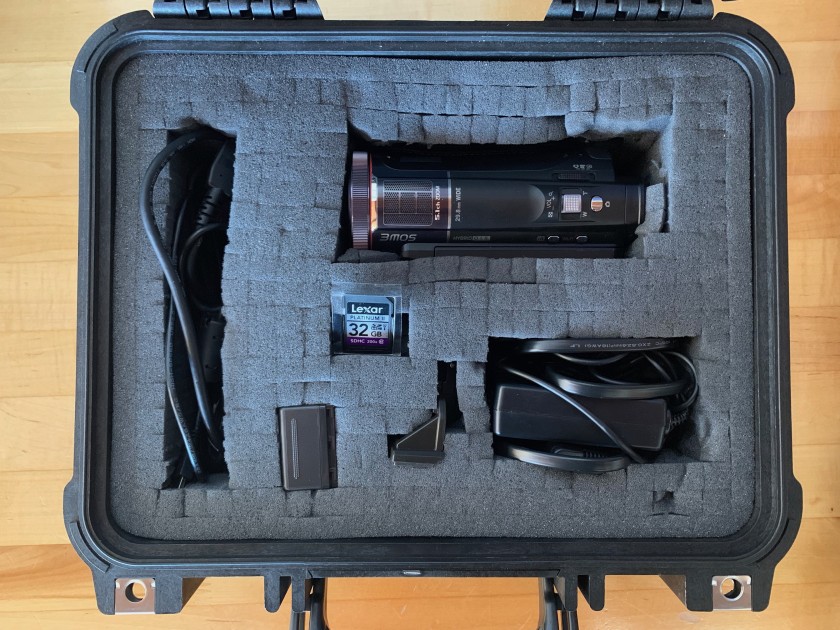
Cameras and Camera Kits
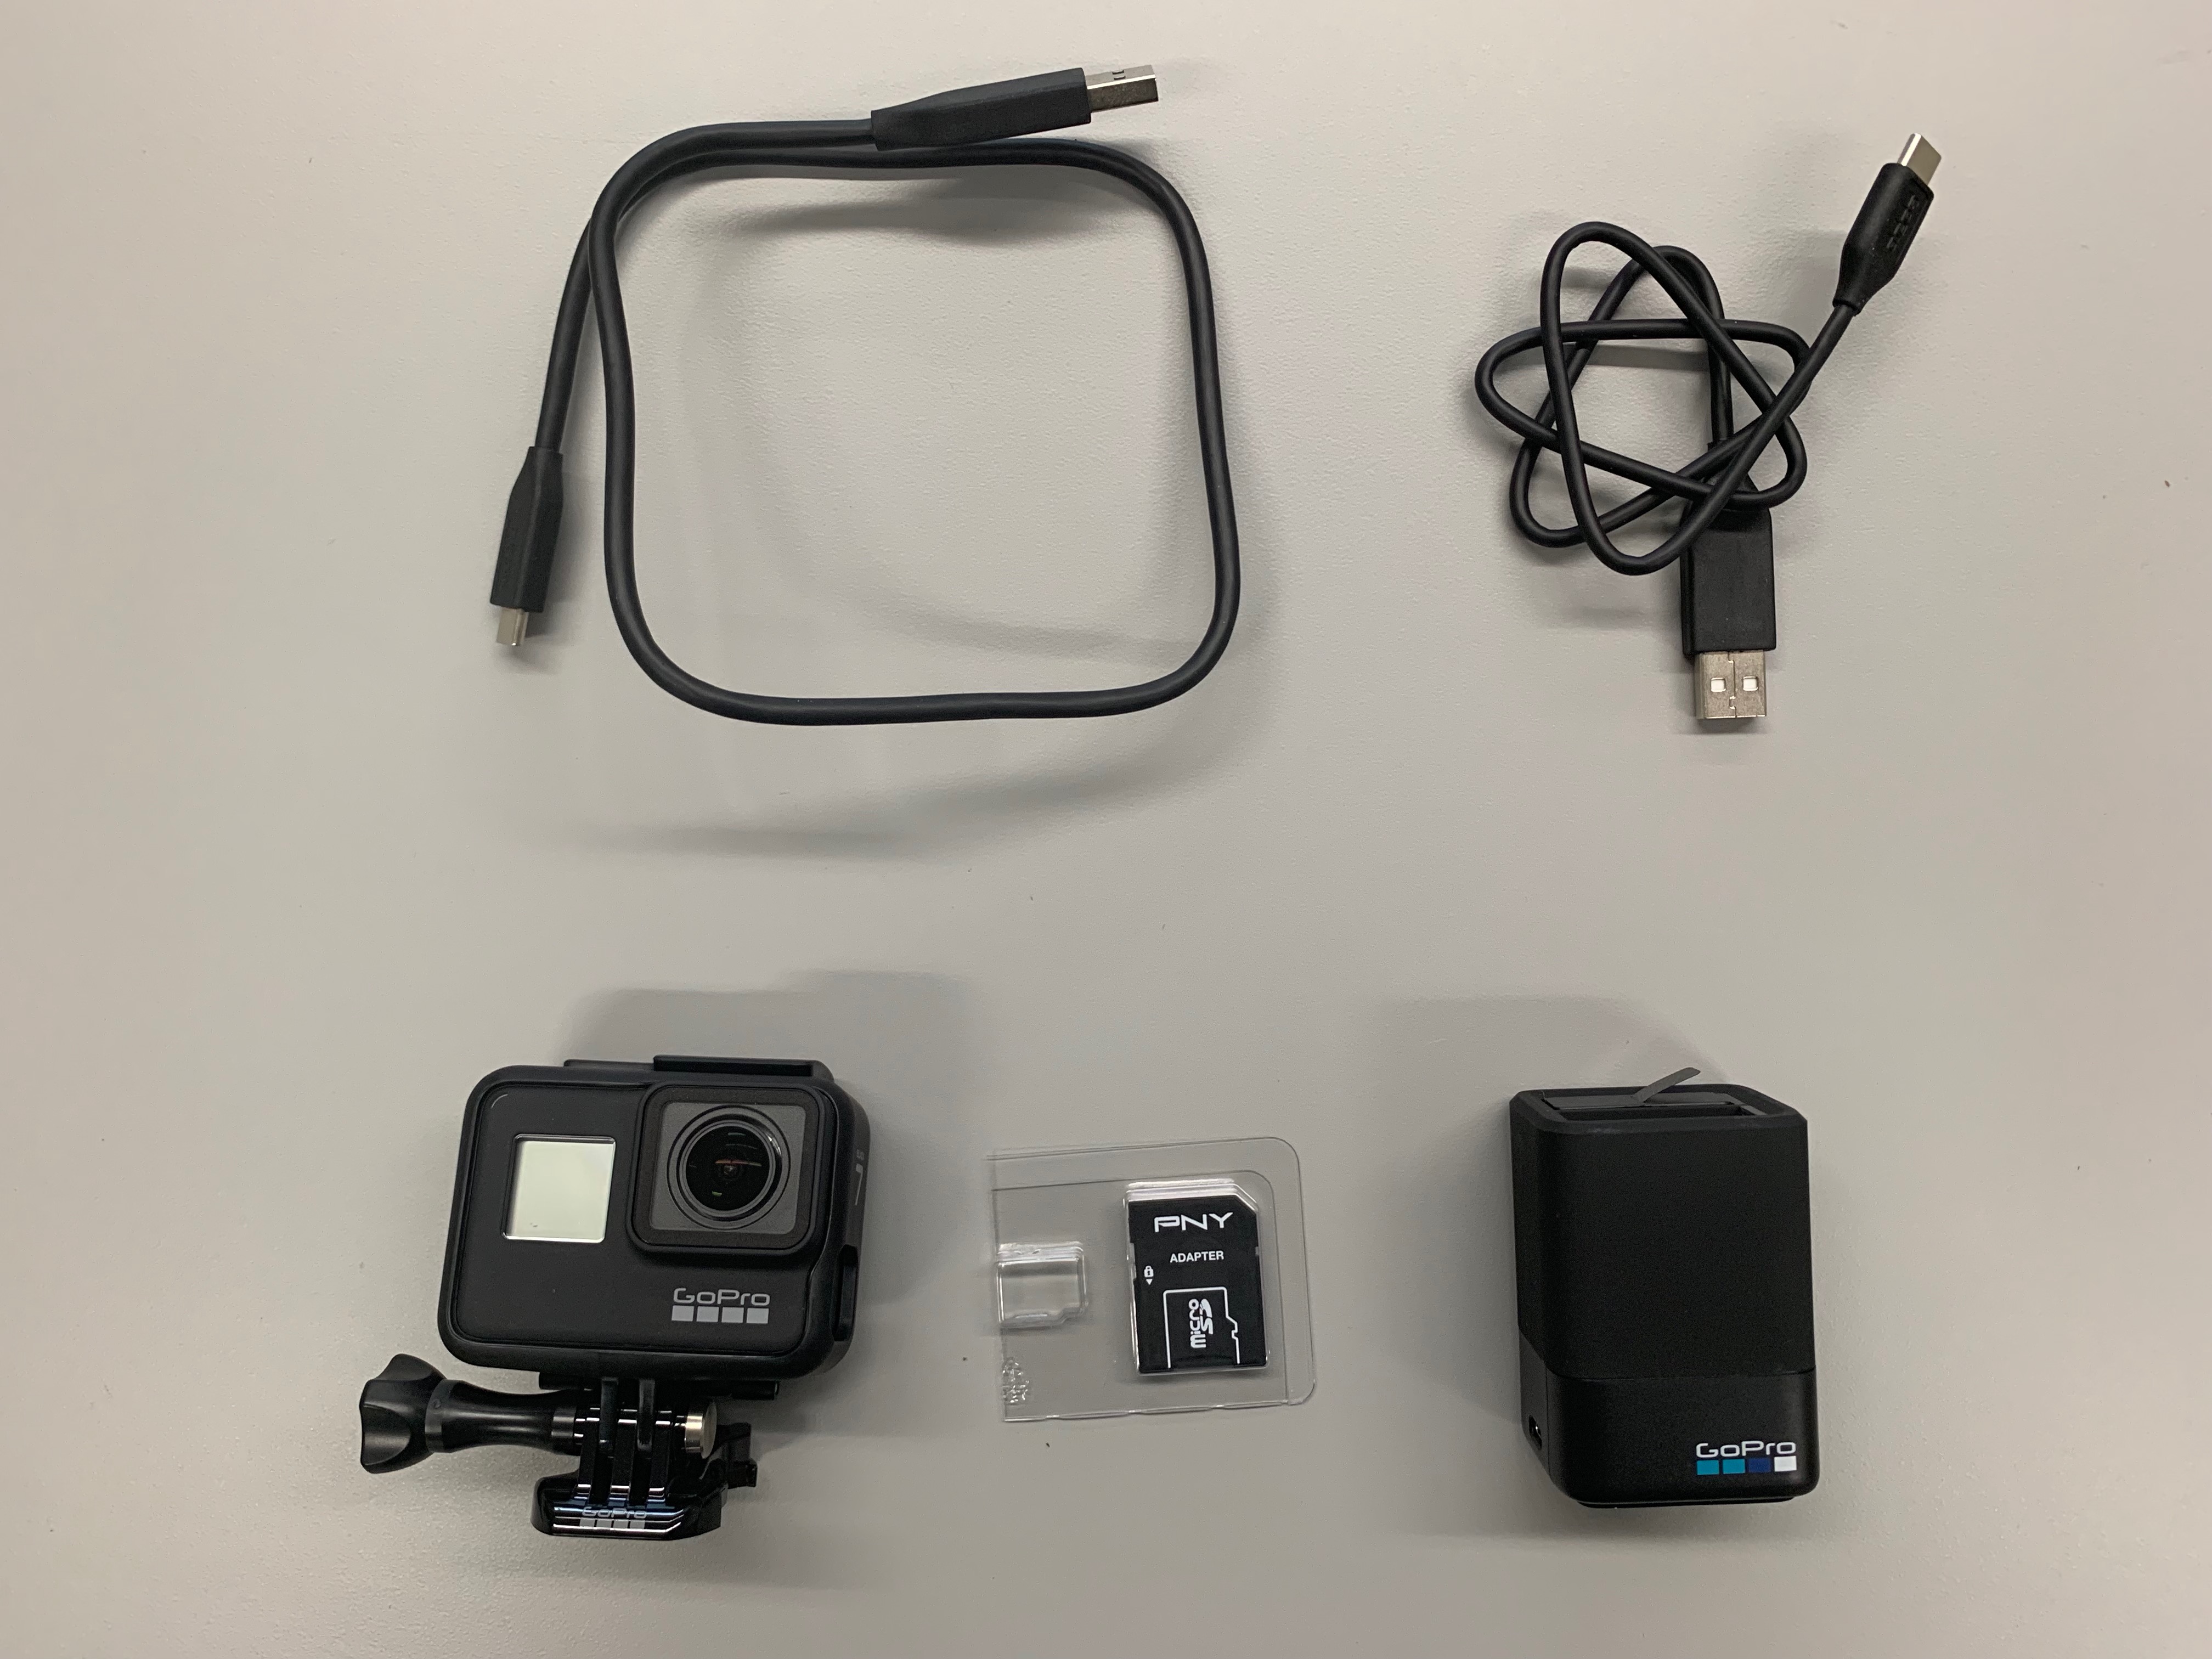

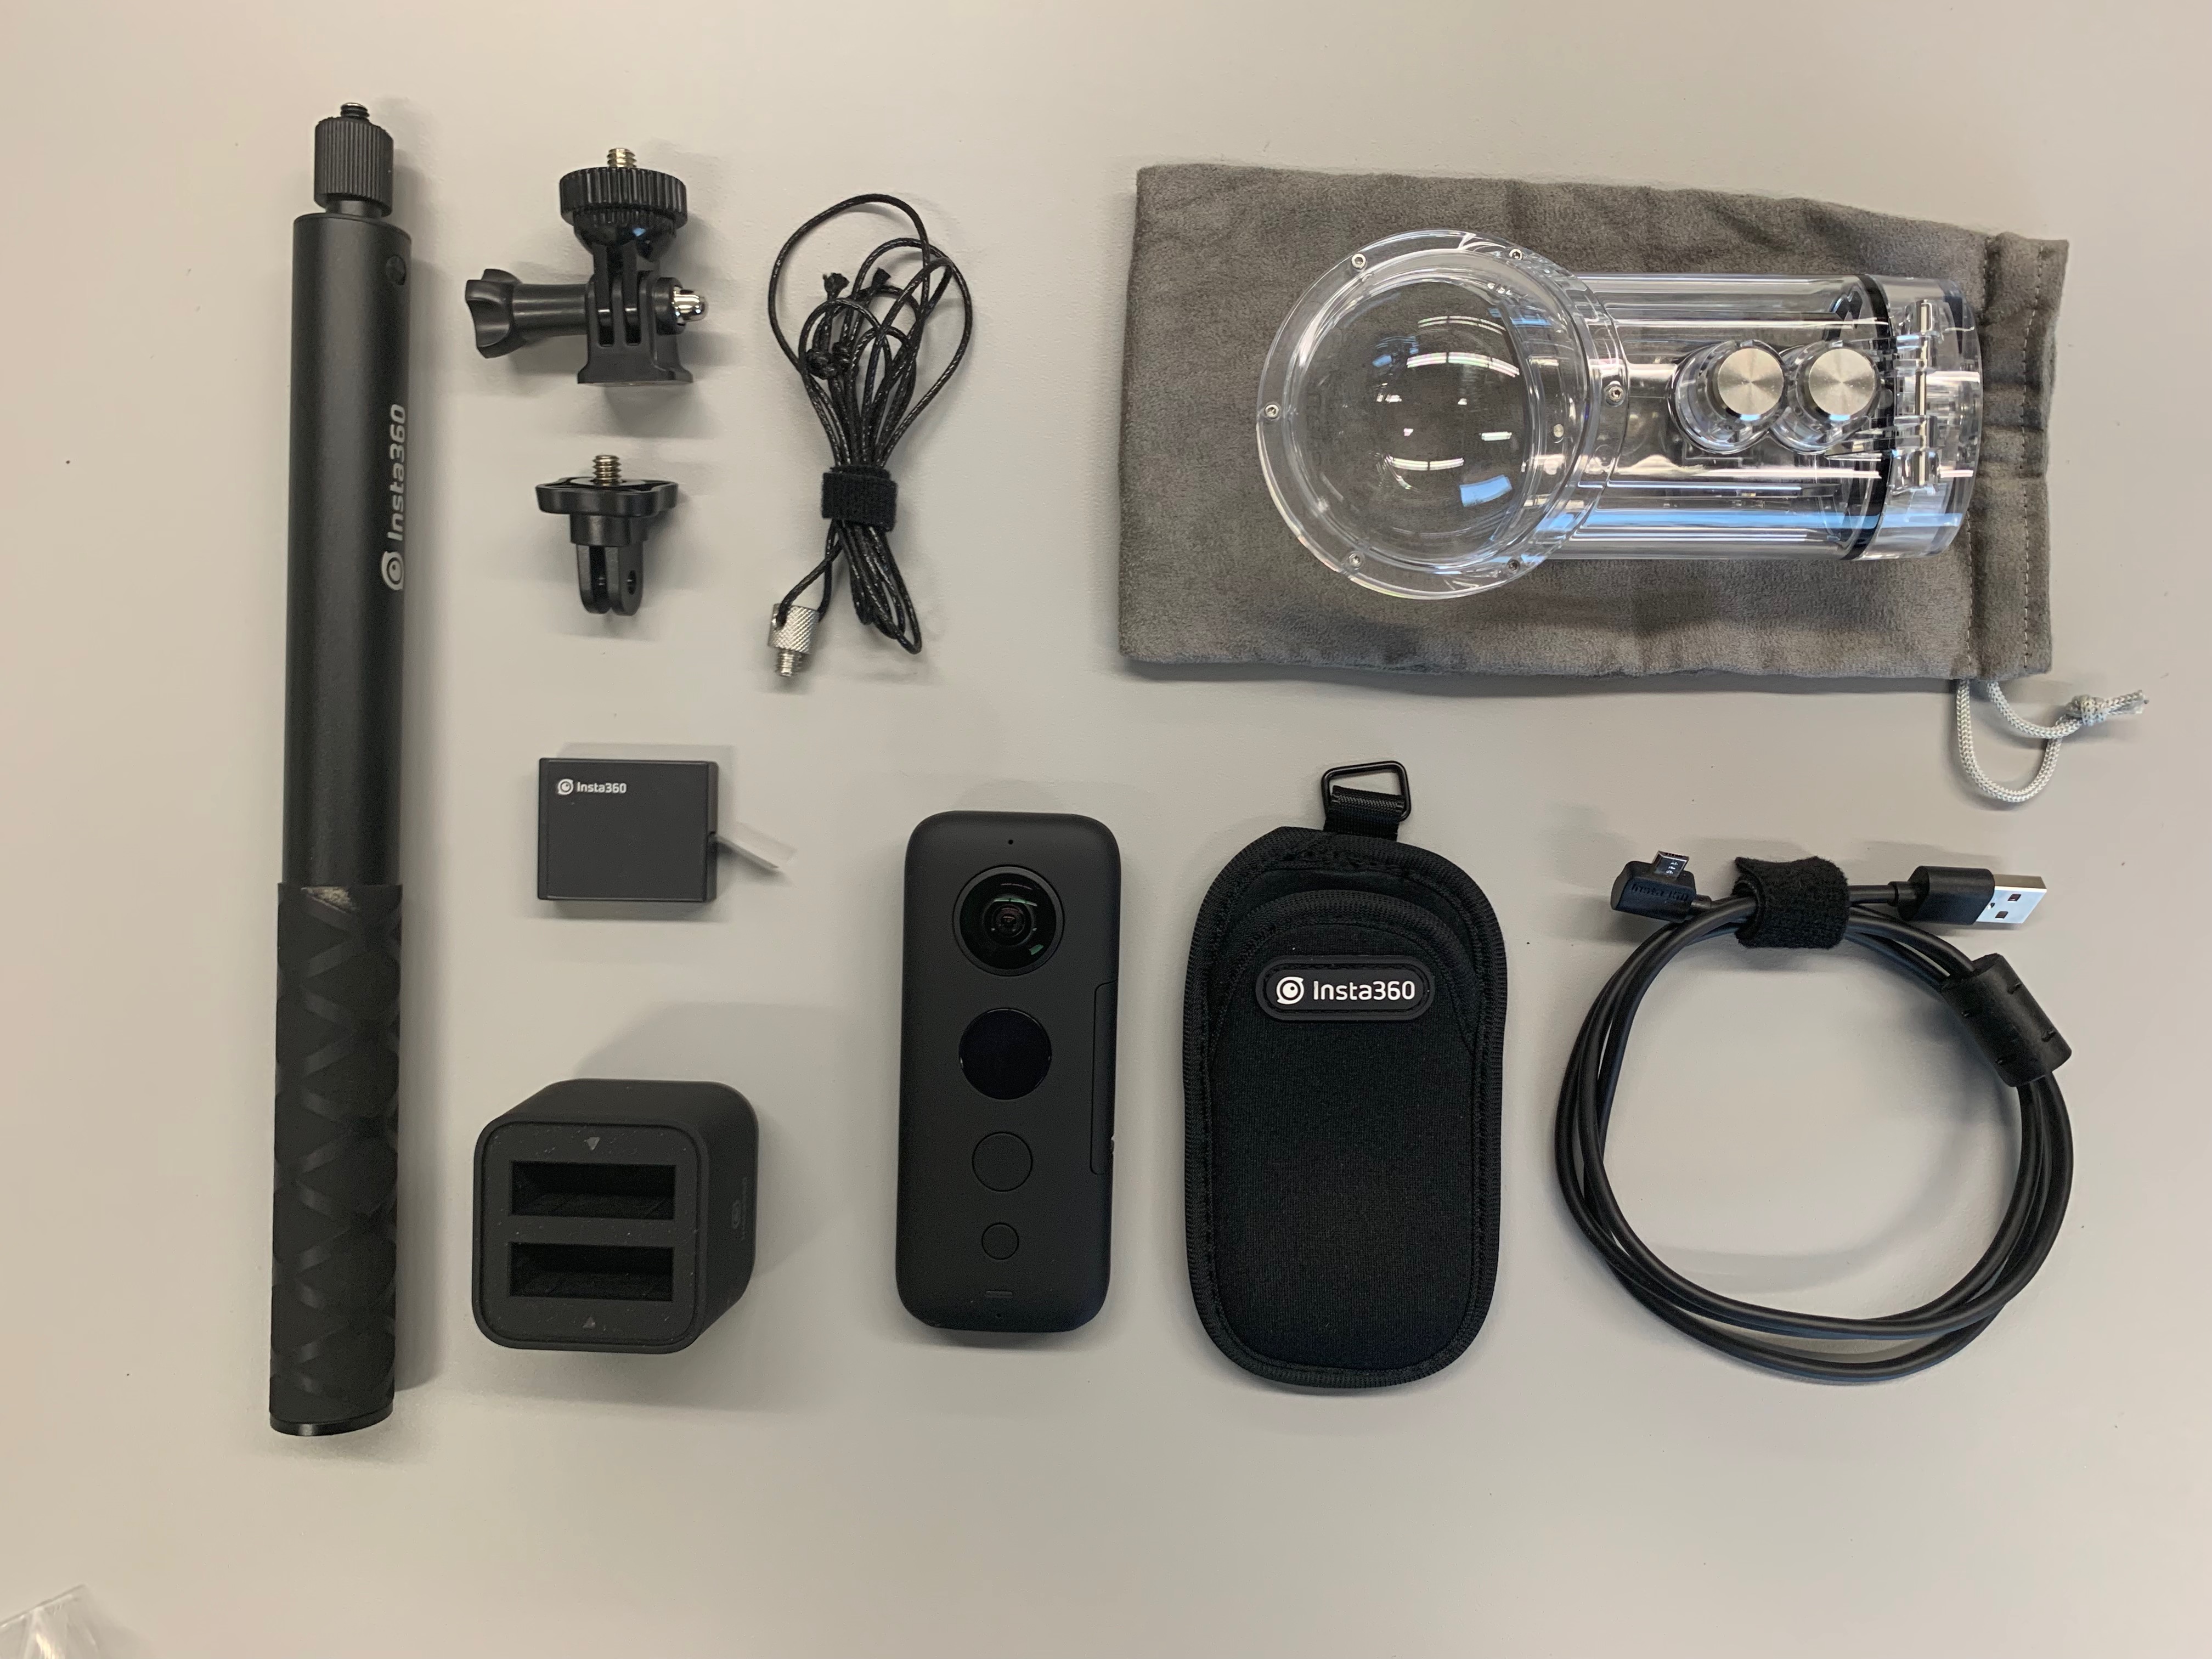
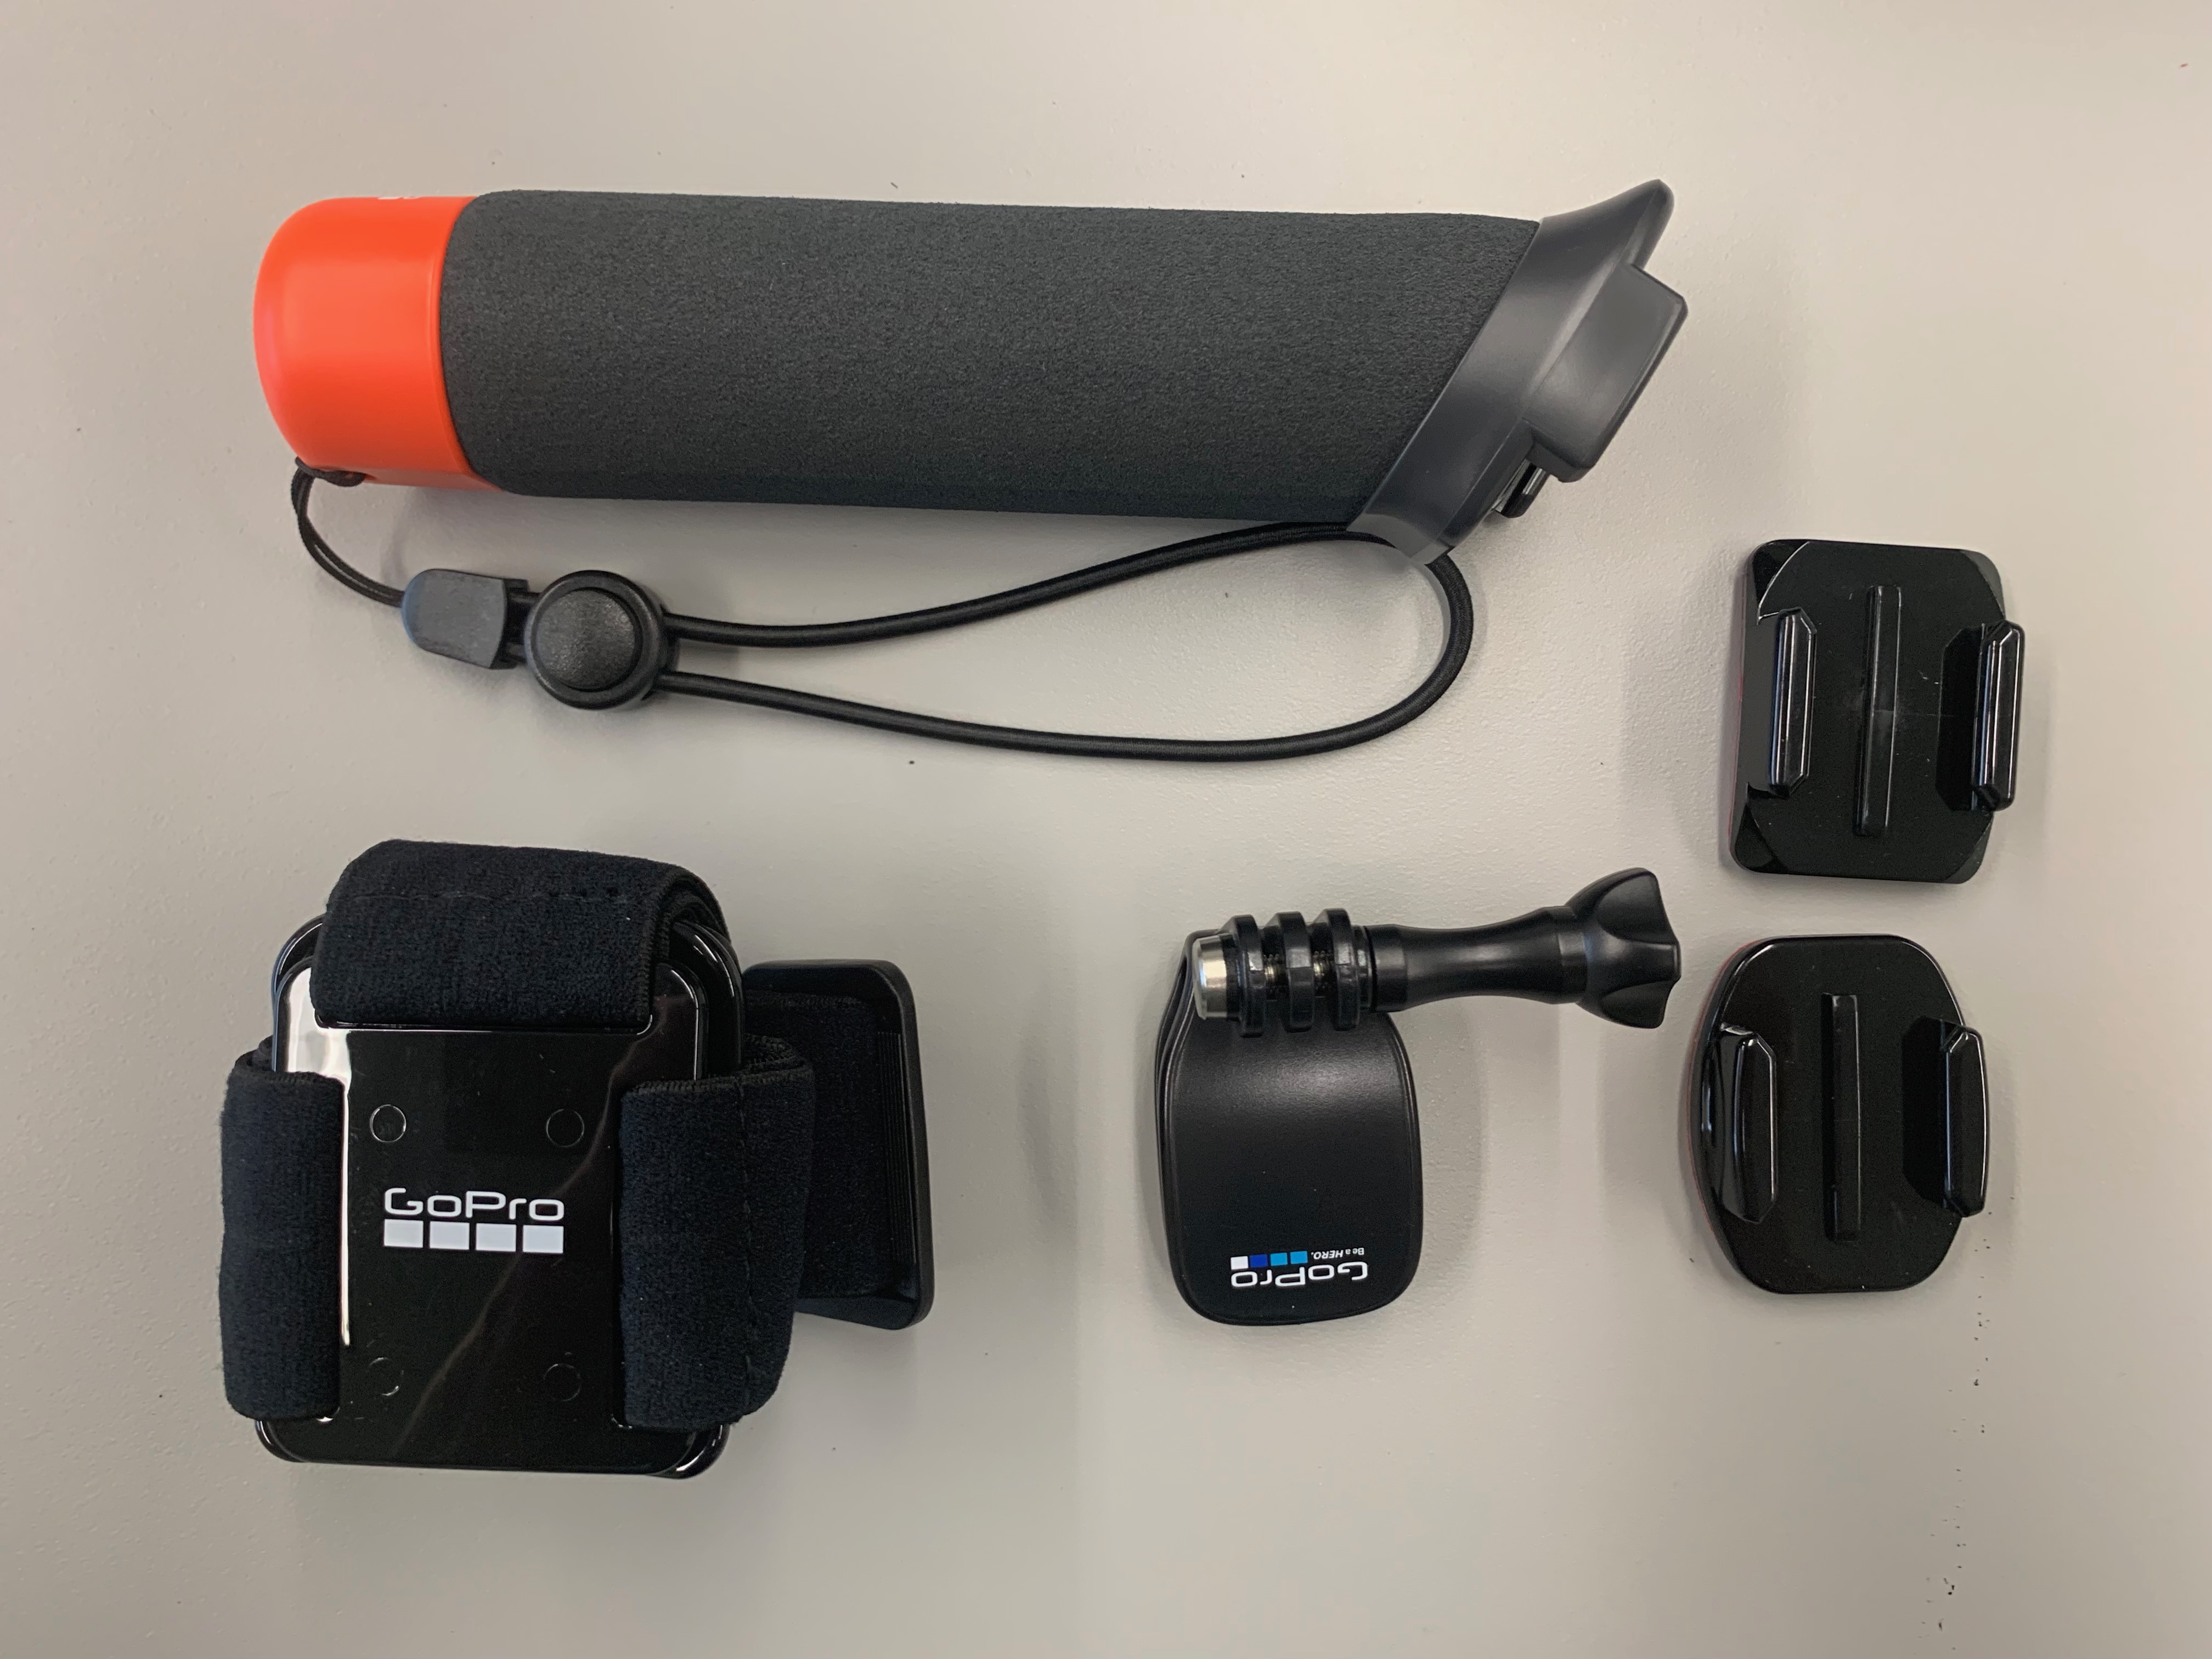
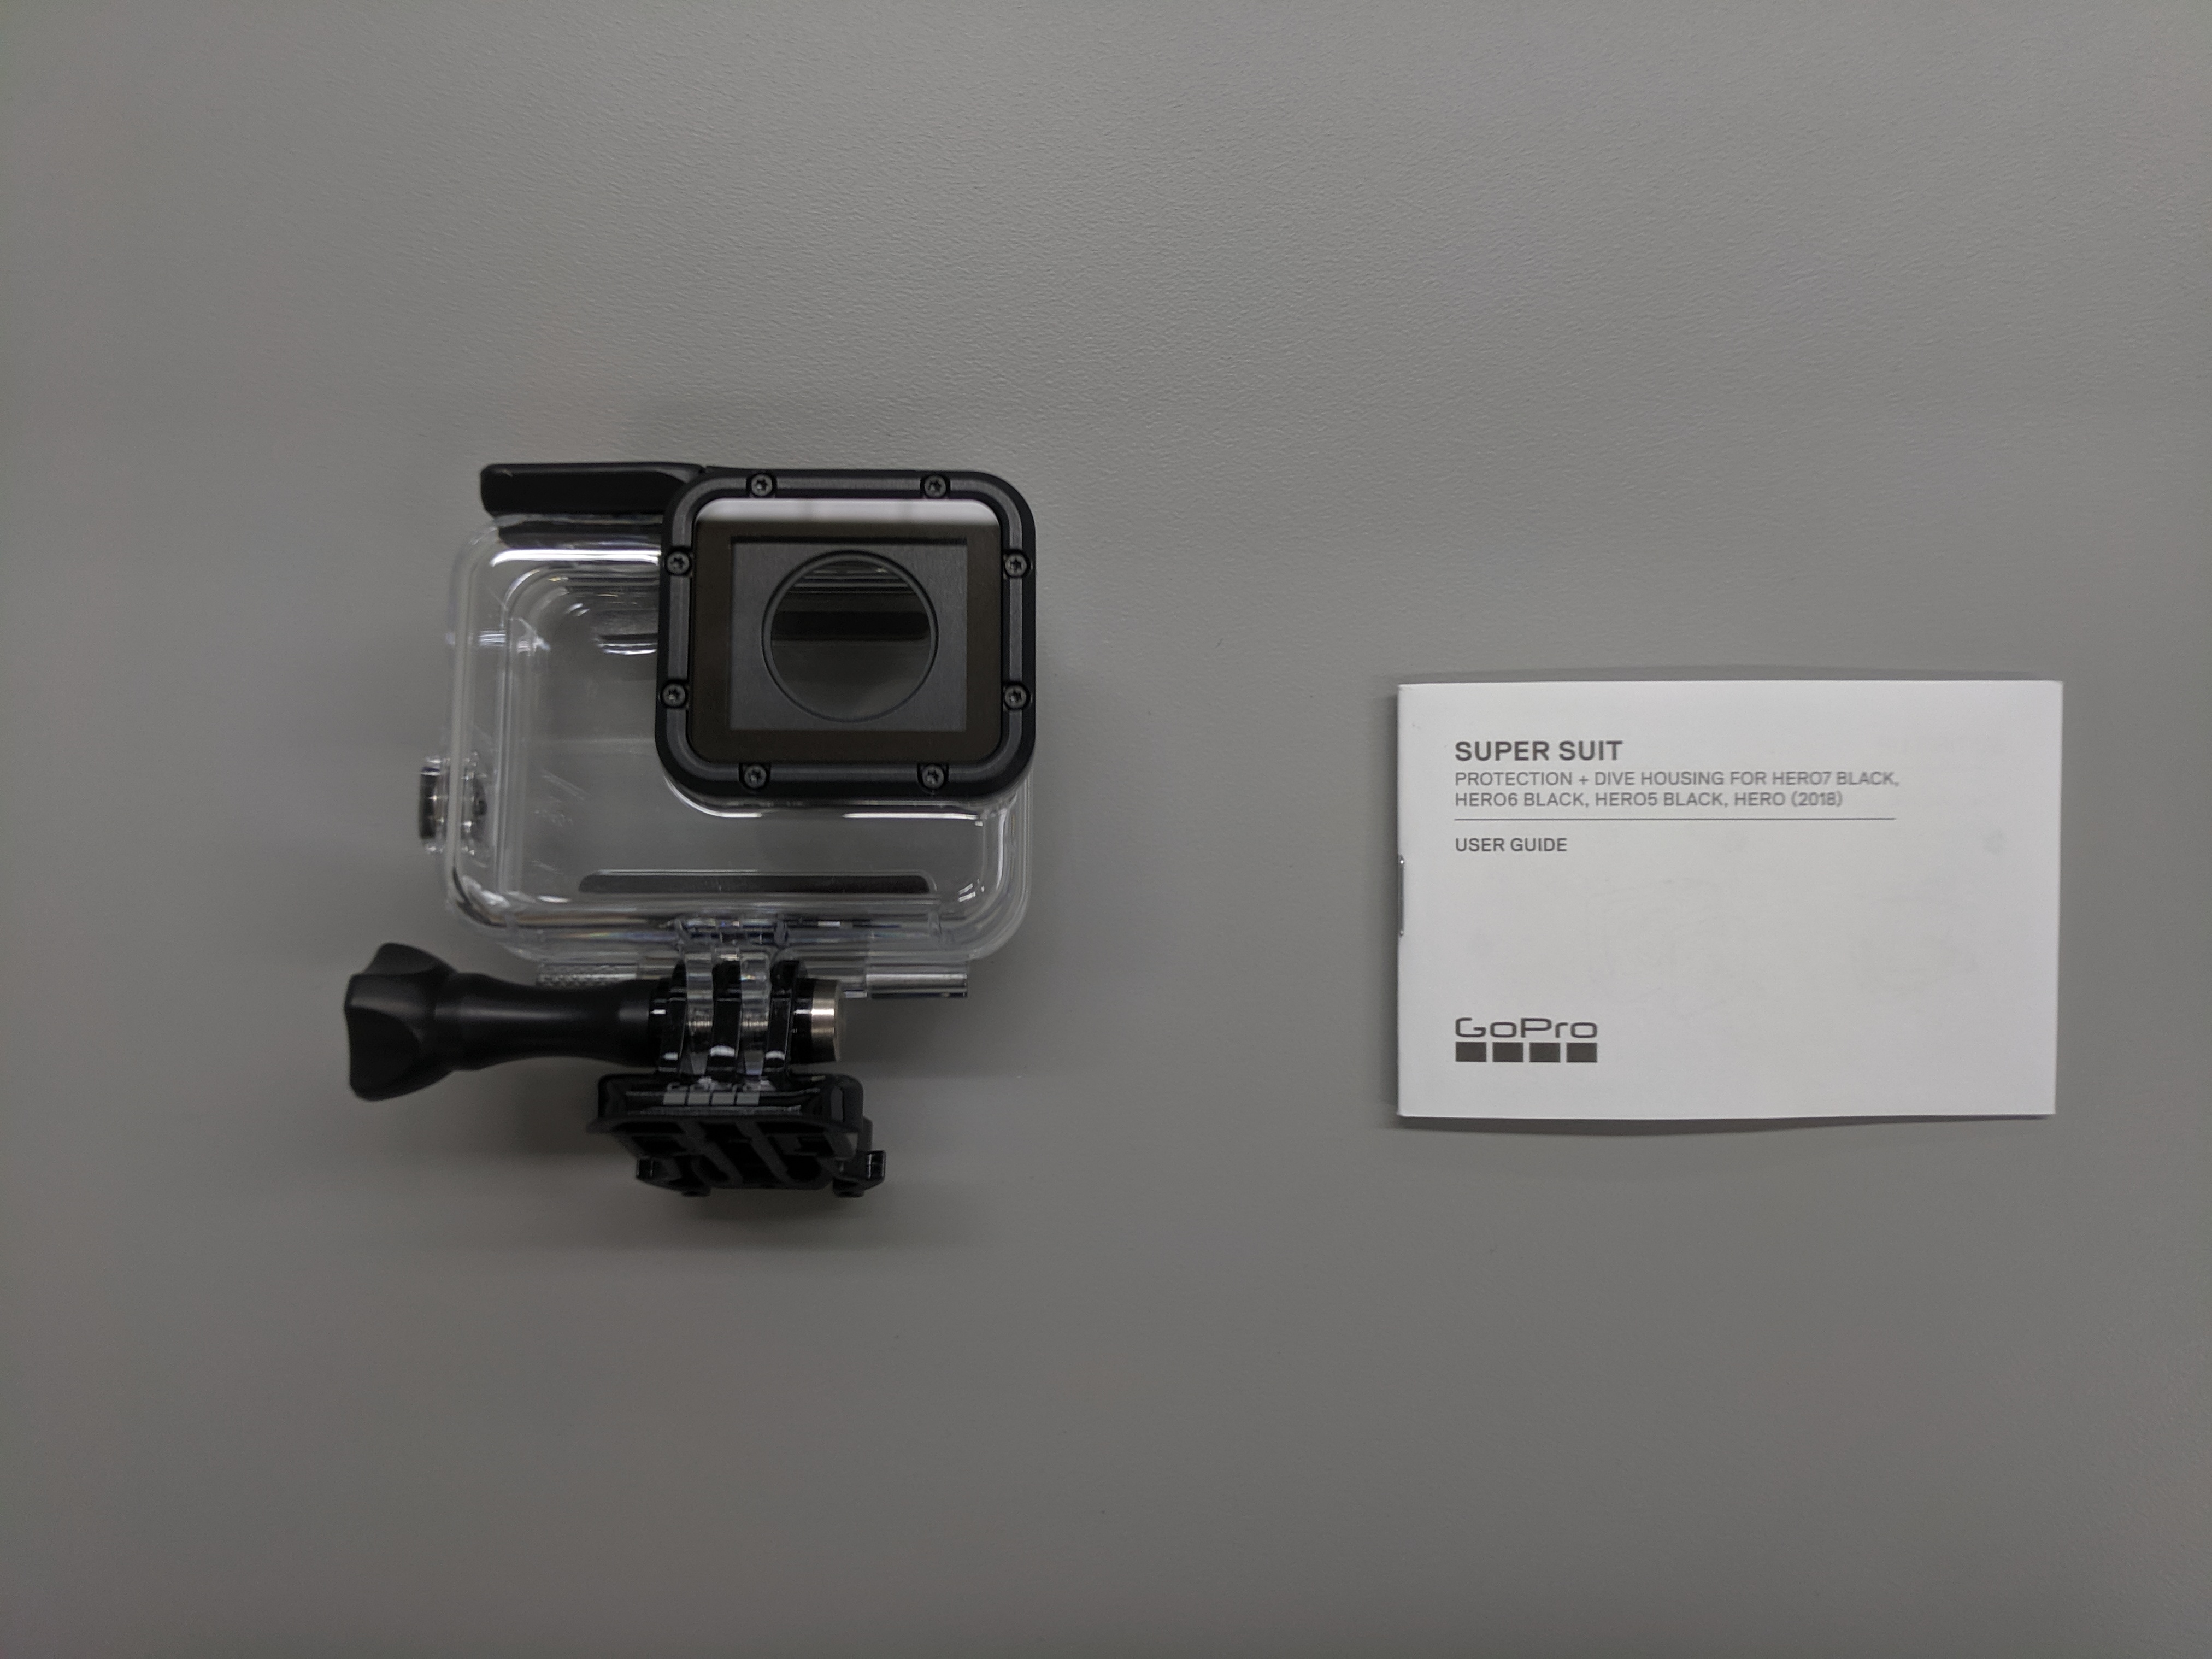
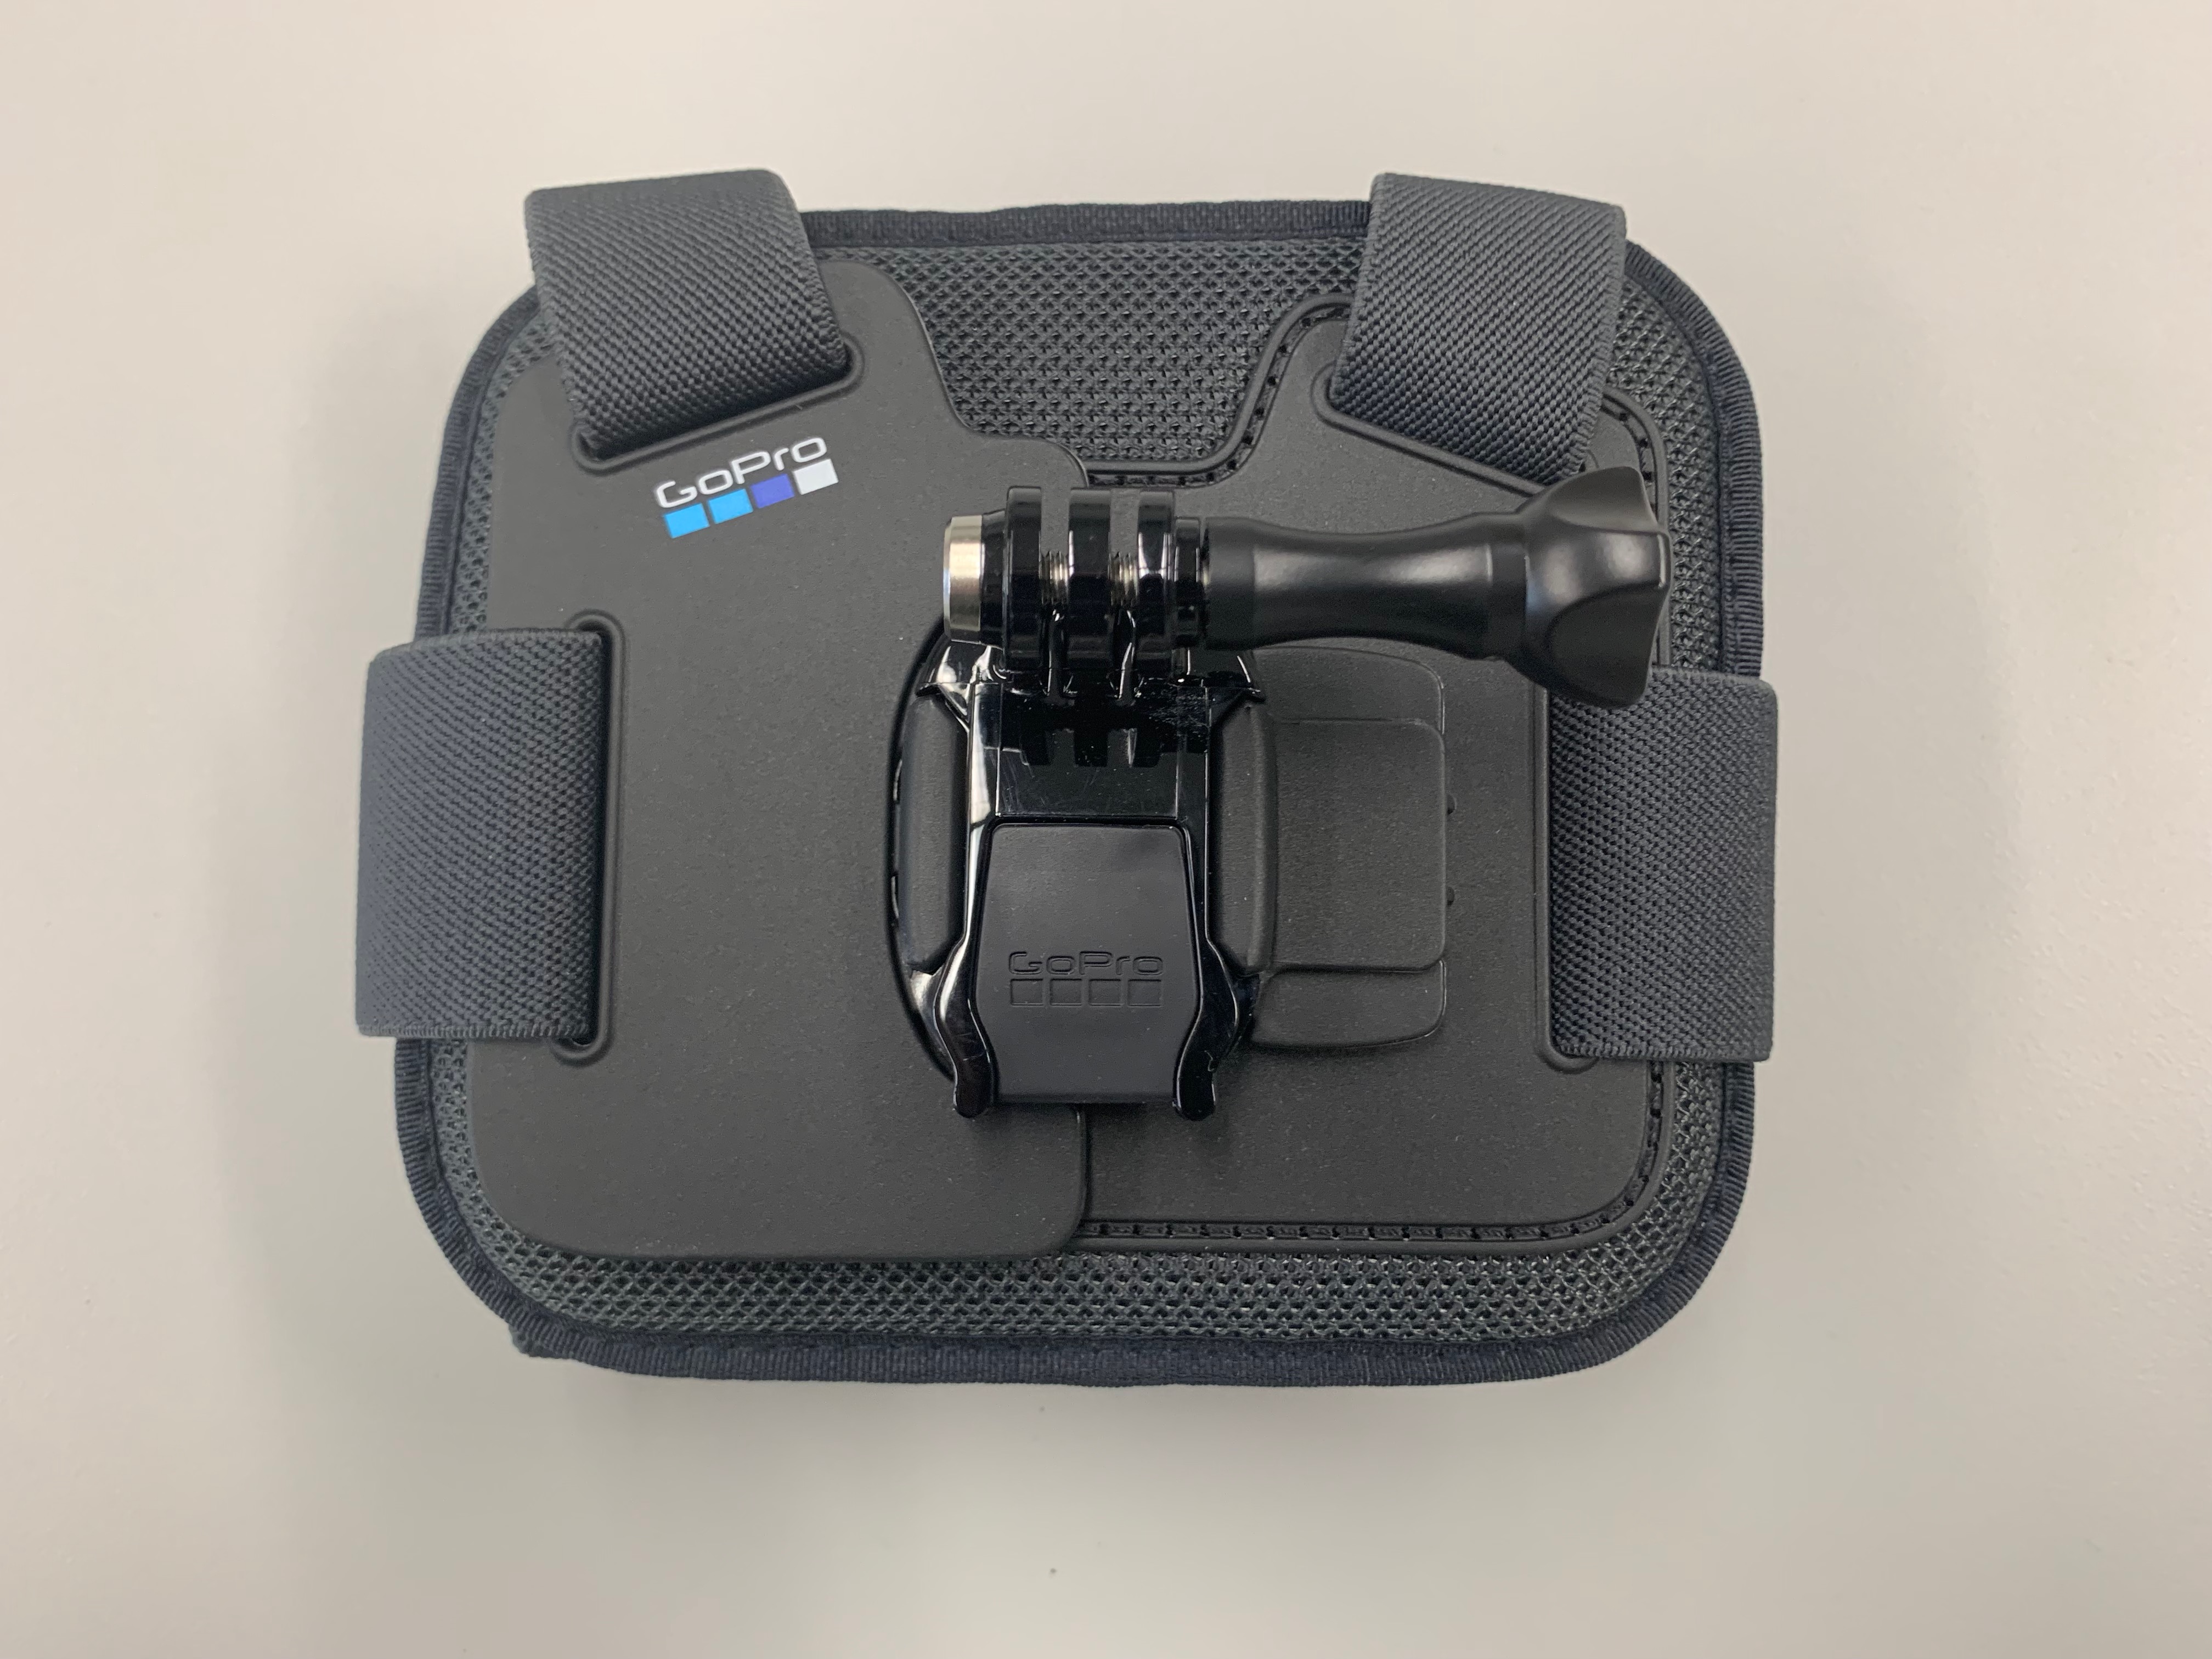
GoPro Accessories
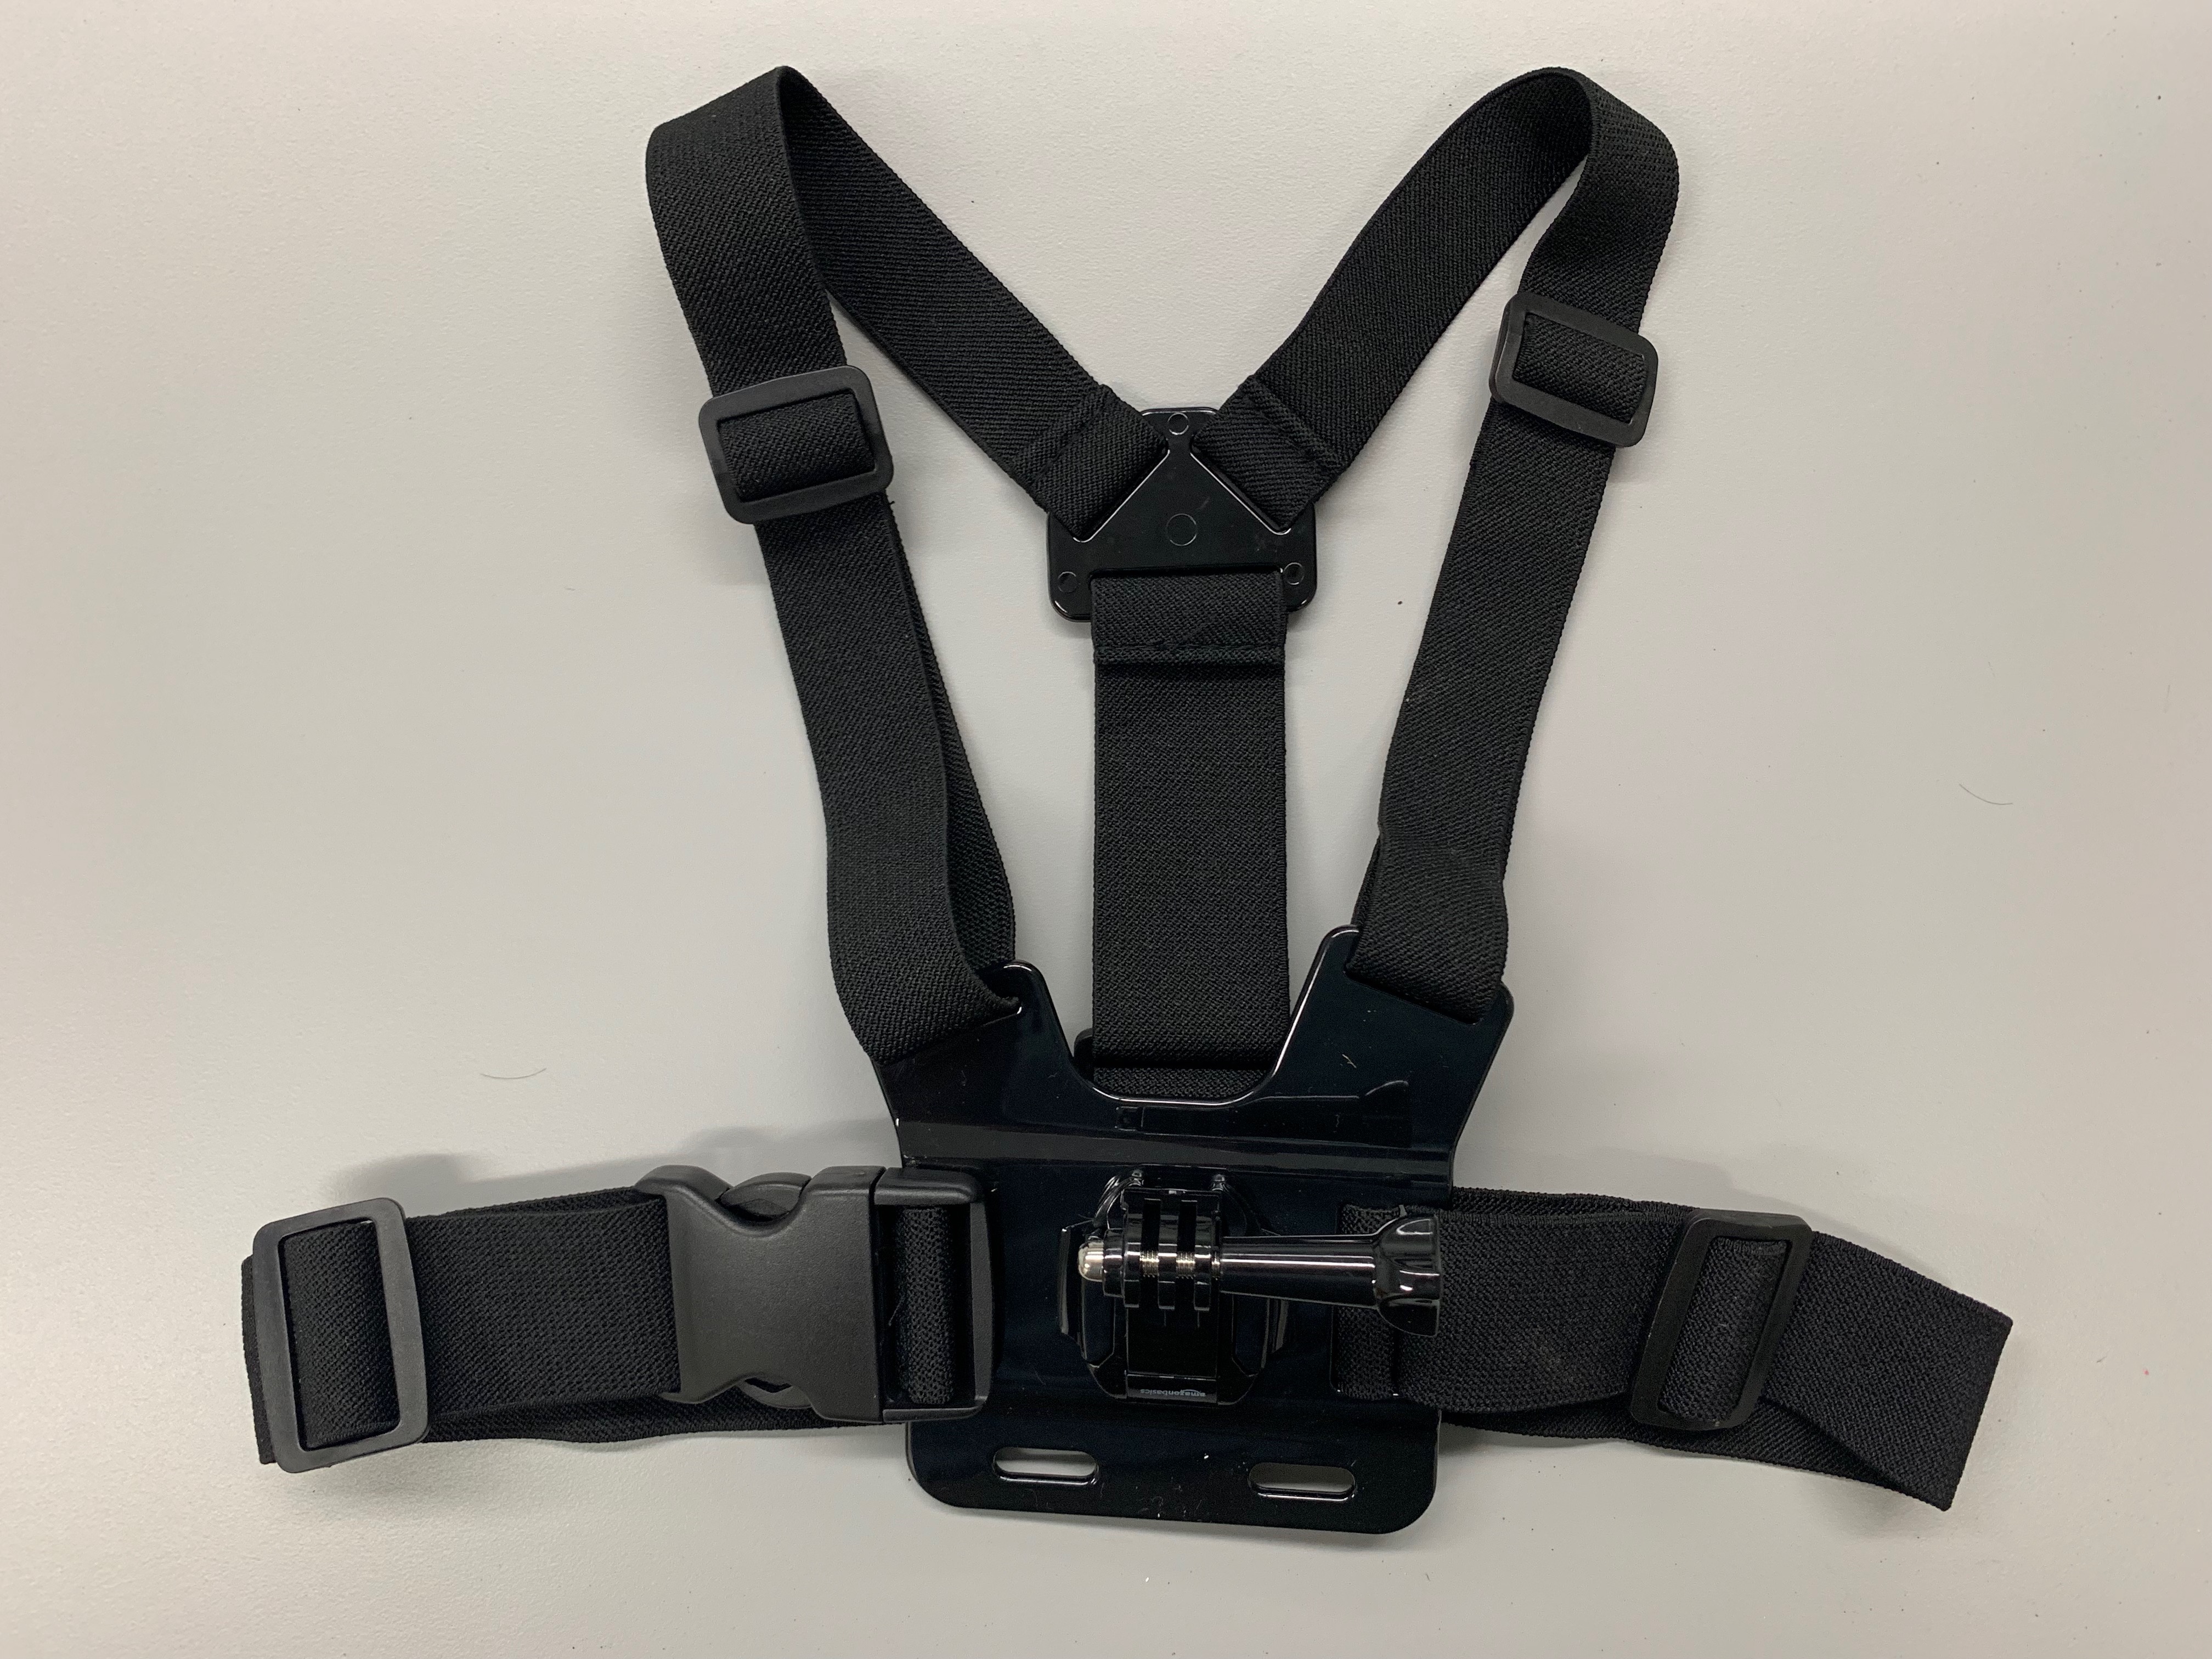


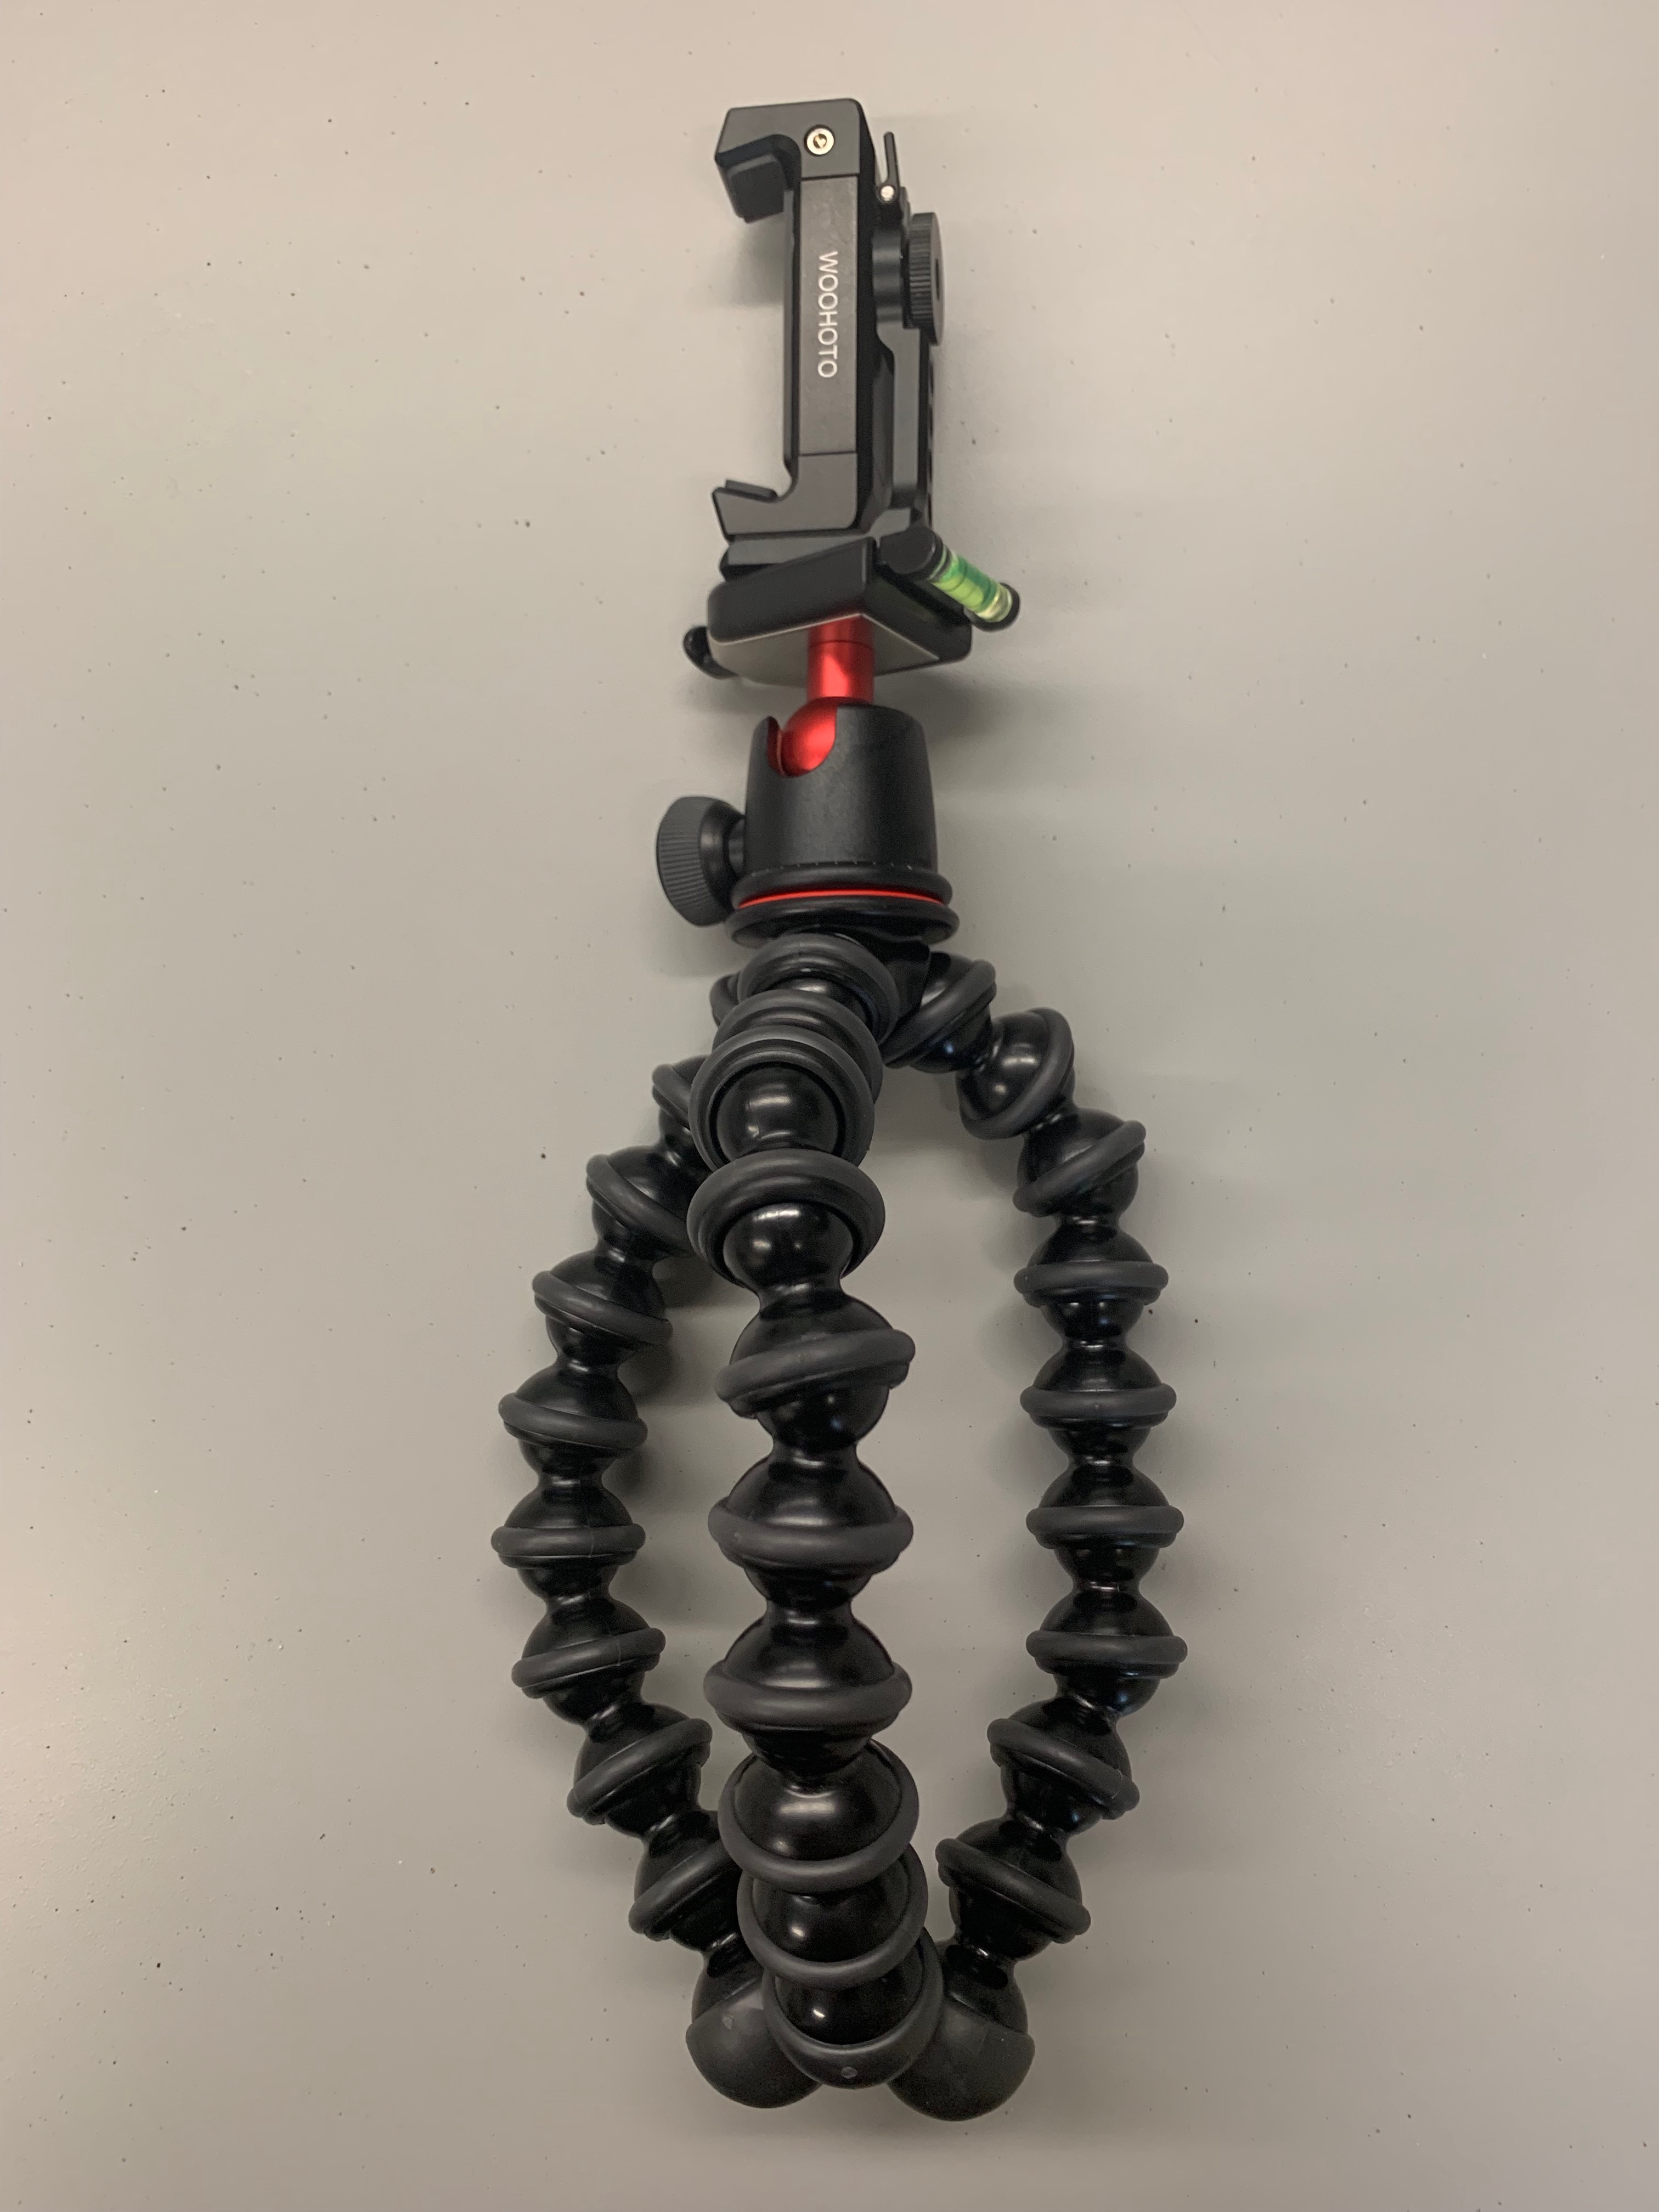
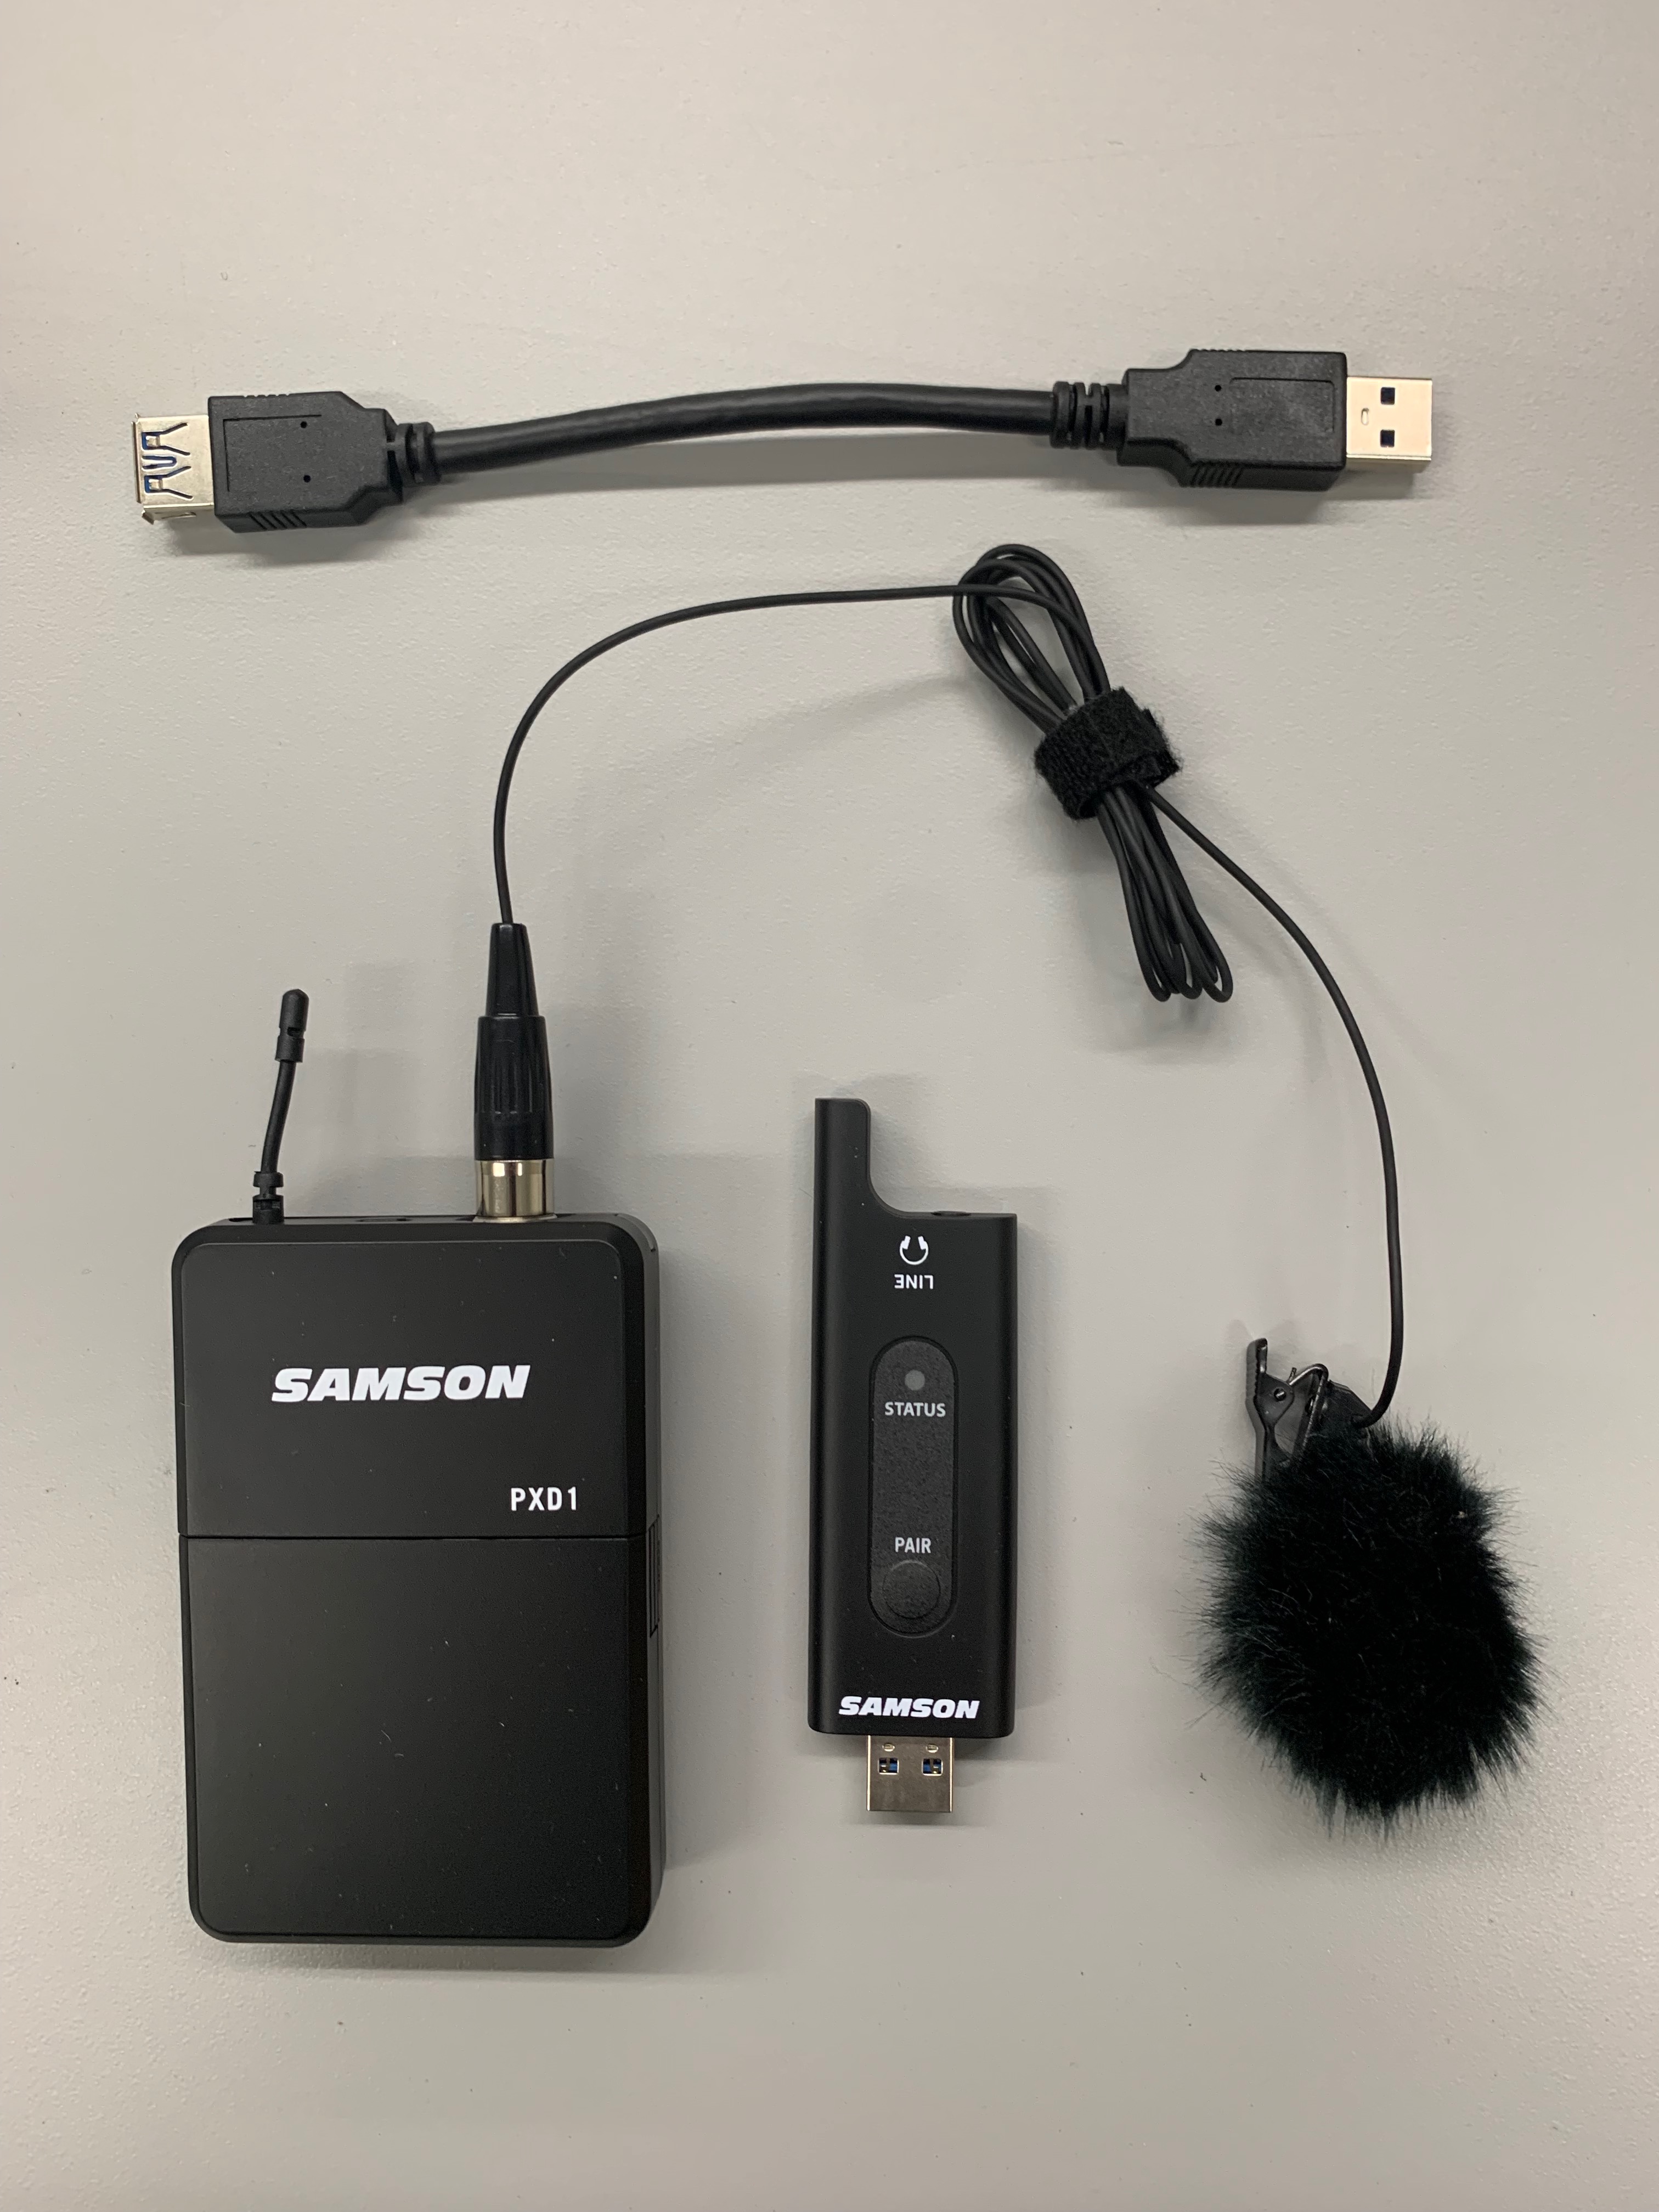
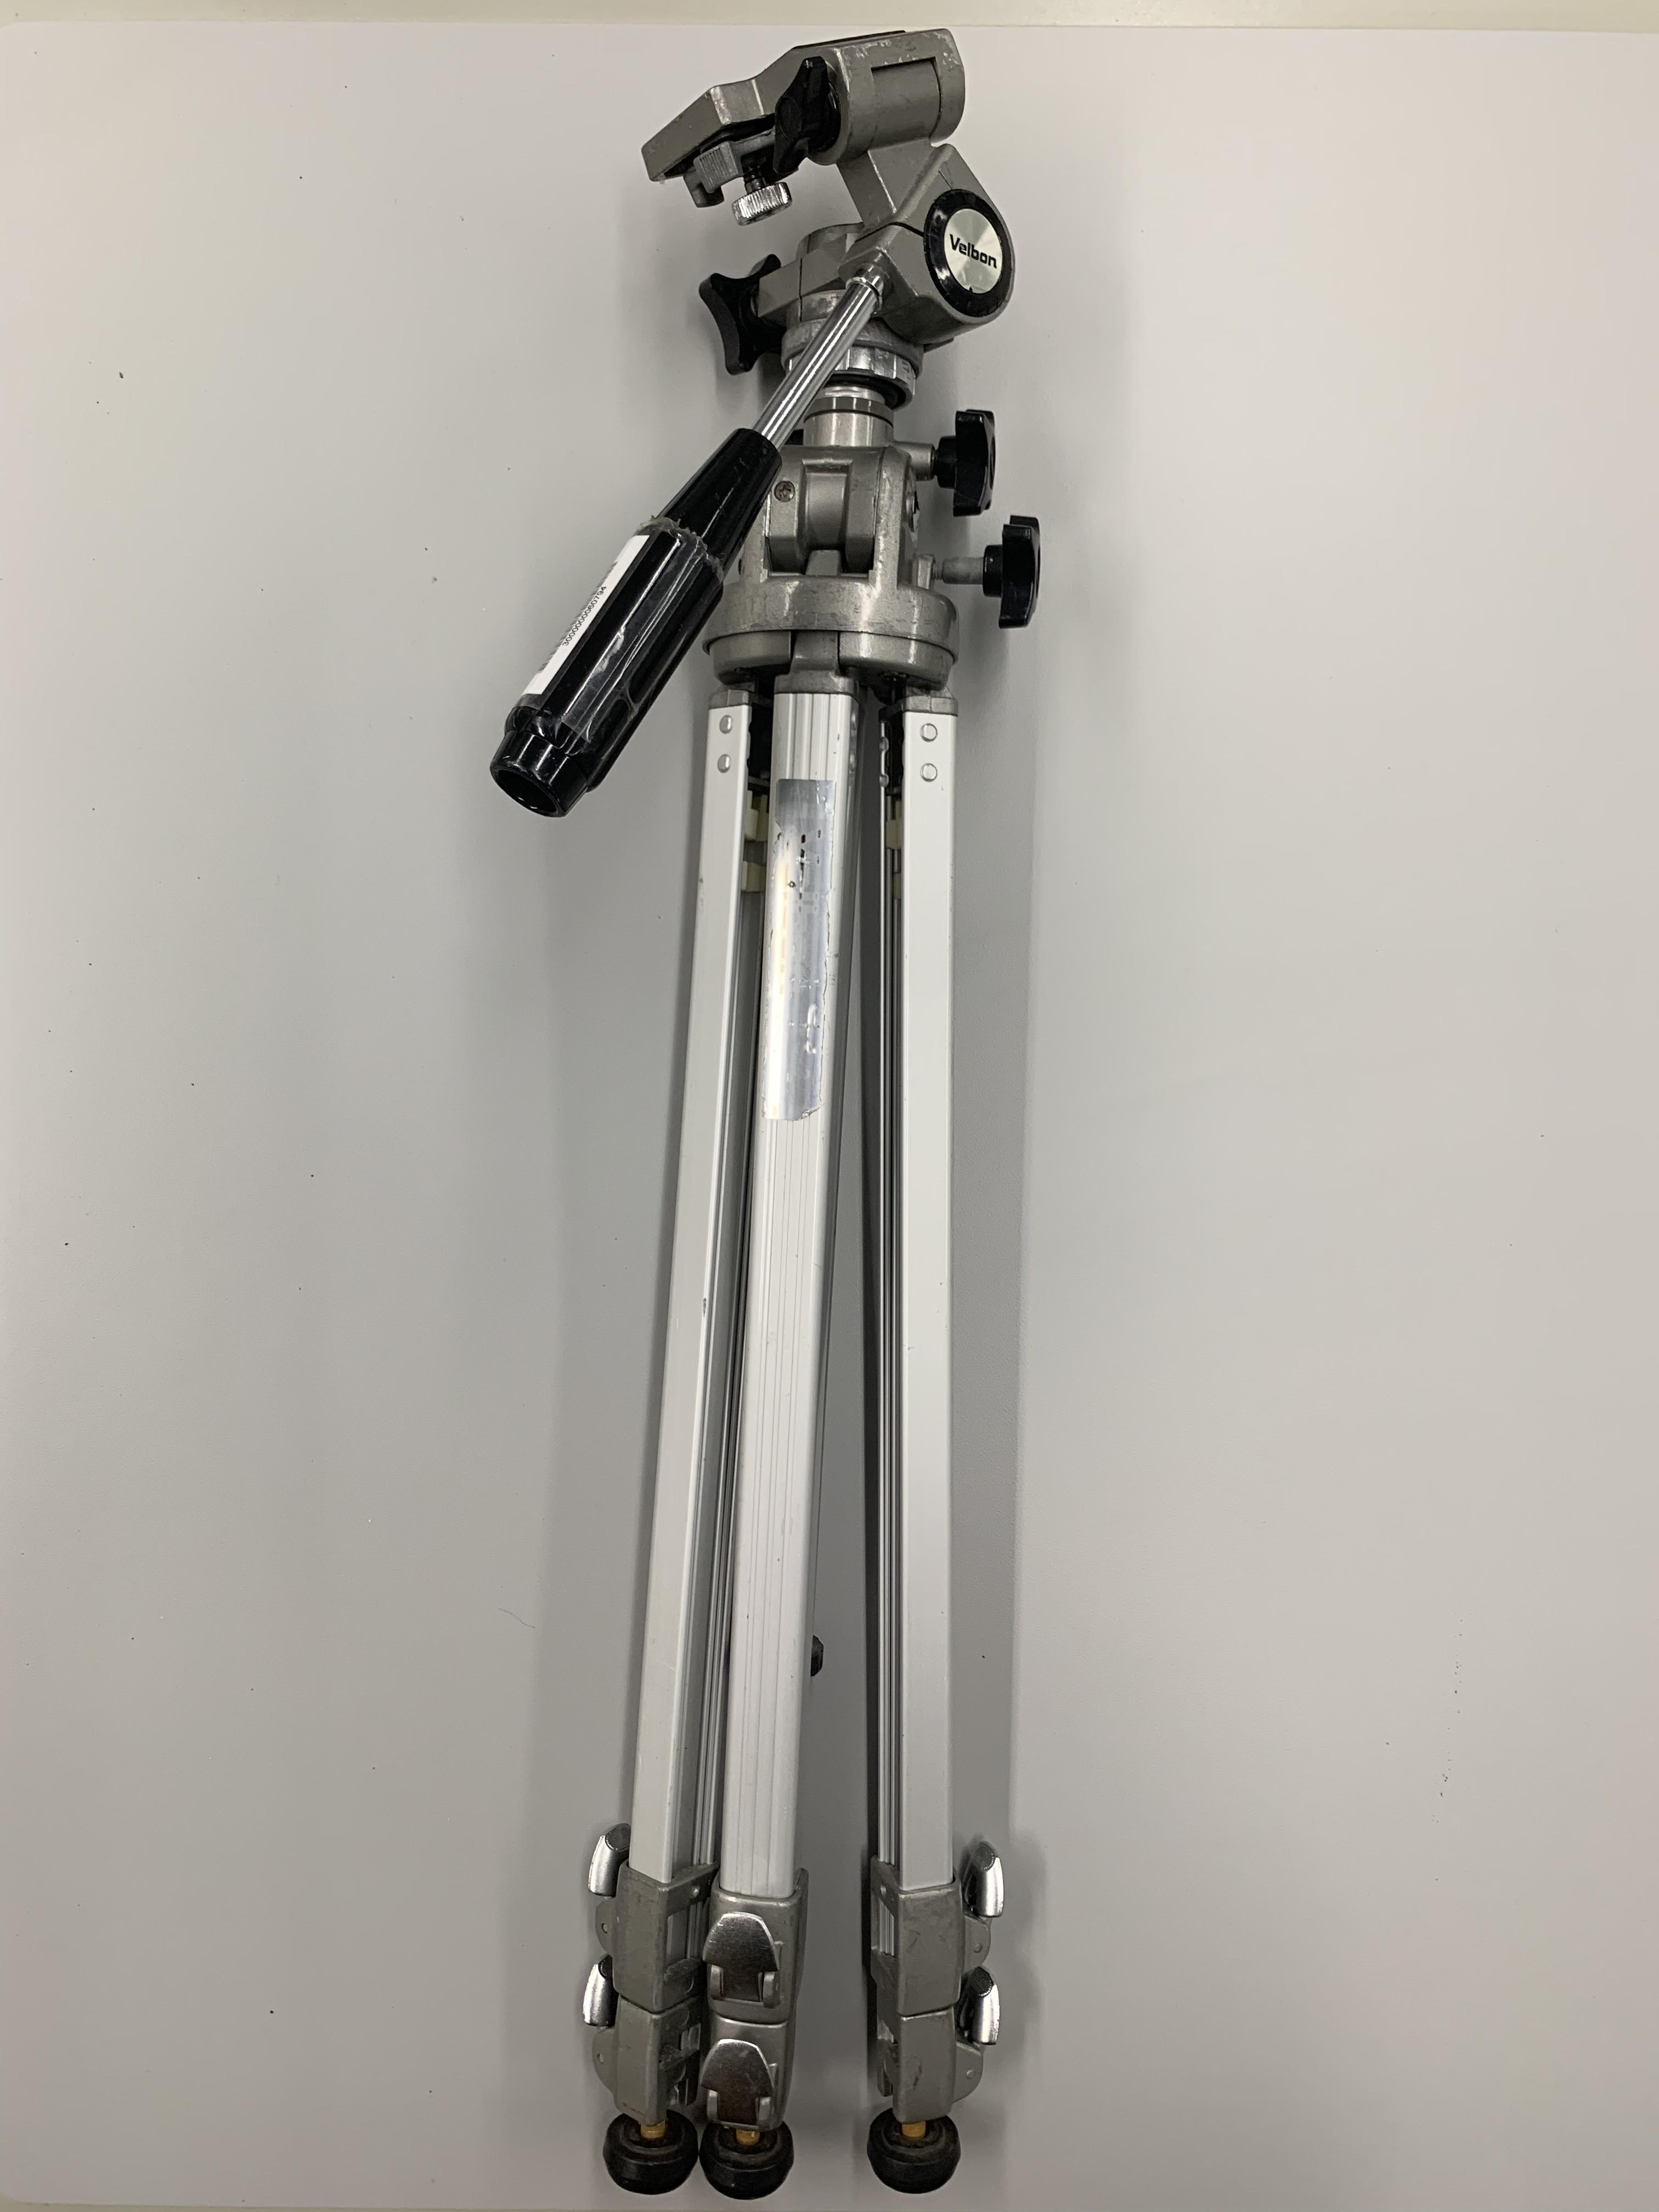
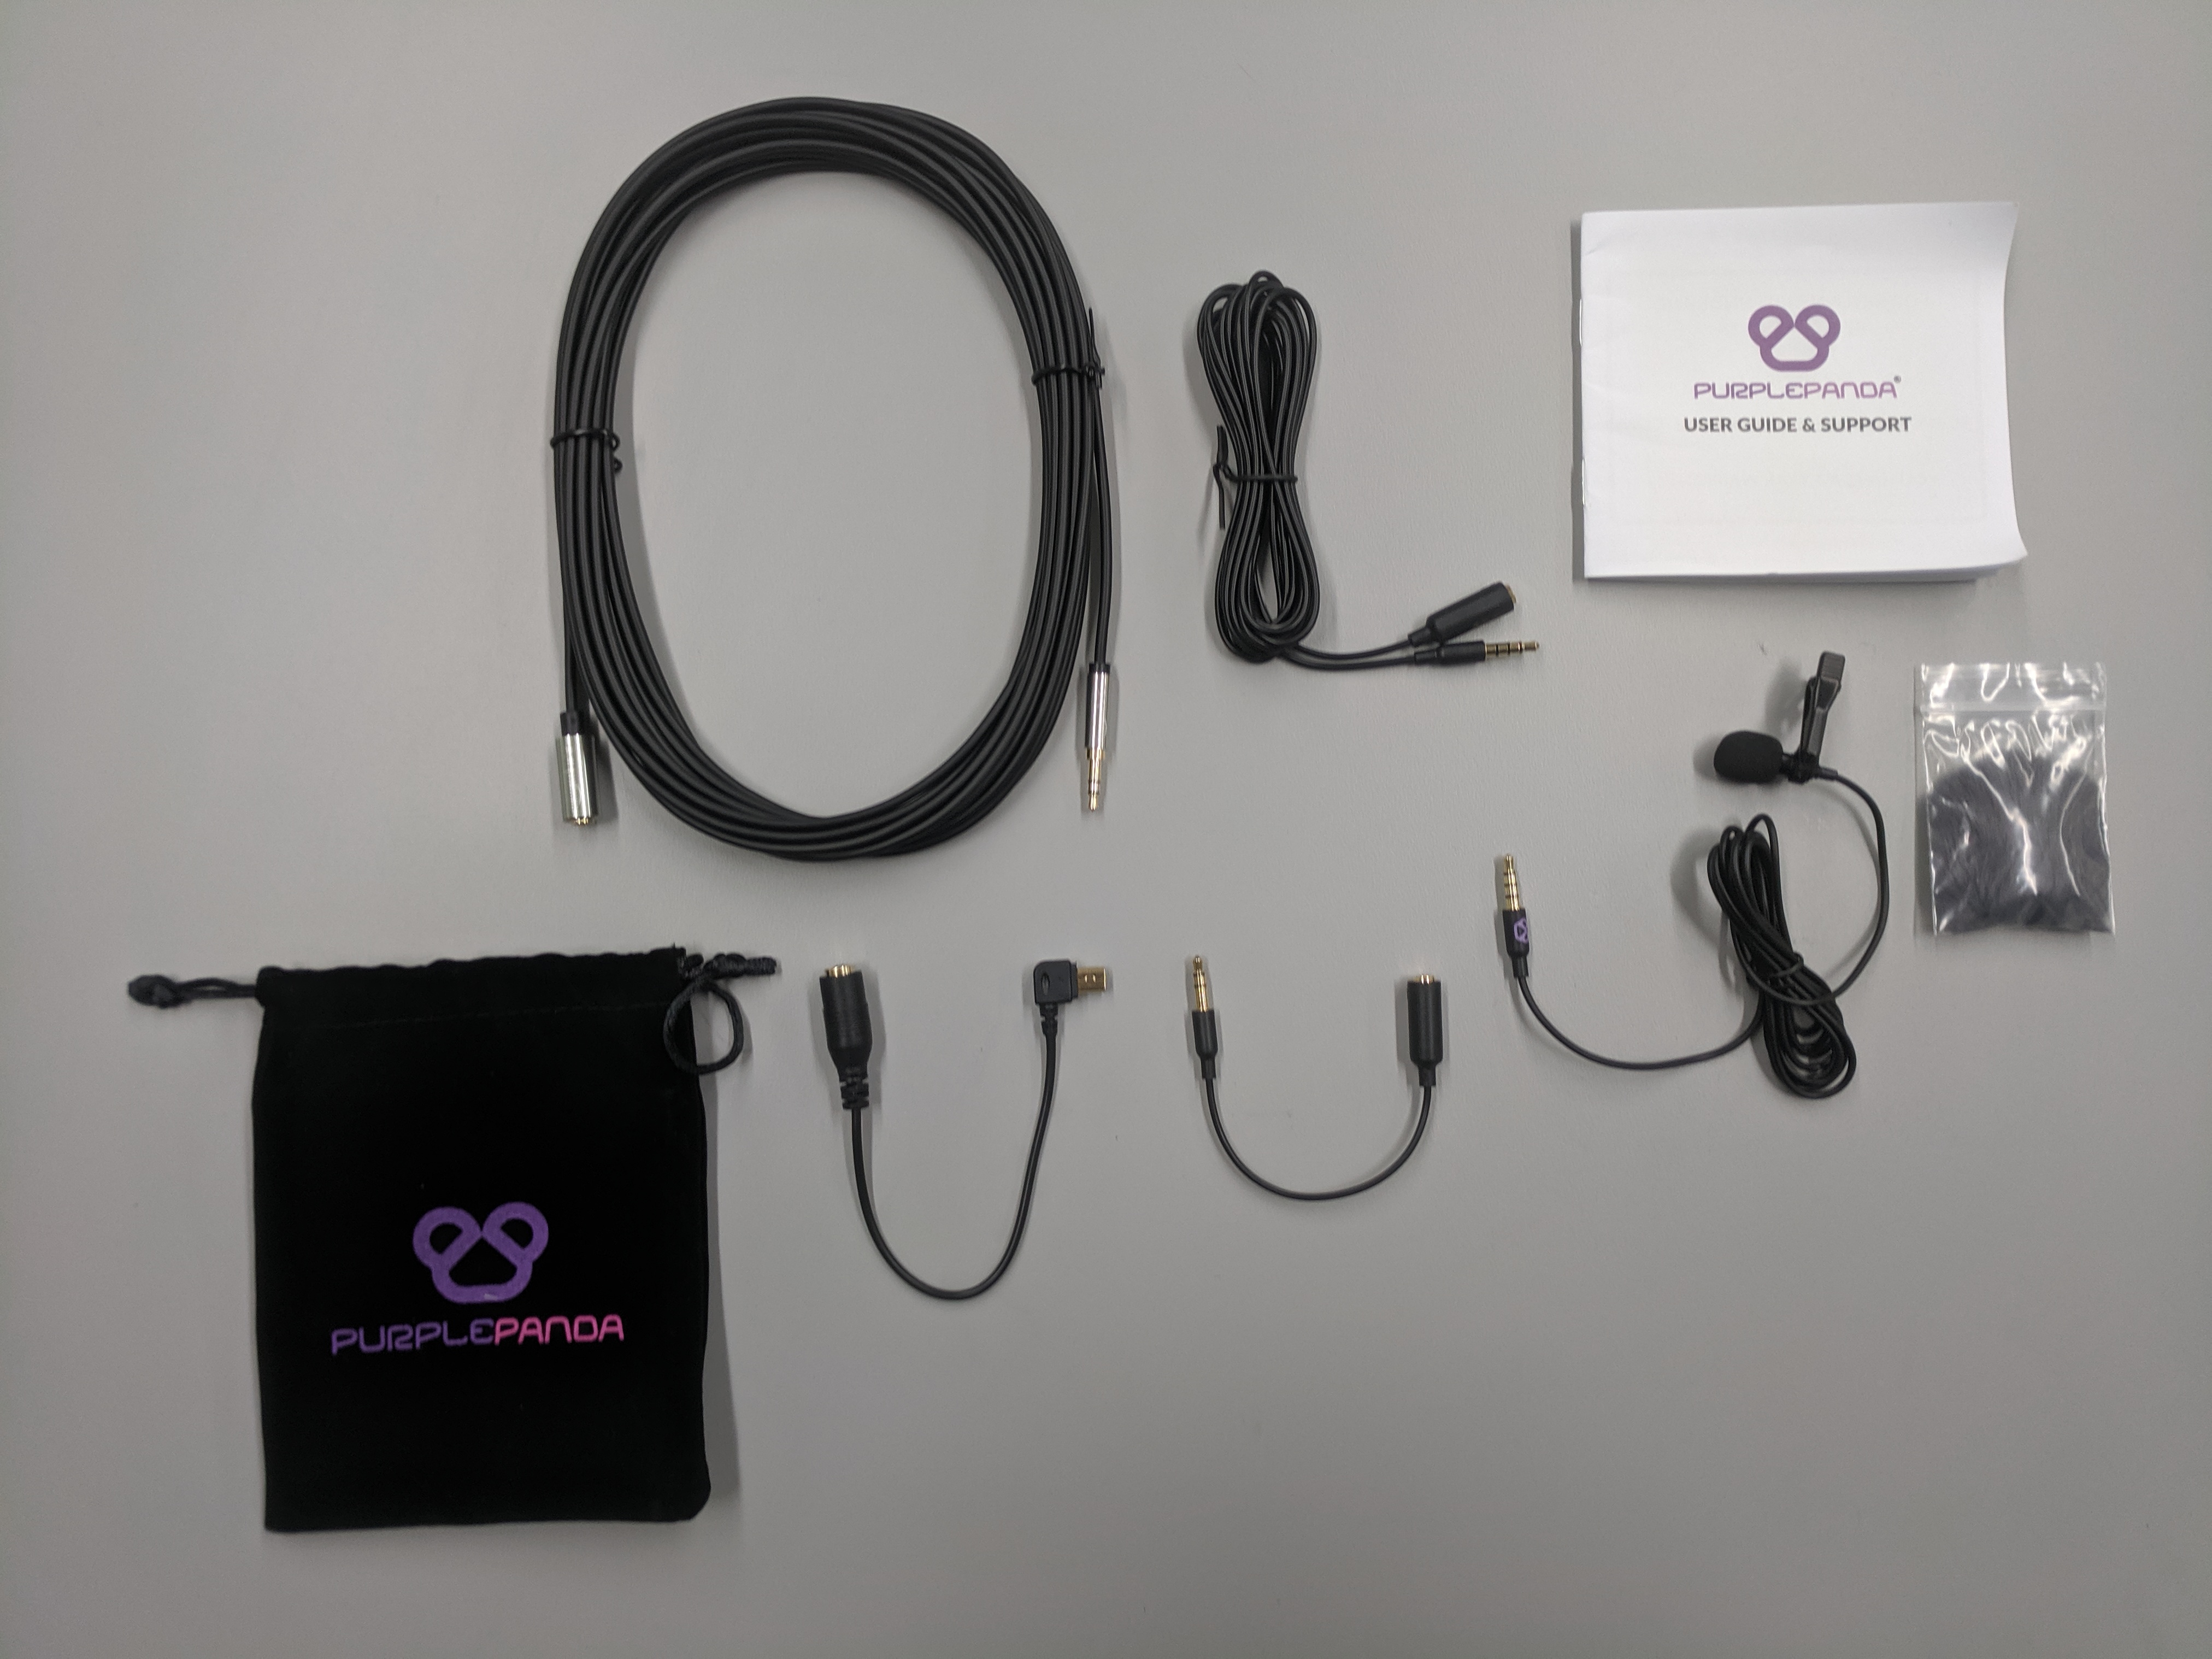
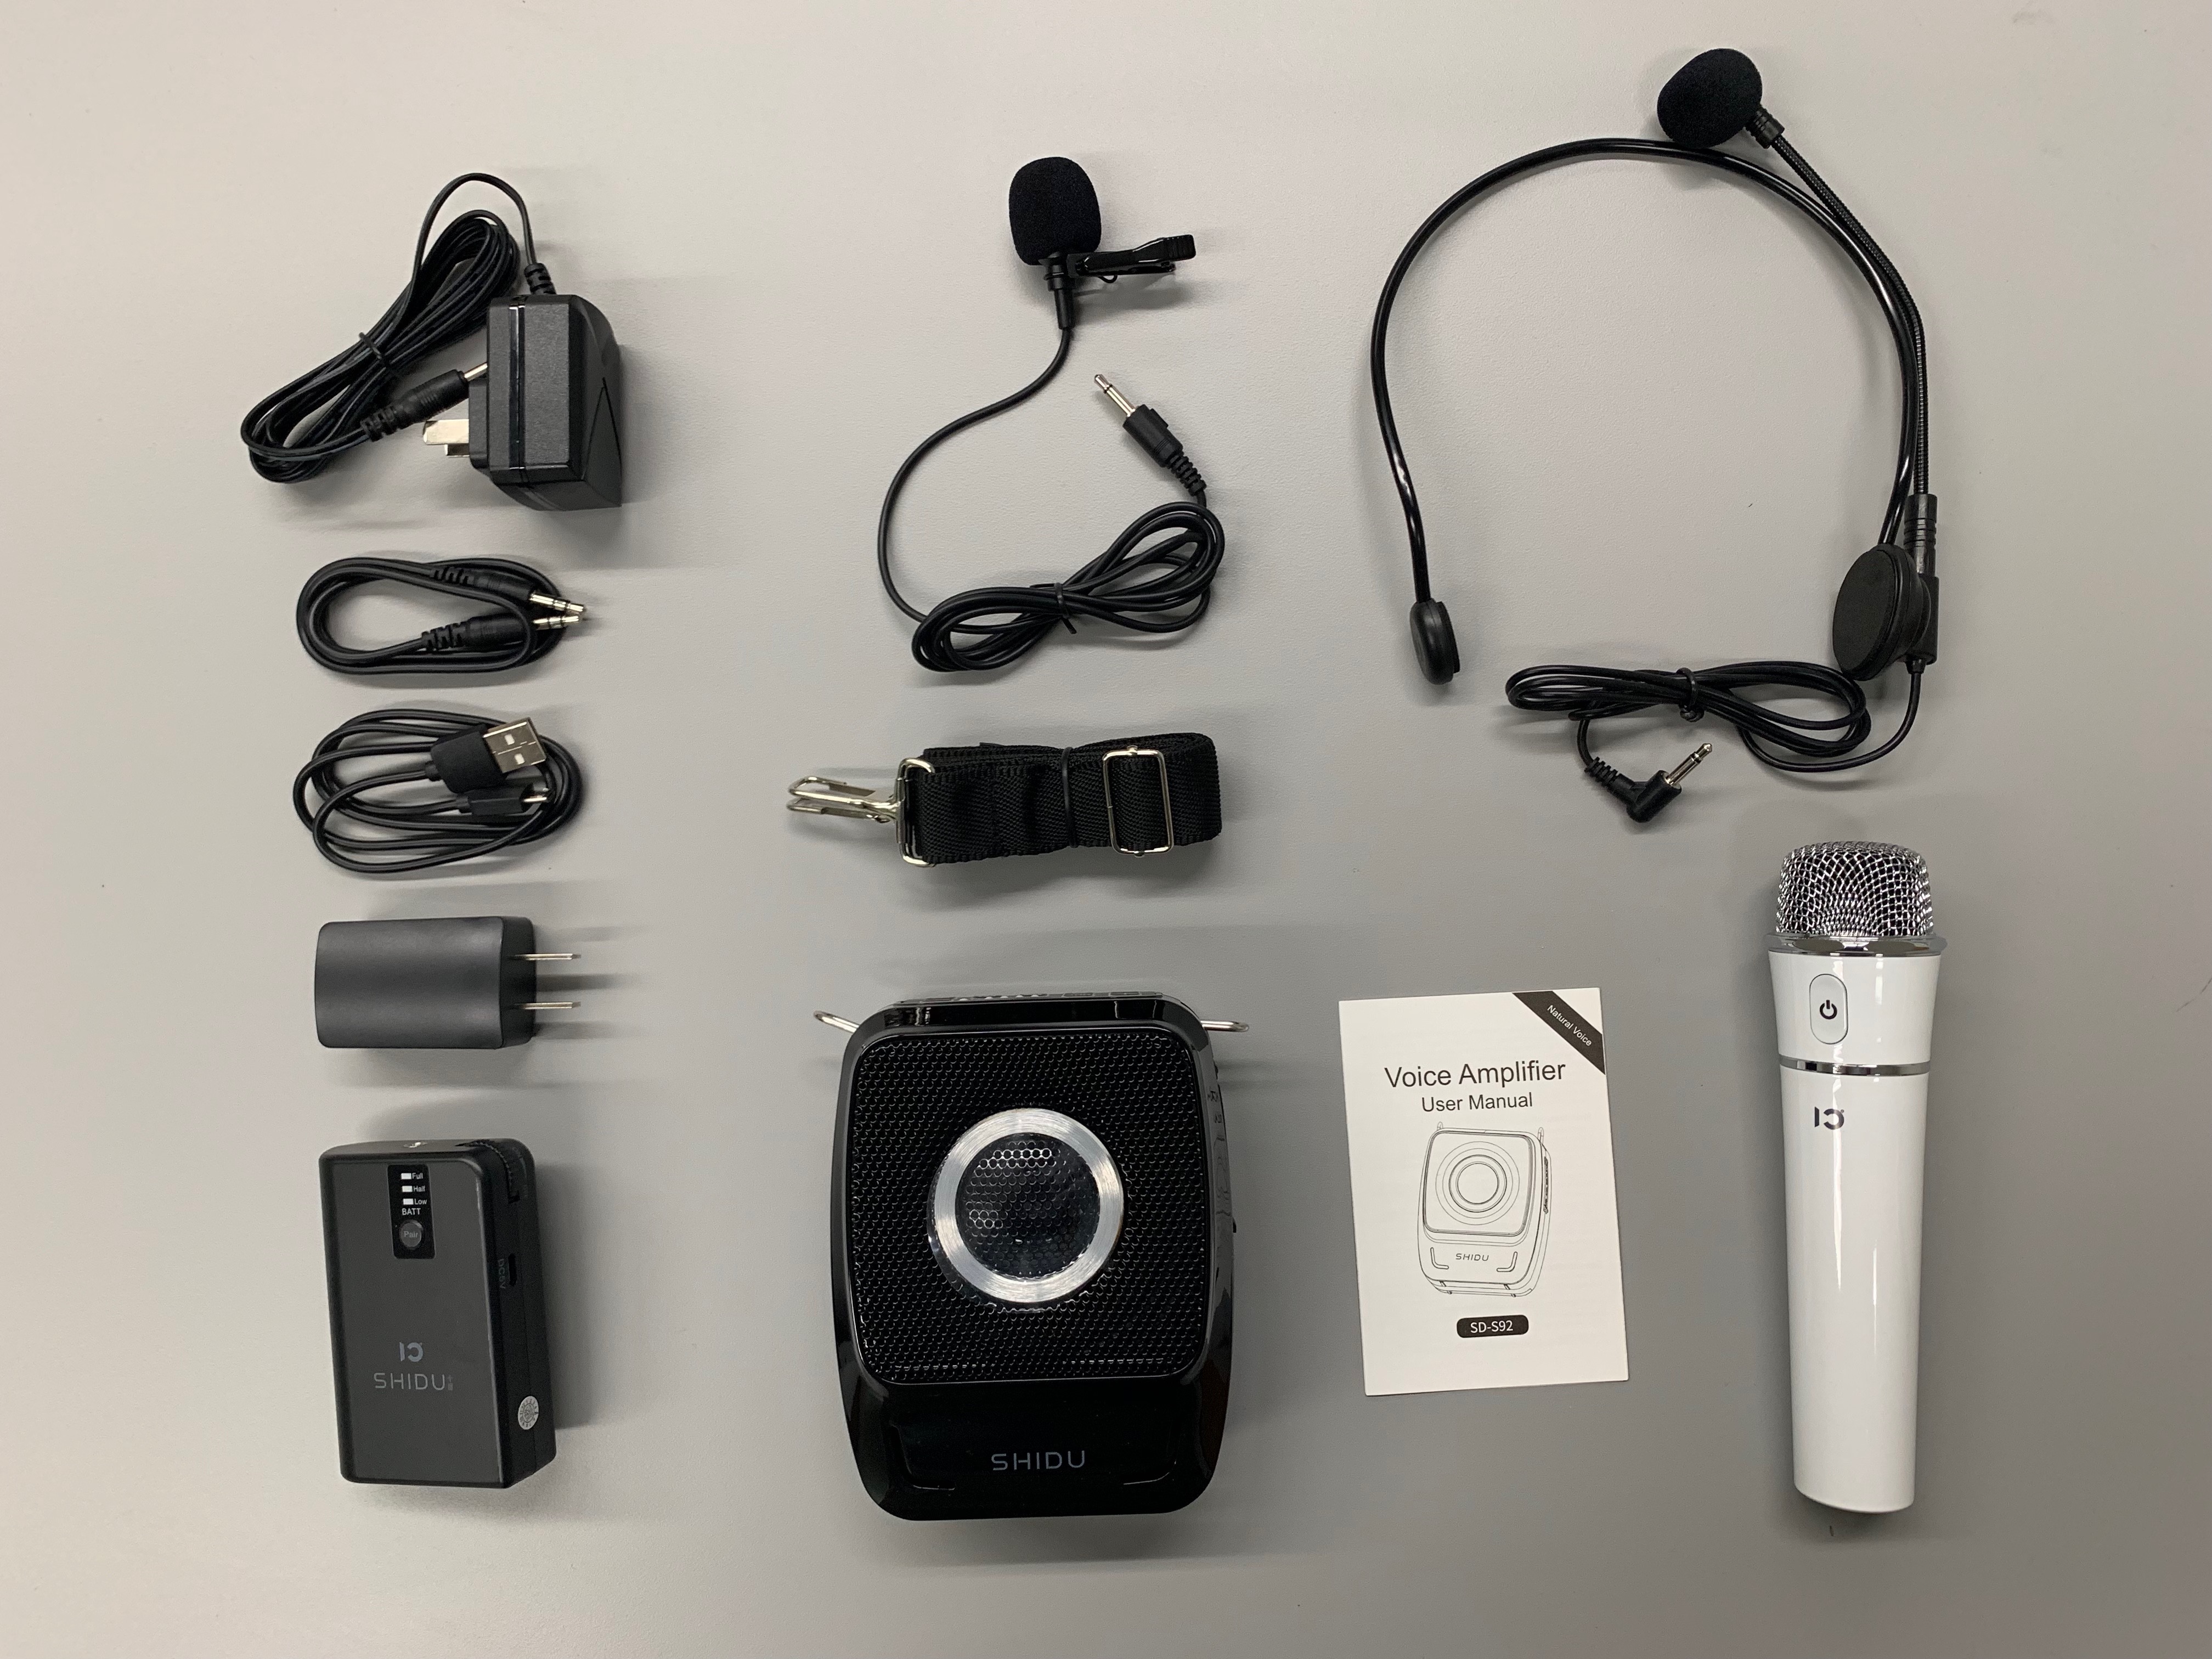
Recording Accessories


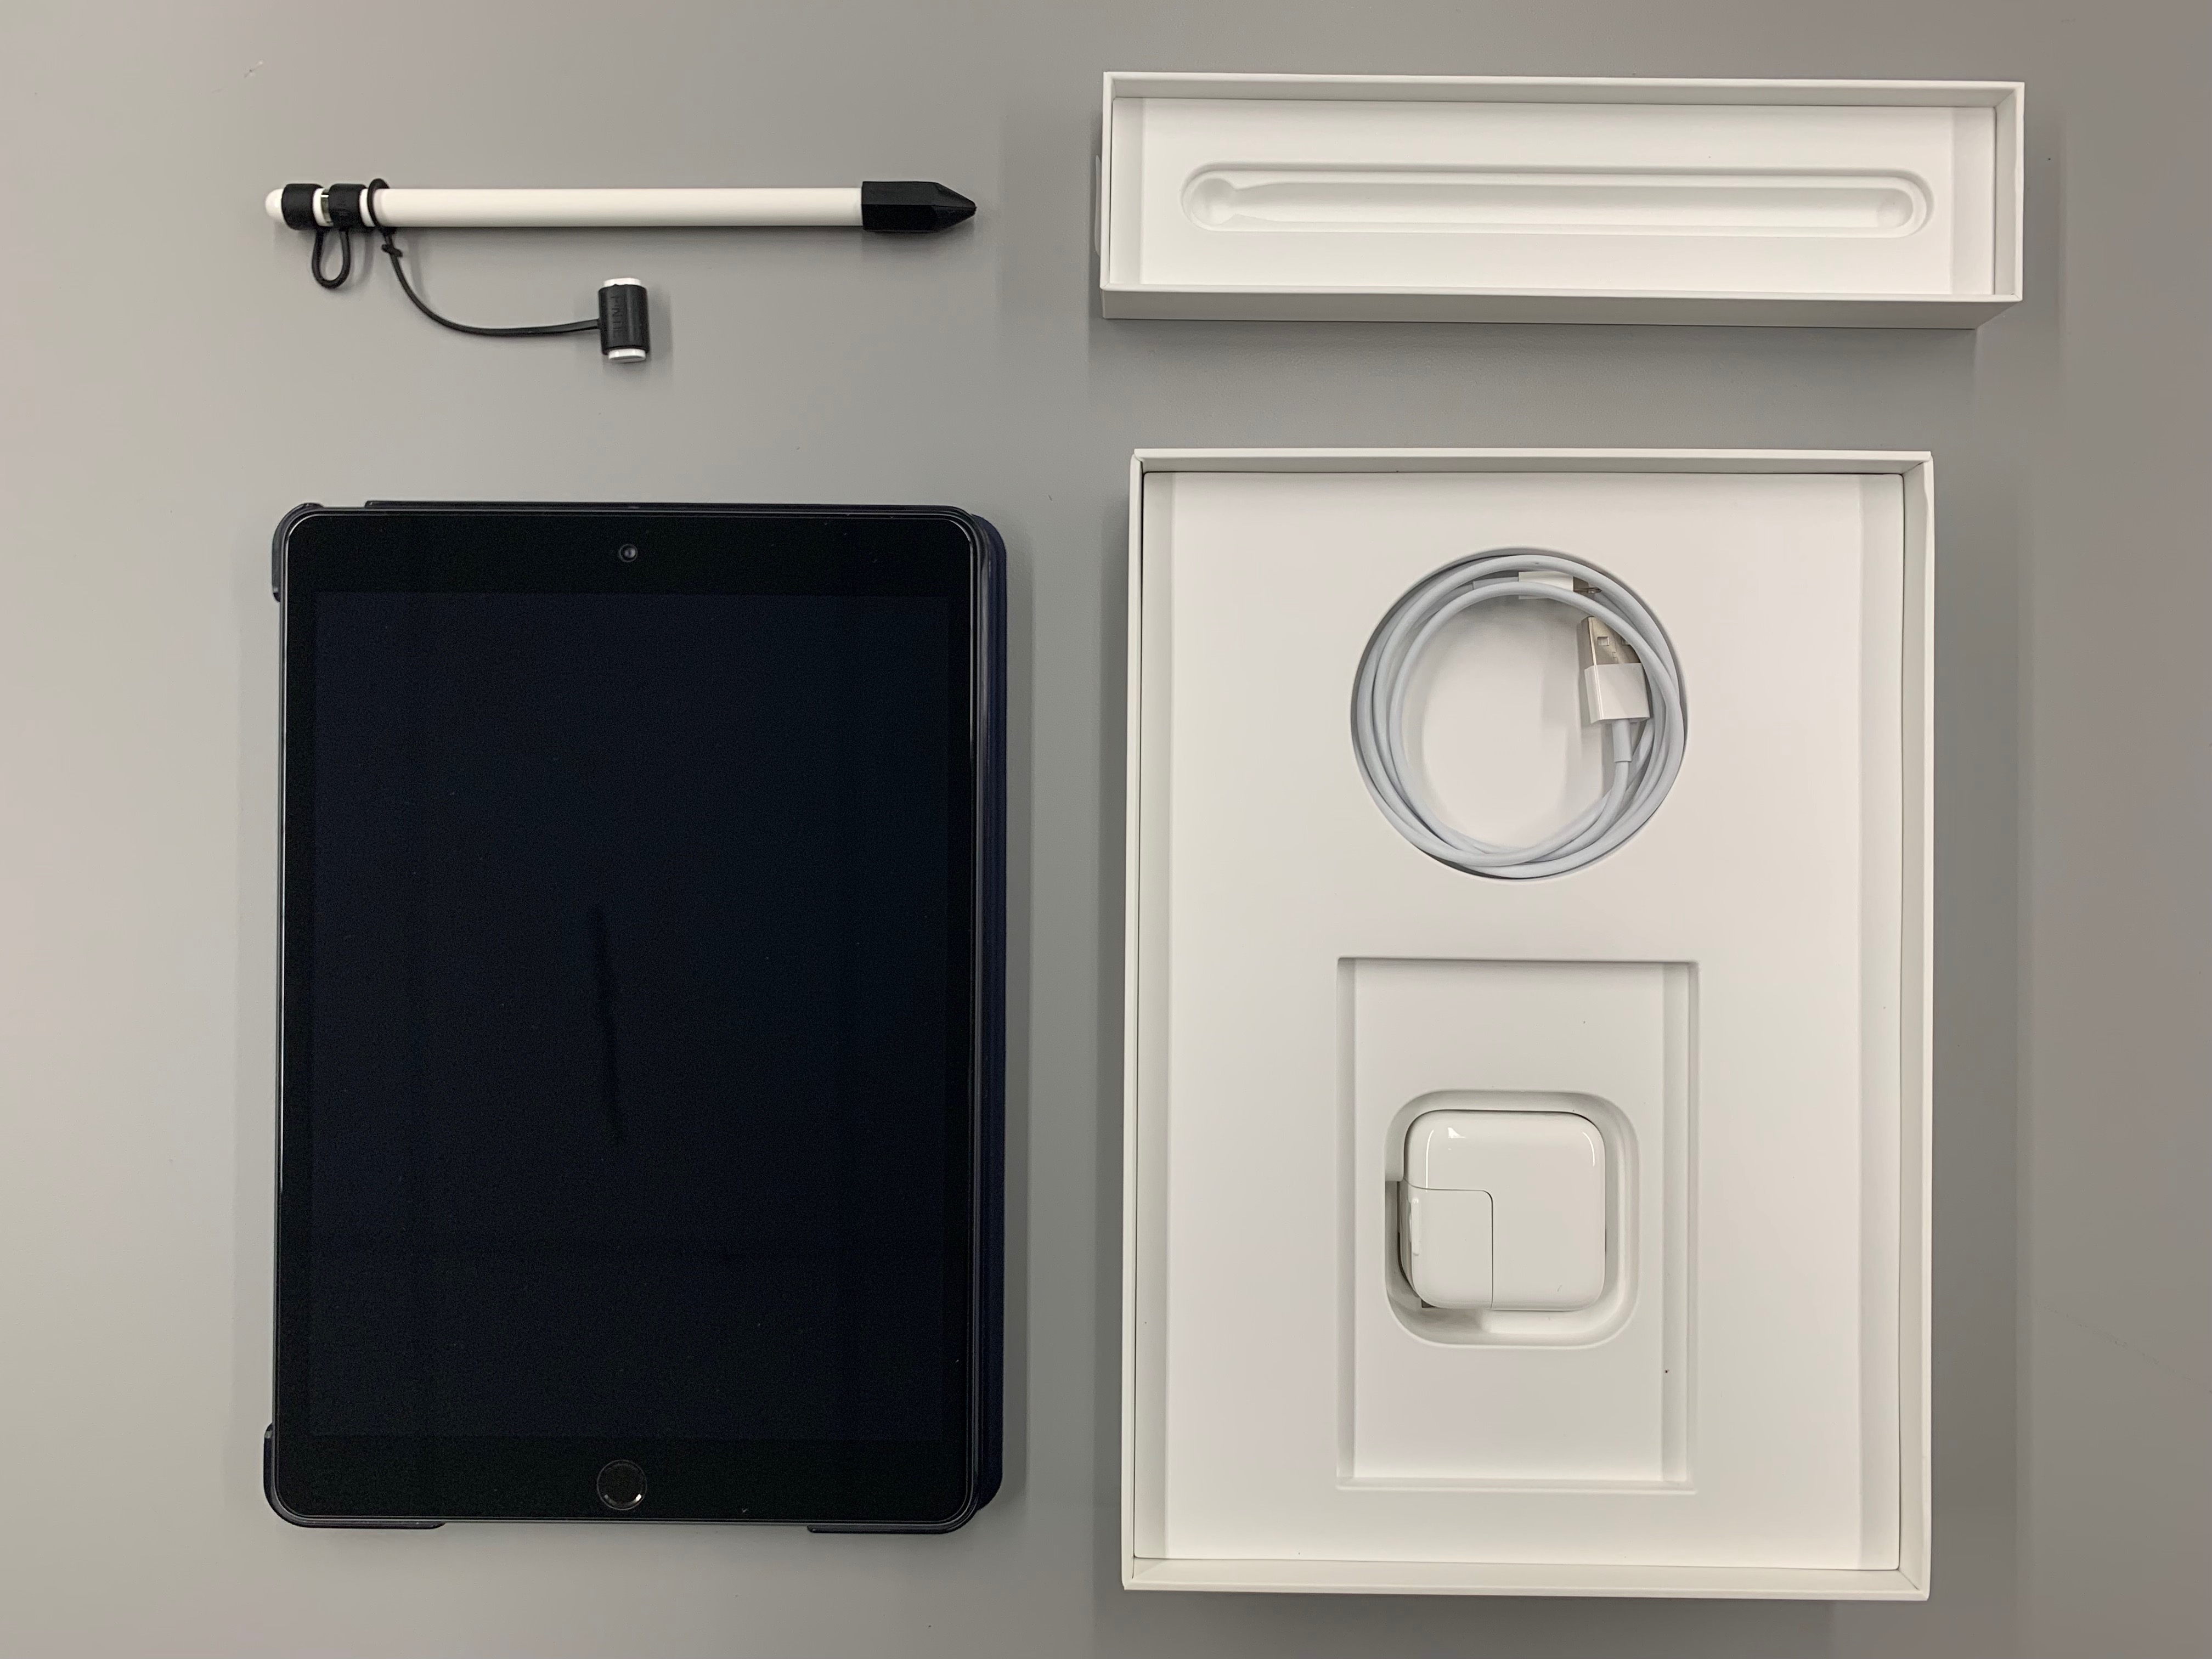
iPads and Accessories
 |
GoPro Gimbal (Feiyu WG2X)
The Feiyu WG2X gimbal is compatible with the GoPro HERO7 and makes shooting stable and smooth videos extremely easy. Simply mount the GoPro, turn on the gimbal, and begin filming.
For more information and video tutorials, visit the Feiyu Tech Website.
Mount the Camera
- Place the camera against the mounting plate.
- Place the retainer bar over the camera in line with the screws and tighten


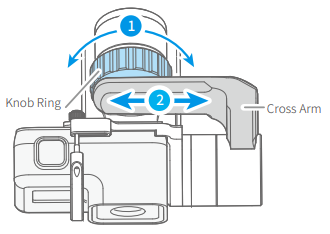
Balance the Gimbal
- Prior to turning on the gimbal, loosen the knob ring.
- Adjust the position of the cross arm right or left, so the camera is balanced.
- Tighten the knob ring.
Power on the Gimbal
- To turn on the gimbal, press and hold the button on the base of the gimbal until the green light turns on.
Transferring Media and Clearing SD Cards
After using any of IT's cameras for recording class content it is important to transfer the media to your personal computer and clear the SD card for future users.
IT is not responsible for and cannot help with SD card media recovery. Please ensure that you transfer all media you wish to keep to your computer before clearing and returning SD cards.
Please ensure that your Computer Backups are functioning and up-to-date.
Panasonic LUMIX GH5
Media transfer
Windows 10:
- While the camera is powered on, connect your computer to the camera using the supplied USB cable.
- The camera's display will prompt you to choose a USB mode. Select PictBridge(PTP).
- Open the File Explorer application and navigate to This PC on your computer.
- Open the DC-GH5 > SD1 folder.
- Copy the DCIM folder onto your Desktop (or wherever else you would like).
- Once the media is copied to your computer, unplug the camera from the computer.
- Remove all media from the camera using the "Clearing the SD card" procedure below.
macOS:
- While the camera is powered on, connect your computer to the camera using the supplied USB cable.
- The camera's display will prompt you to choose a USB mode. Select PictBridge(PTP).
- Open the Image Capture application on your computer.
- Select DC-GH5 under Devices.
- Set Import To to the Pictures folder (or wherever else you would like).
- We recommend selecting Make subfolders per camera from the same list in order to avoid cluttering your destination folder.
- Click Import All.
- Once the media is copied to your computer, unplug the camera from the computer.
- Remove all media from the camera using the "Clearing the SD card" procedure below.
Clearing the SD card
- Enter Playback Mode (Press Menu >
 )
) - Press the trash can icon.
- Select Delete All and press Menu/Set.
GoPro HERO7
Media transfer
Windows 10:
- While the GoPro is powered on, connect your computer to the GoPro using the supplied USB cable.
- Open the File Explorer application and navigate to This PC on your computer.
- Open the GOPRO HERO7 folder.
- Copy the DCIM folder onto your Desktop (or wherever else you would like).
- Once the media is copied to your computer, unplug the GoPro from your computer.
- Remove all media from the camera using the "Clearing the SD card" procedure below.
macOS:
- While the GoPro is powered on, connect your computer to the GoPro using the supplied USB cable.
- Open the Image Capture application on your computer.
- Select GOPRO HERO7 under Devices.
- Set Import To to the Pictures folder (or wherever else you would like).
- We recommend selecting Make subfolders per camera from the same list in order to avoid cluttering your destination folder.
- Click Import All.
- Once the media is copied to your computer, unplug the GoPro from your computer.
- Remove all media from the GoPro using the "Clearing the SD card" procedure below.
Clearing the SD card
- Power on the GoPro and swipe up on the touch screen to enter playback mode.
- Tap the set of squares in the upper right corner.
- Tap the checkbox in the upper right corner, then tap it again.
- Tap the garbage can to delete all files.
Insta360 ONE X
Windows and macOS:
- While the Insta360 is powered on, connect your computer to the Insta360 using the supplied USB cable.
- Open Finder or File Explorer. The Insta360 will appear as if it were an SD card or a USB flash drive.
- Copy the DCIM folder onto your Desktop (or wherever else you would like).
- Once the media is copied to your computer, delete the contents of the DCIM folder.