How to use the laminator
The laminator can be found in the copy room in the bottom-rightmost drawer, and the laminator carrier and laminating sleeve can be found in the same drawer to the left of the laminator.
Warning: If you plan to laminate a sheet of paper which you will cut into pieces (such as with the QR code signs), it is best that you cut the paper before laminating, then laminate, then cut the laminated pieces.
Laminating:
- Plug in the laminator.
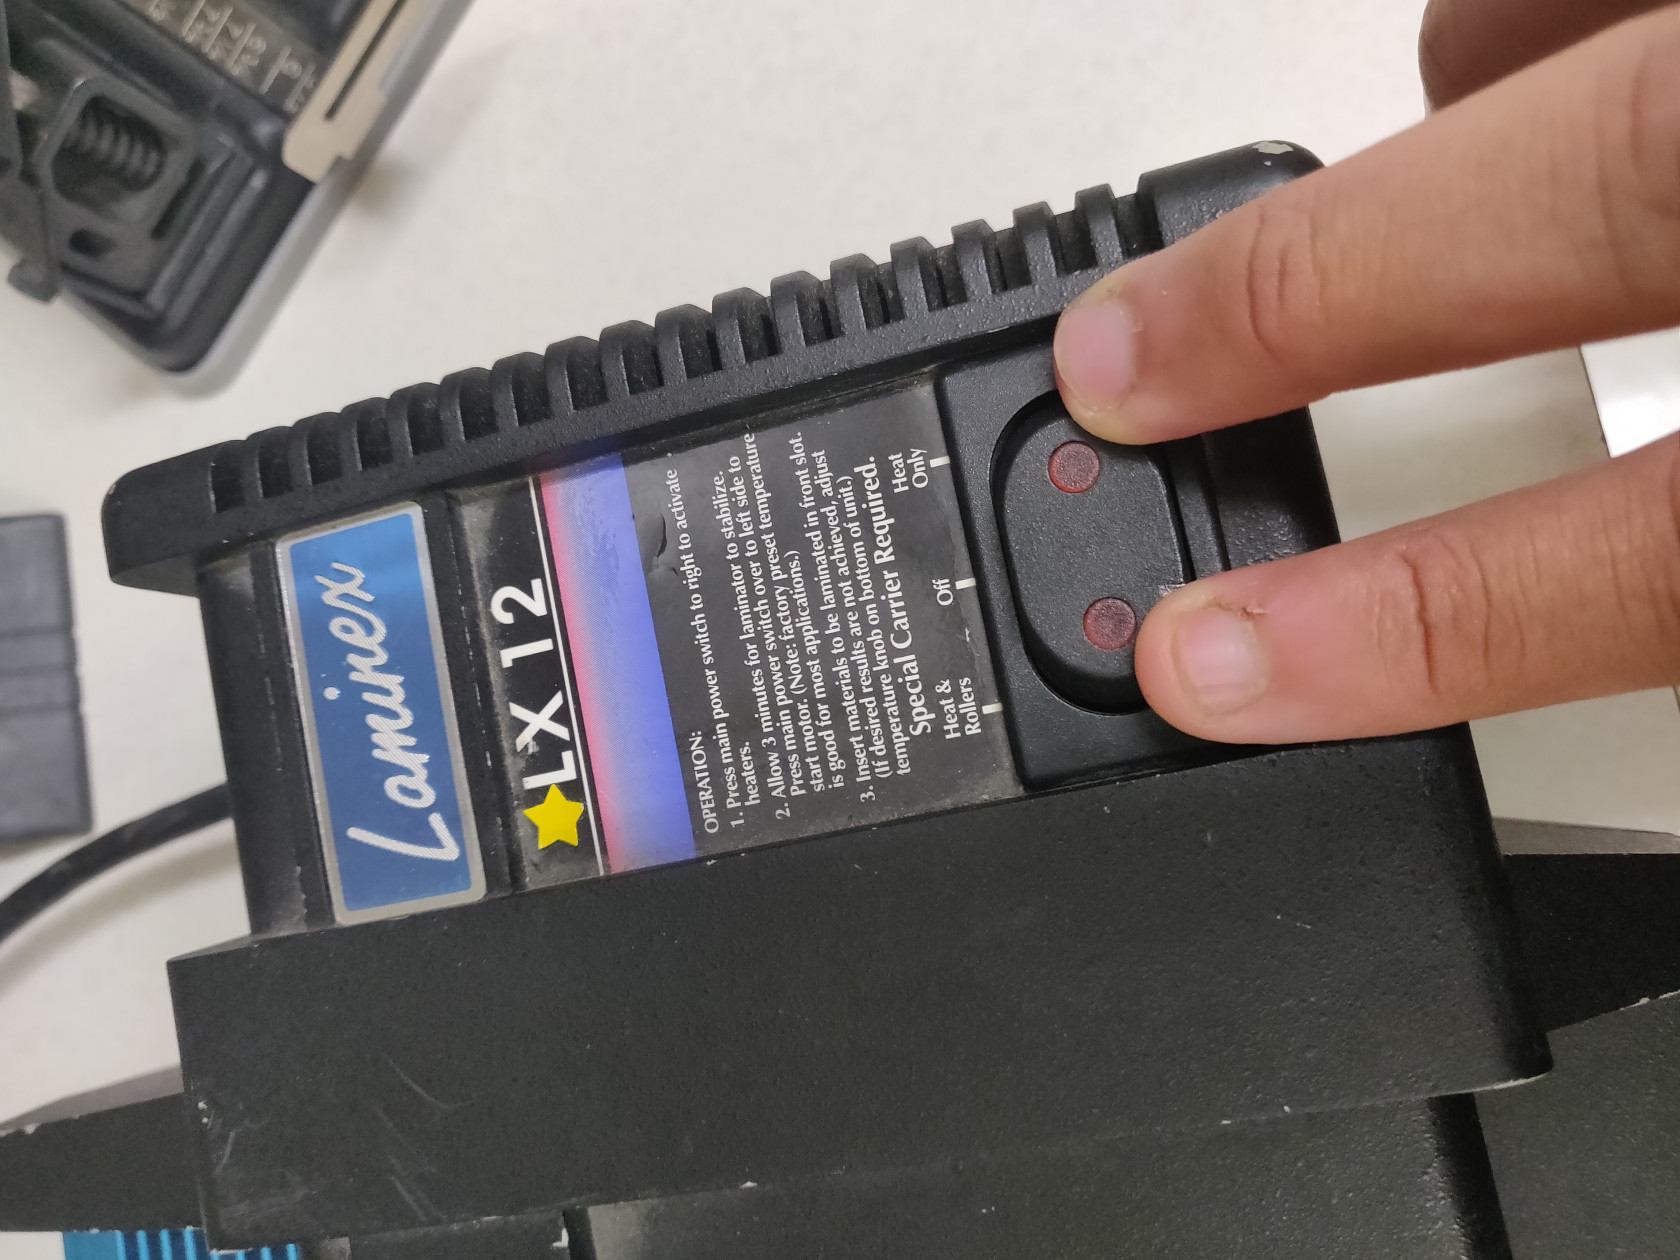
- Set the laminator's switch to "Heat Only" by pressing it to the rightmost option.
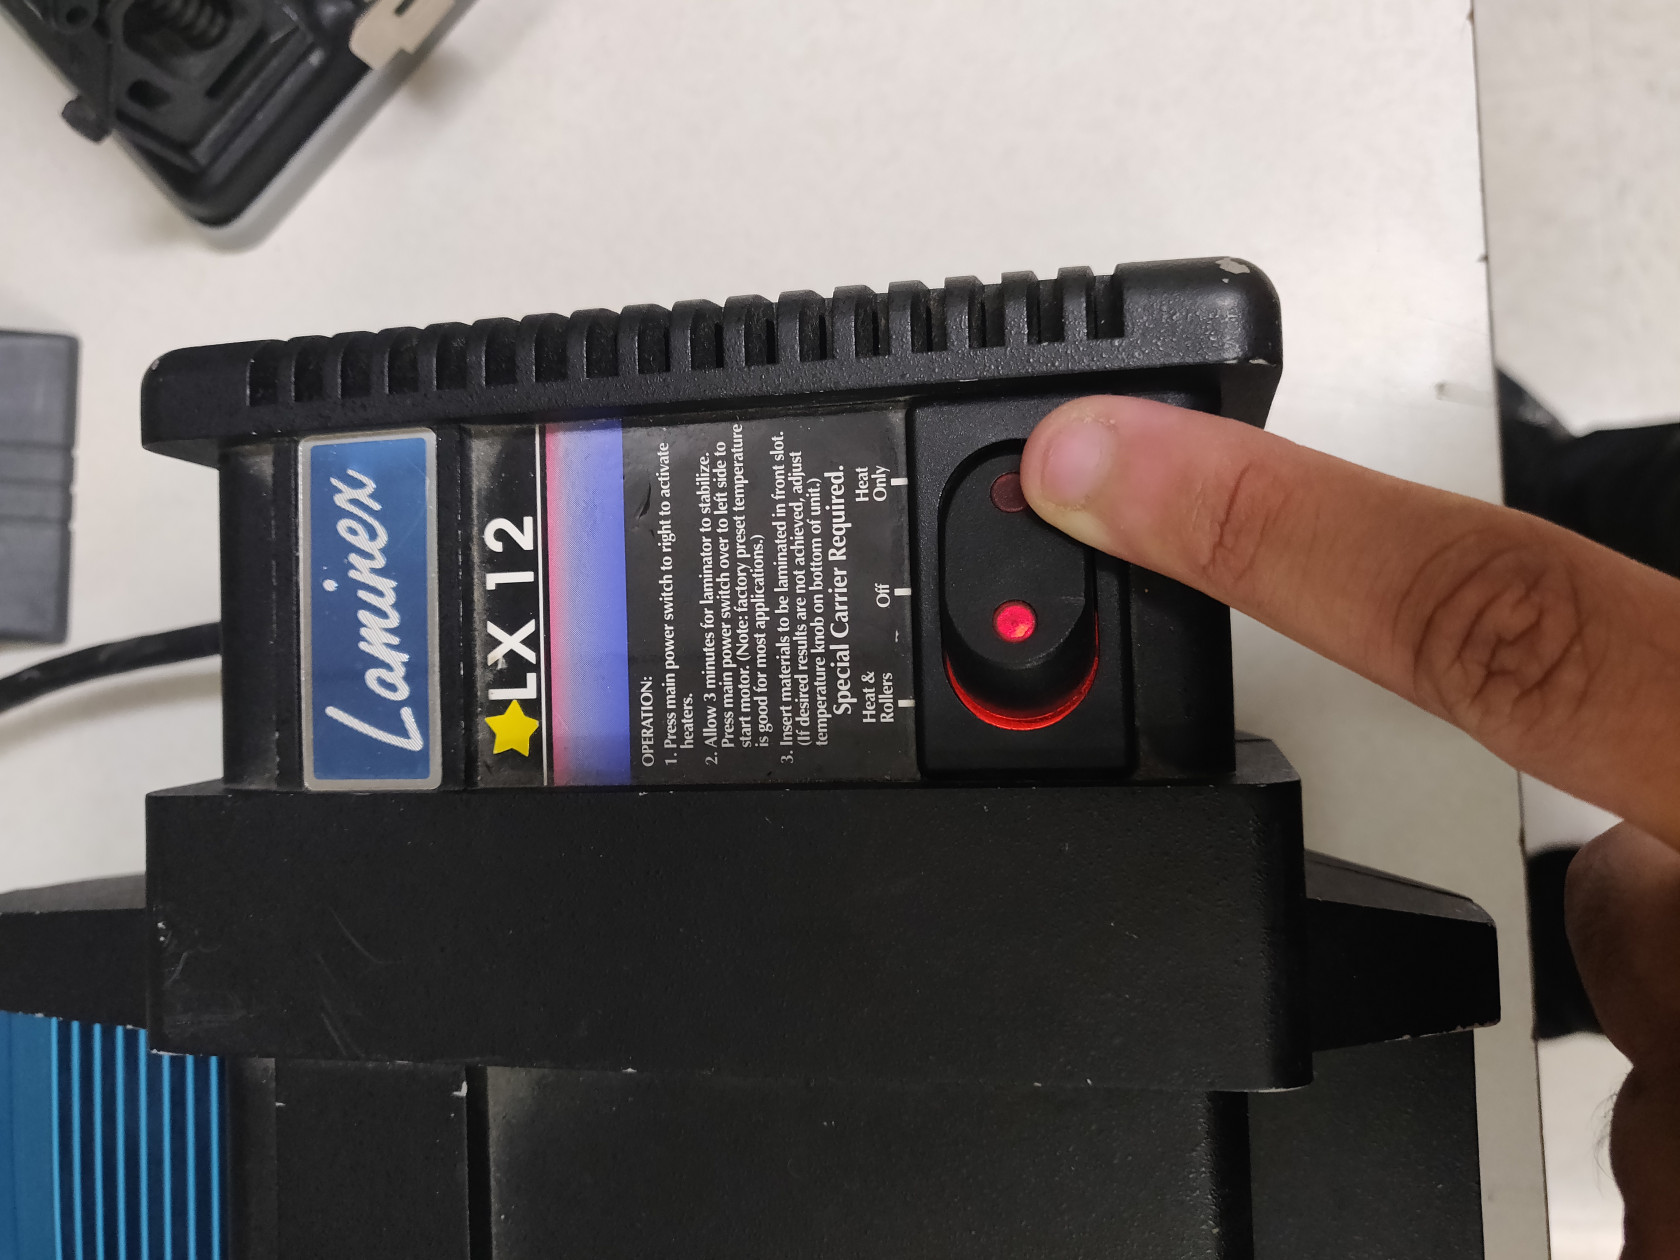
- Wait 3 minutes.
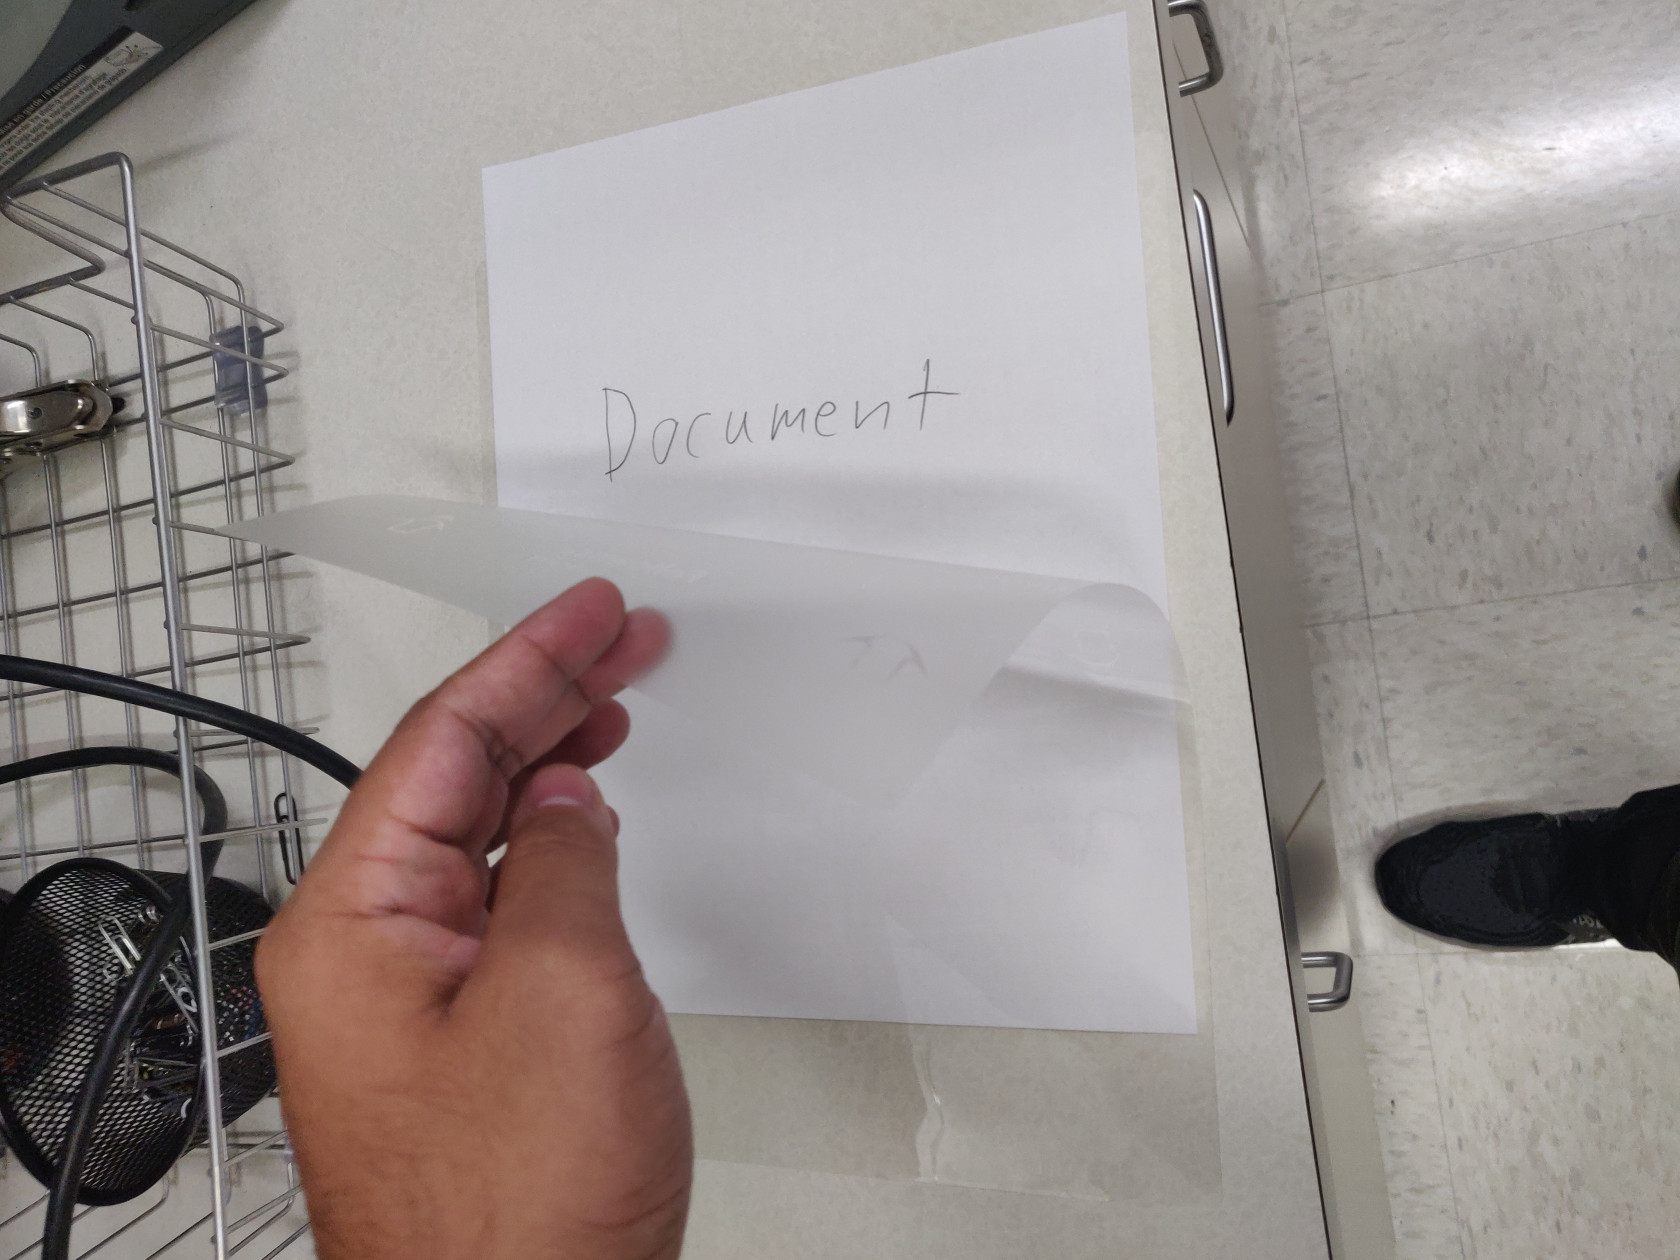
- While waiting, open the laminating sleeve and place your paper centered in the sheet. (Open side top in first image.)
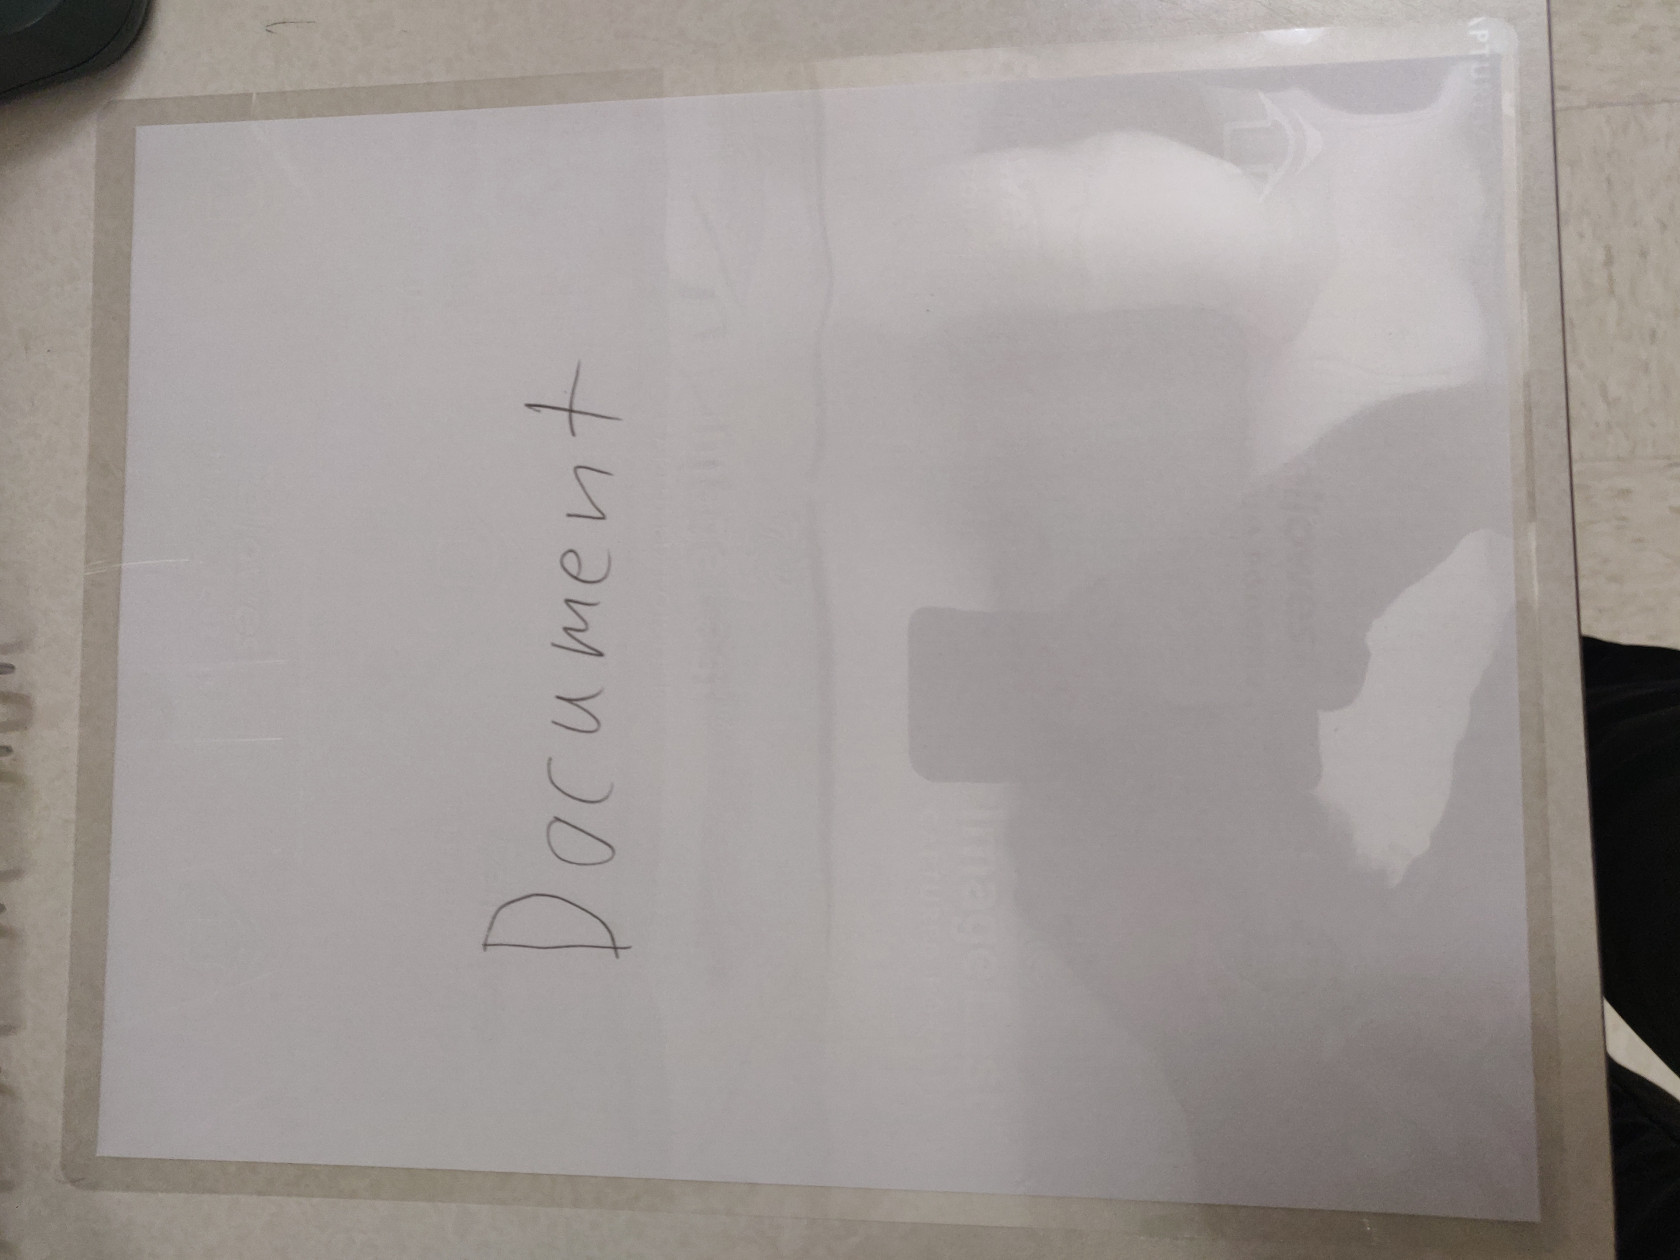
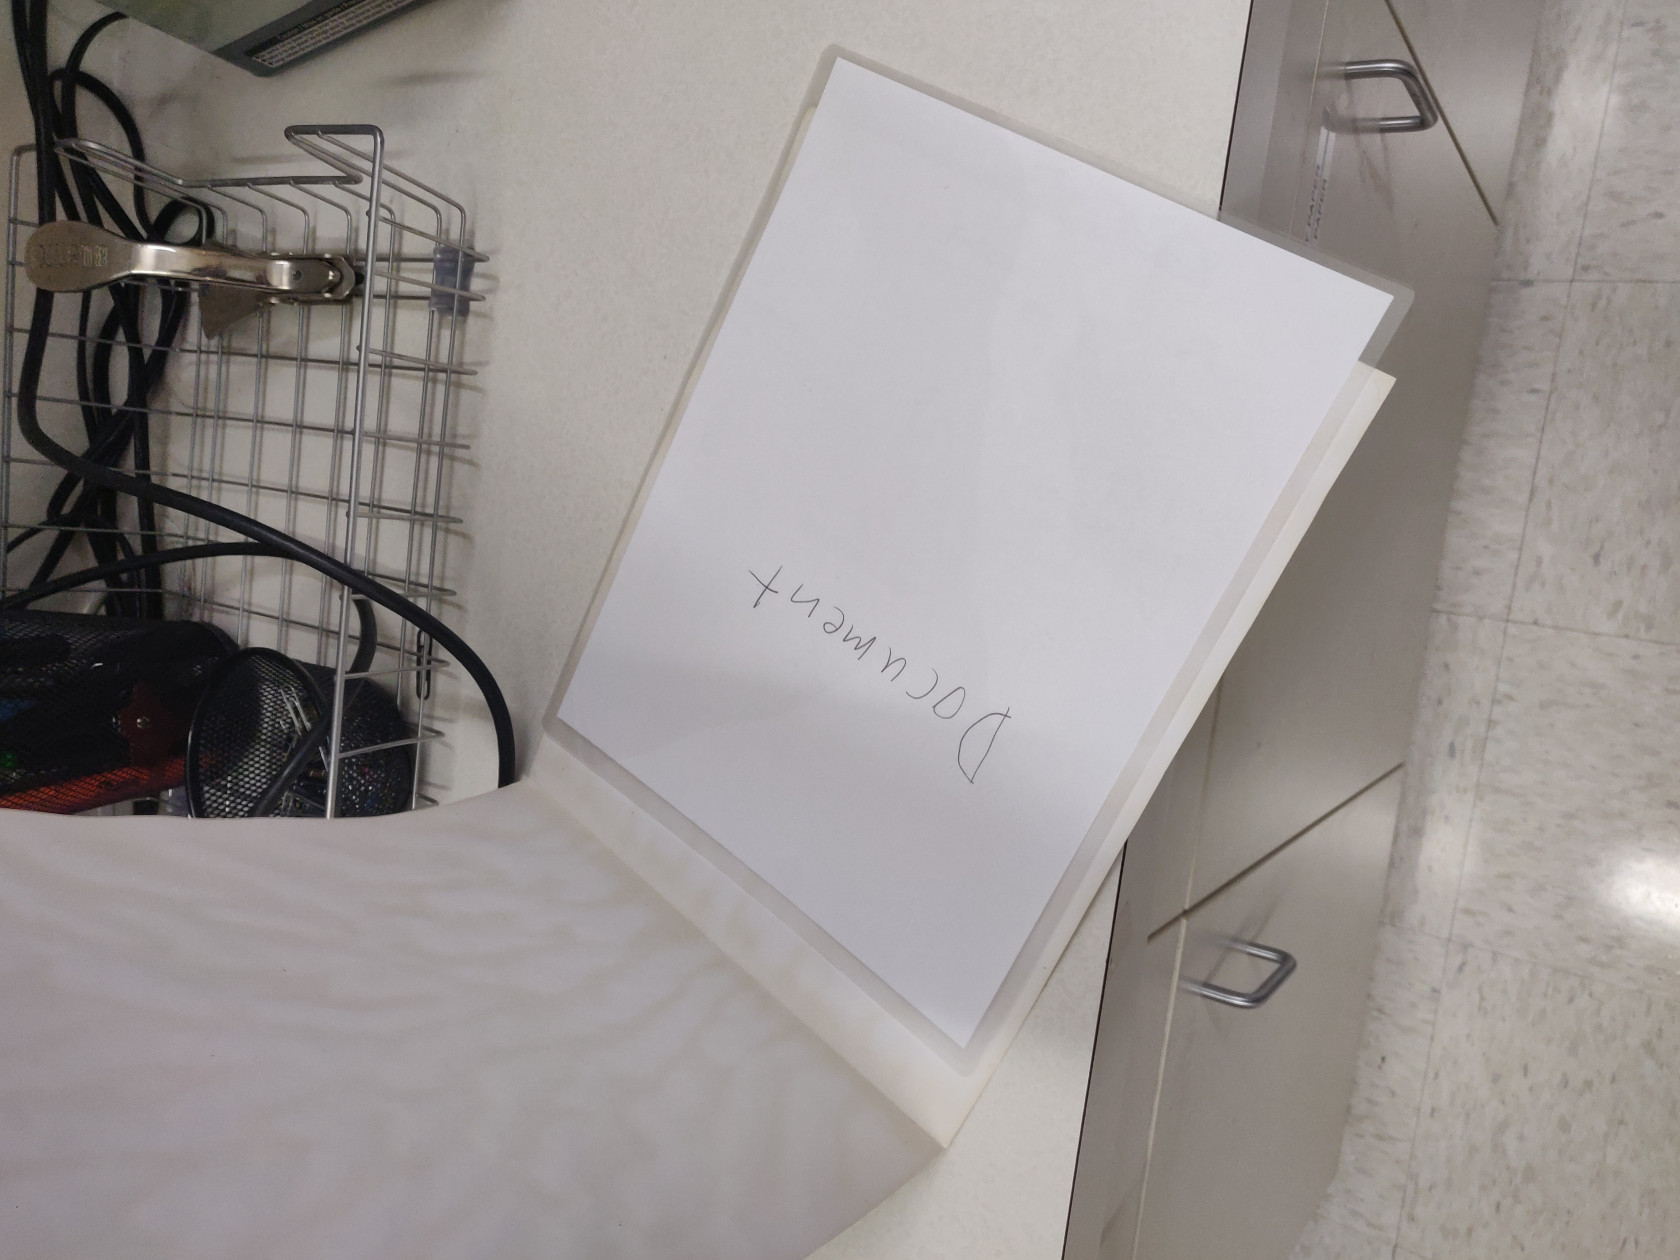
- Place the laminating sleeve in the laminator carrier, with the open side of the laminator carrier facing the opposite of the laminating sleeve. (Open side of laminator carrier top in image)
- Once the 3 minutes have passed, set the laminator's switch to "Heat & Rollers" by pressing it to the leftmost option.
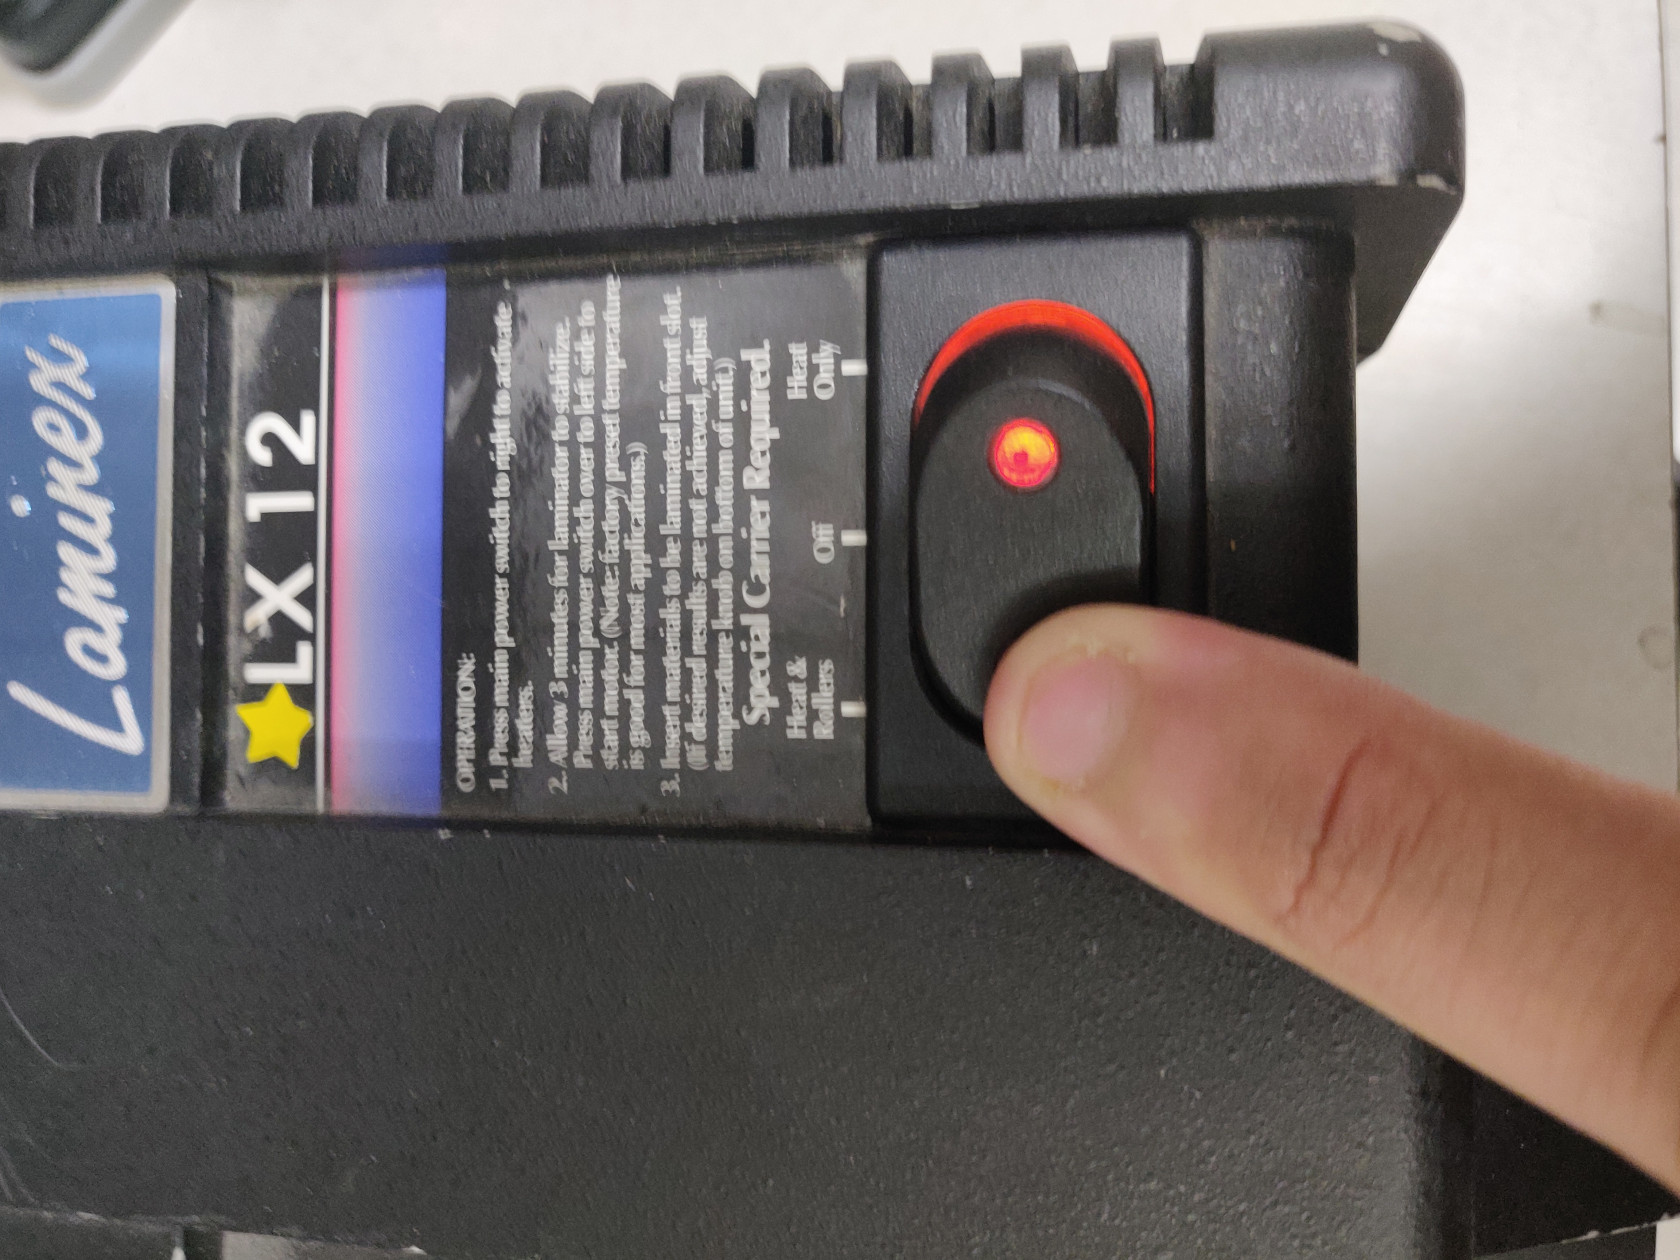
- Gently push the laminator carrier into the laminator's black side, with the closed-side of the carrier first. The rollers should grab and pull the carrier.
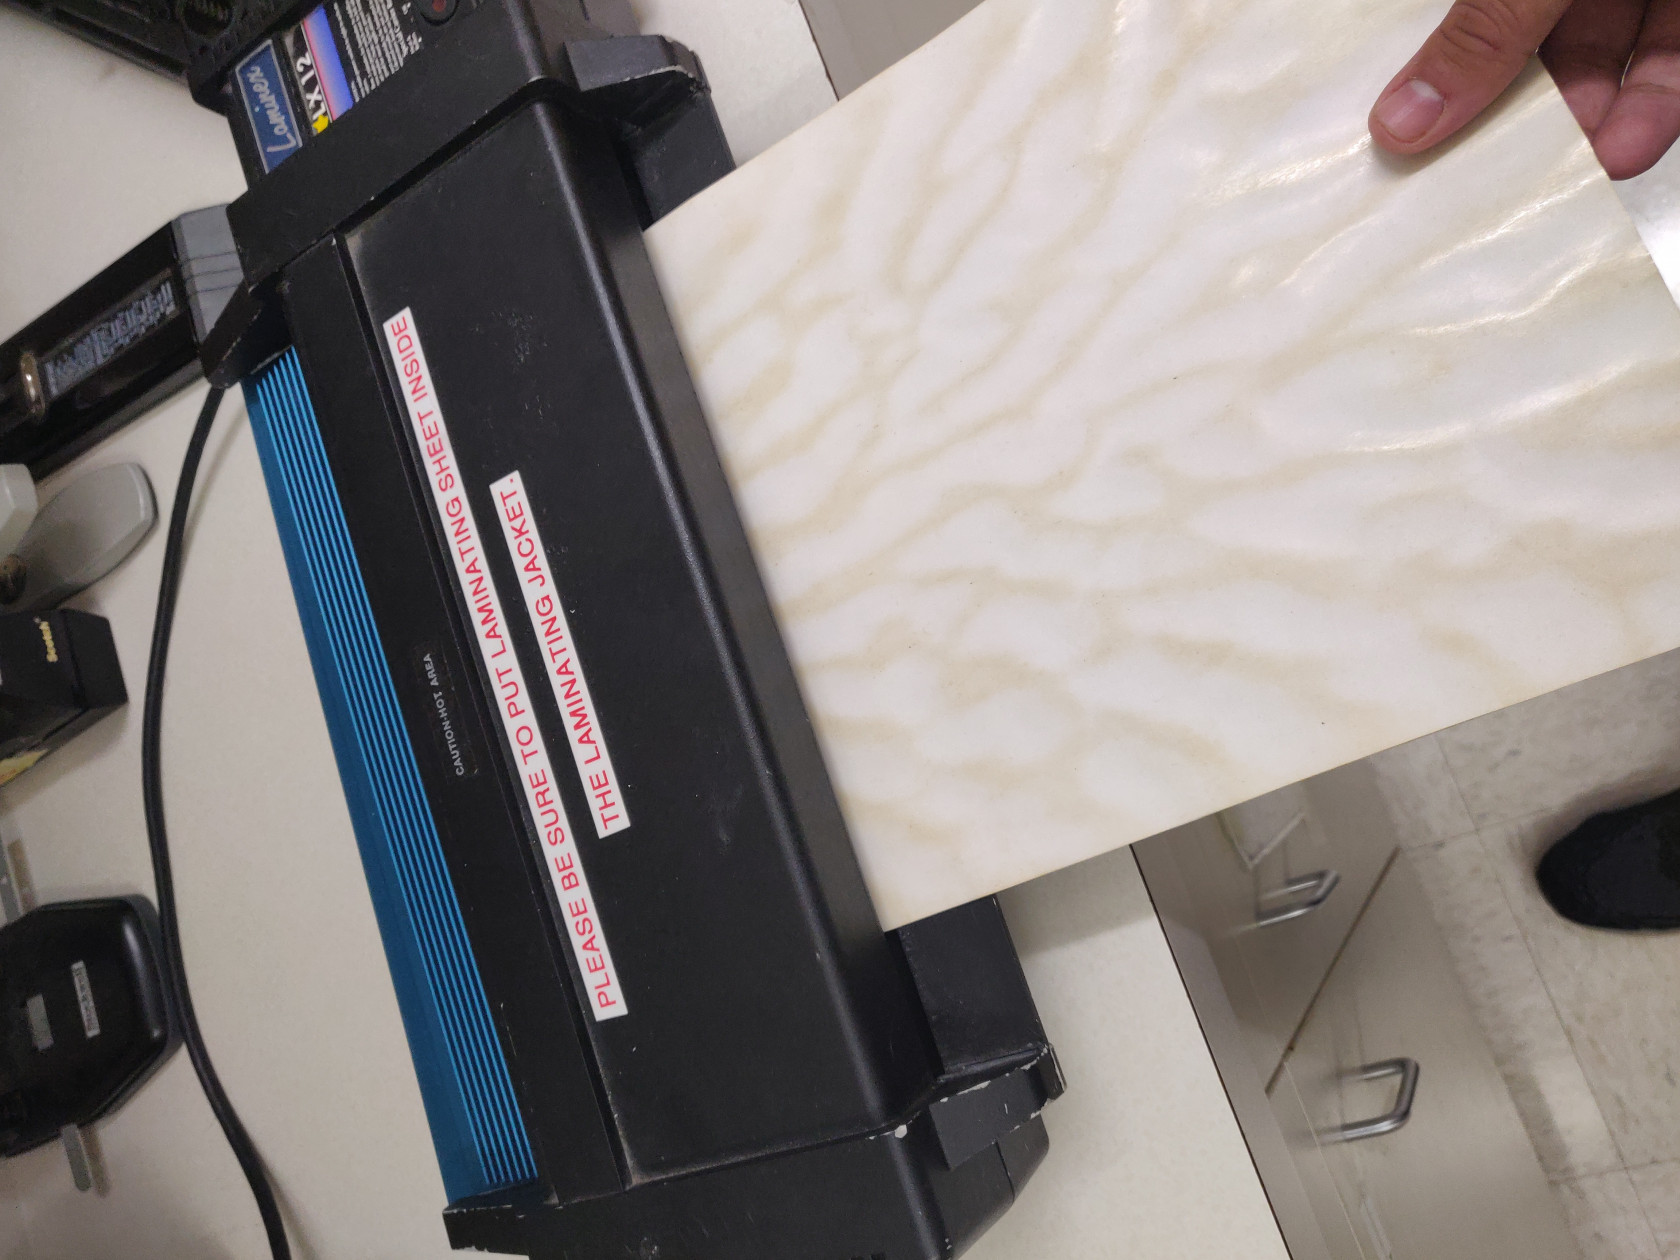
- When the laminator carrier comes out the other side, if it begins going left or right, gently hold it to keep it straight. It will be warm, but shouldn't be dangerous.
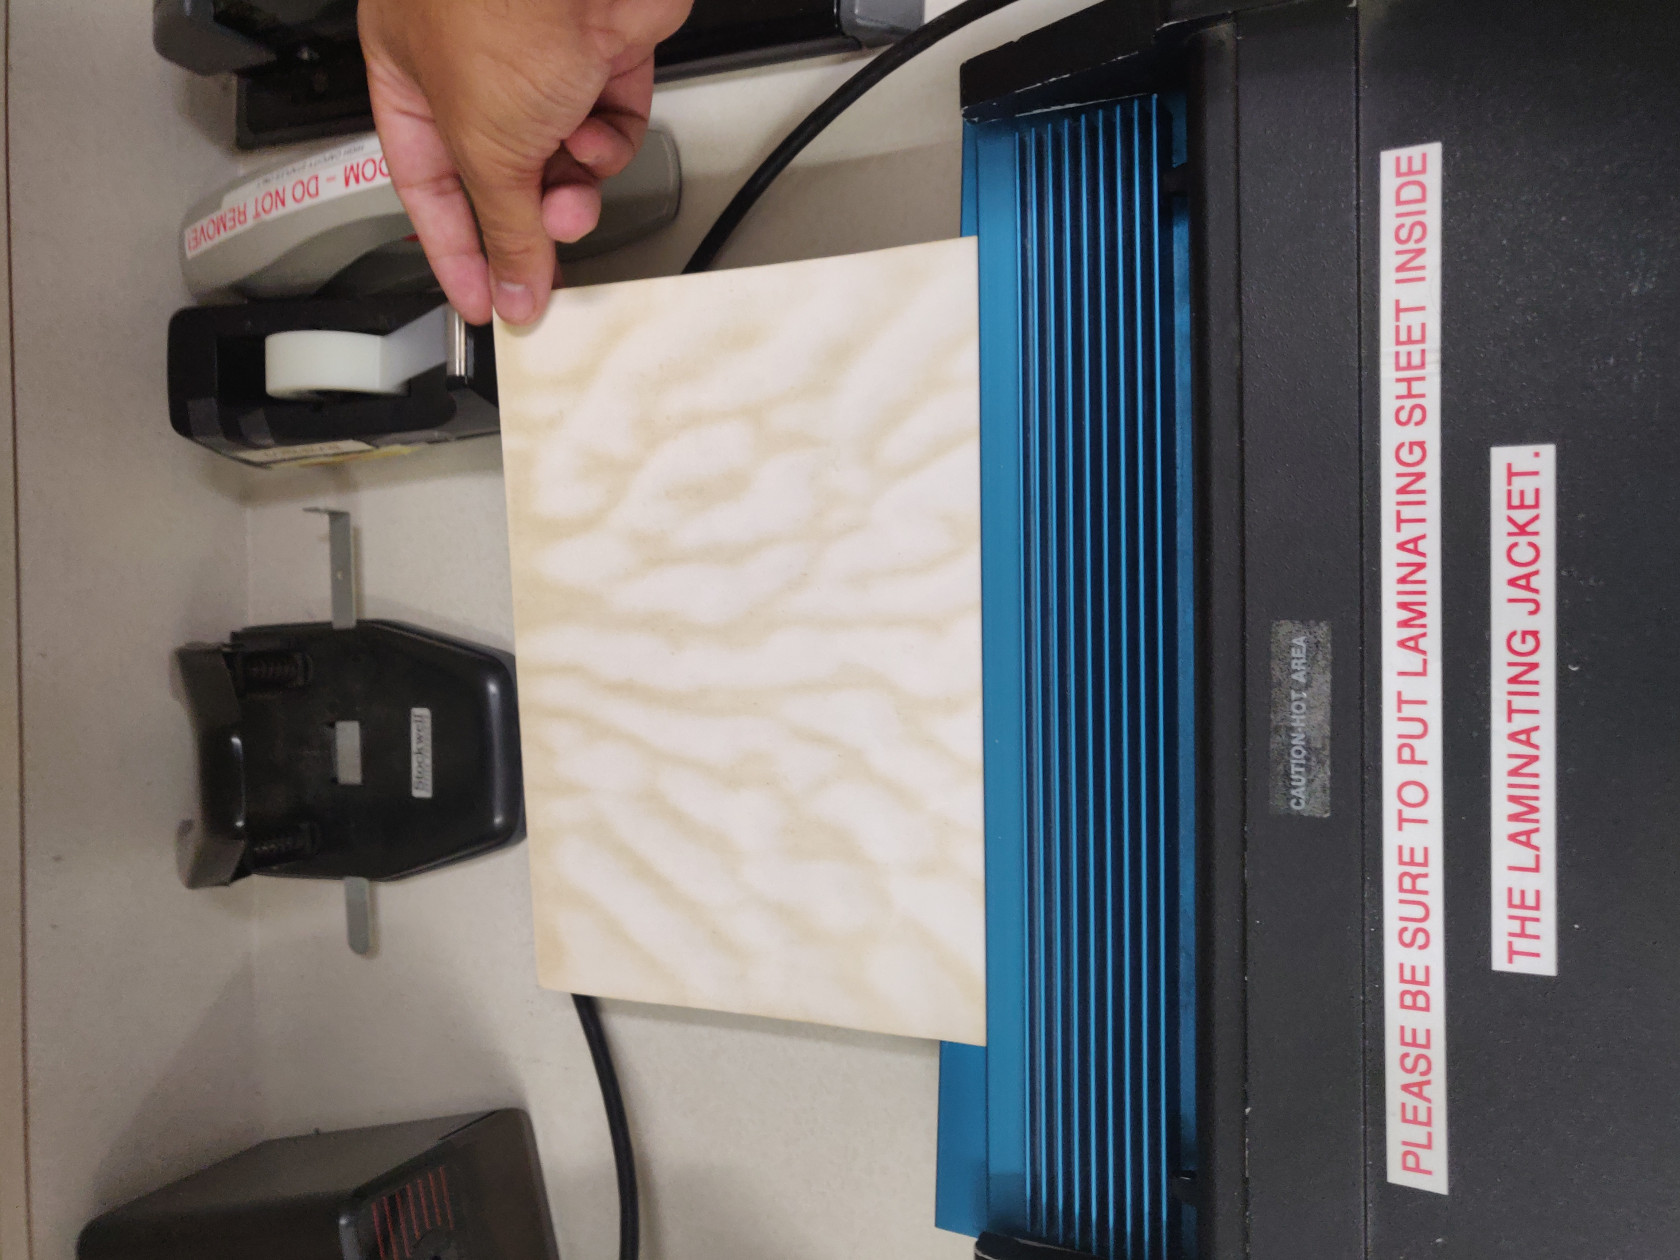
- Once the carrier has stopped moving, remove it from the laminator and remove your laminated sheet. It will be warm, but shouldn't be dangerous.
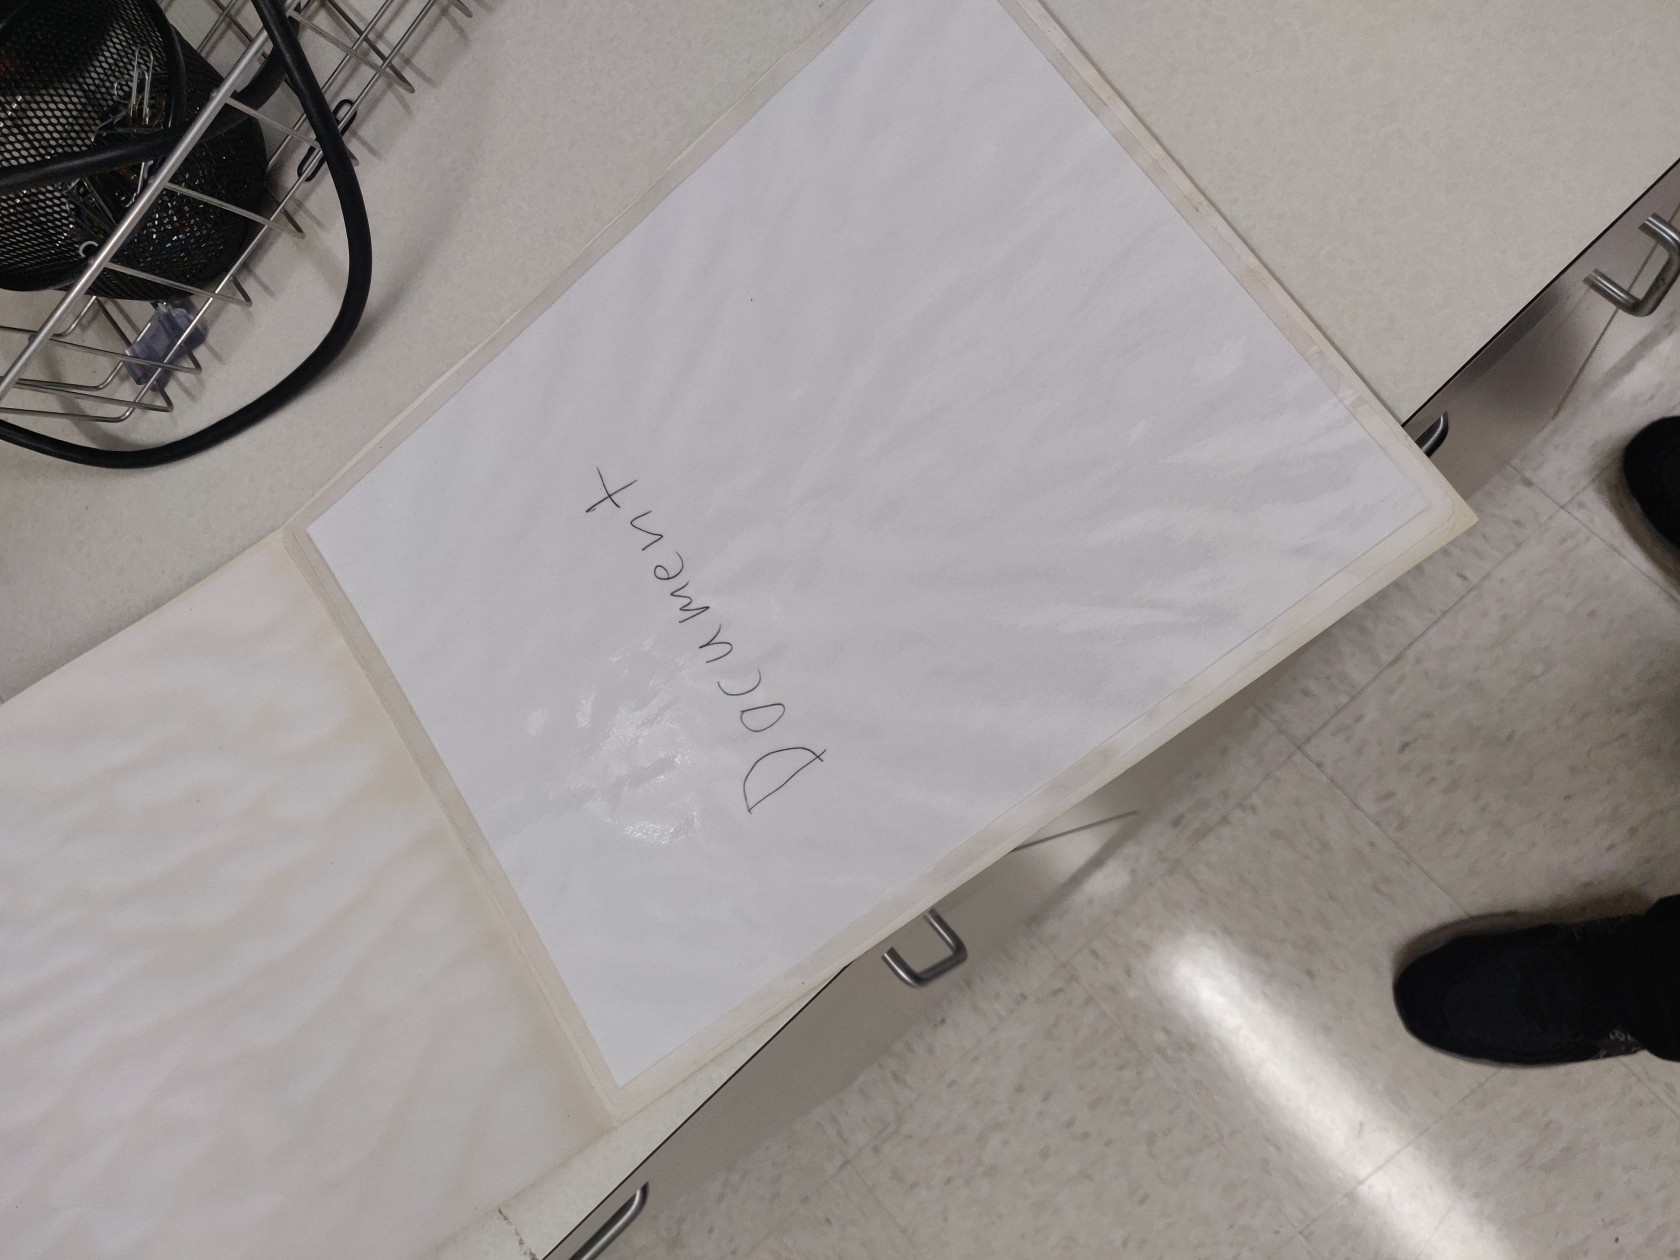
- Repeat steps 4, 5, 7, 8, and 10 for any additional papers you need to laminate. You do not need to wait 3 minutes or change the switch between laminations.
- Once all your papers have been laminated, turn off the laminator by setting the switch to the middle position (switch should be flat).
- Neatly put the laminator and other resources back in the drawer you found them.
