Manage Google Groups
- Google Groups are communication groups that are primarily used as email lists at MLML.
- Some Google Groups (like
studentsandstaff) are operated by MLML IT, but you can create a Group for any purpose, like for your lab, or a project that you're working on. - To view a directory of MLML's Google Groups, click this link: https://mlml.sjsu.edu/intranet/google-groups-directory/
Create a Google Group:
- Go to groups.sjsu.edu in your browser.
- (if you need to view Groups in the old mlml.calstate.edu domain, go to groups.google.com while logged into your MLML Google account)
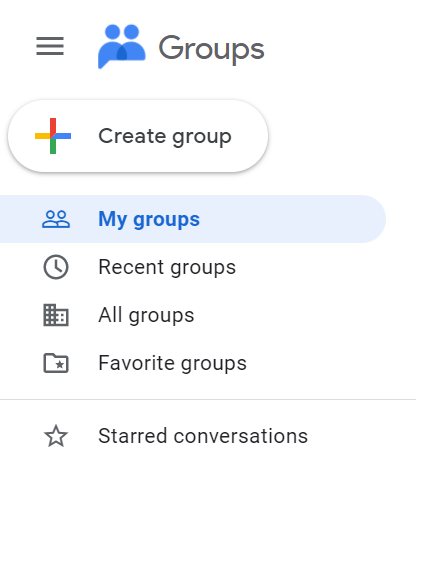
- Click Create group in the top left.
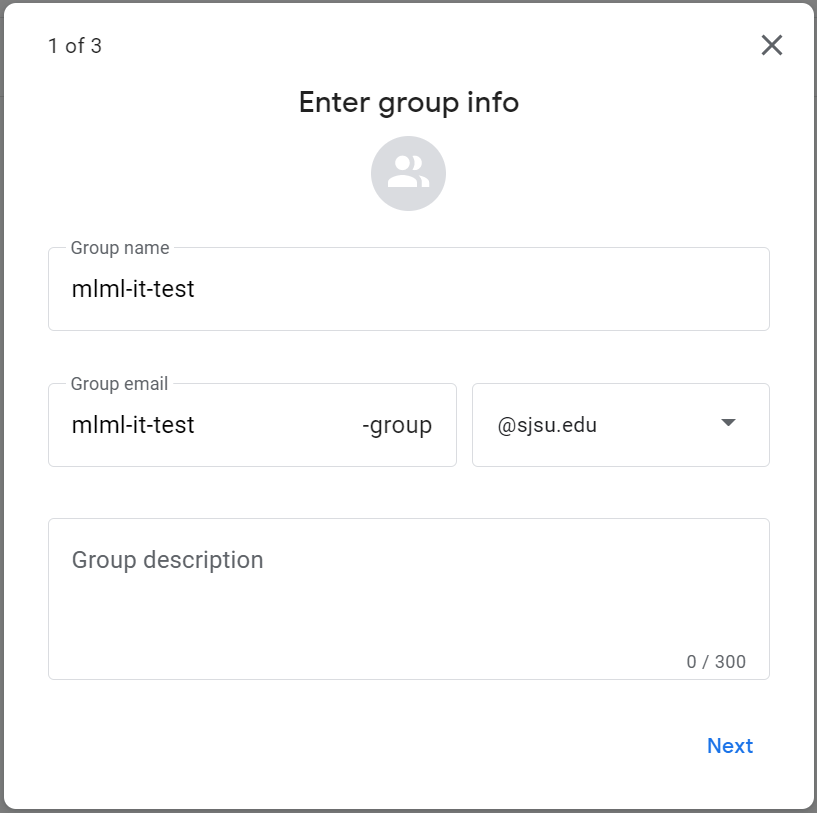
- Enter the name for your group. Add "mlml-" to the beginning of the name, to distinguish your group from other groups in the SJSU domain

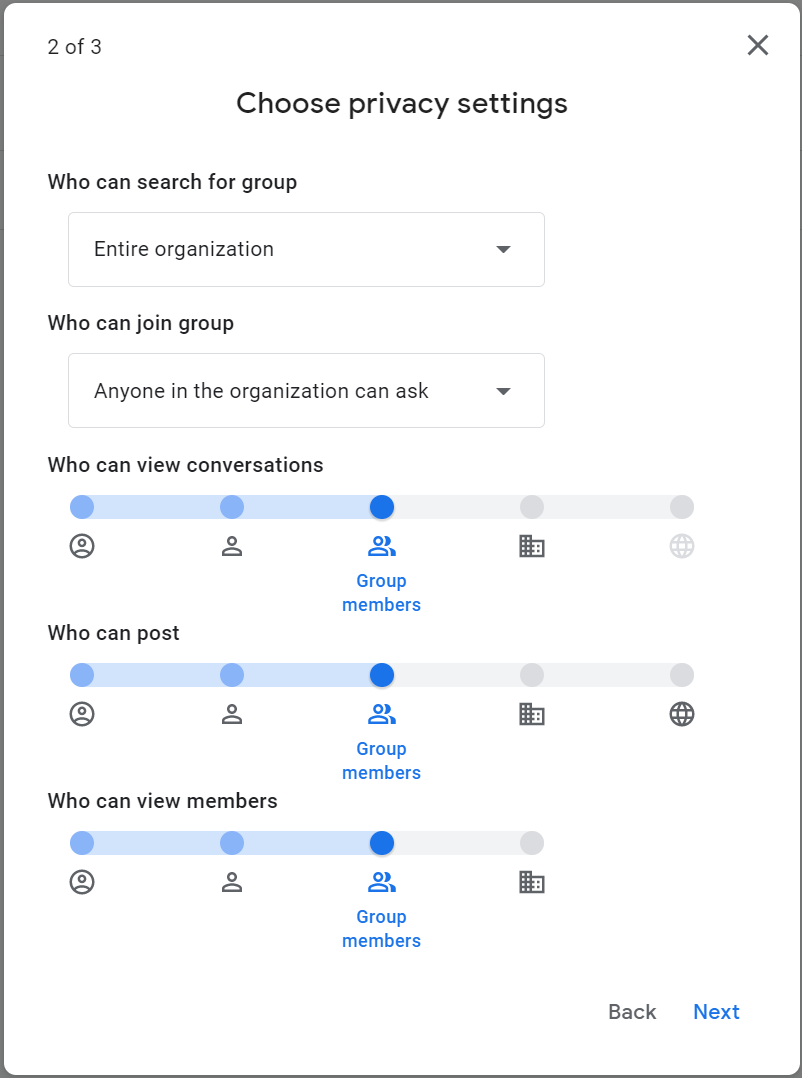
- Enter the privacy settings for your group. You have a great deal of control over who can view, join, and send messages to the group's email list.

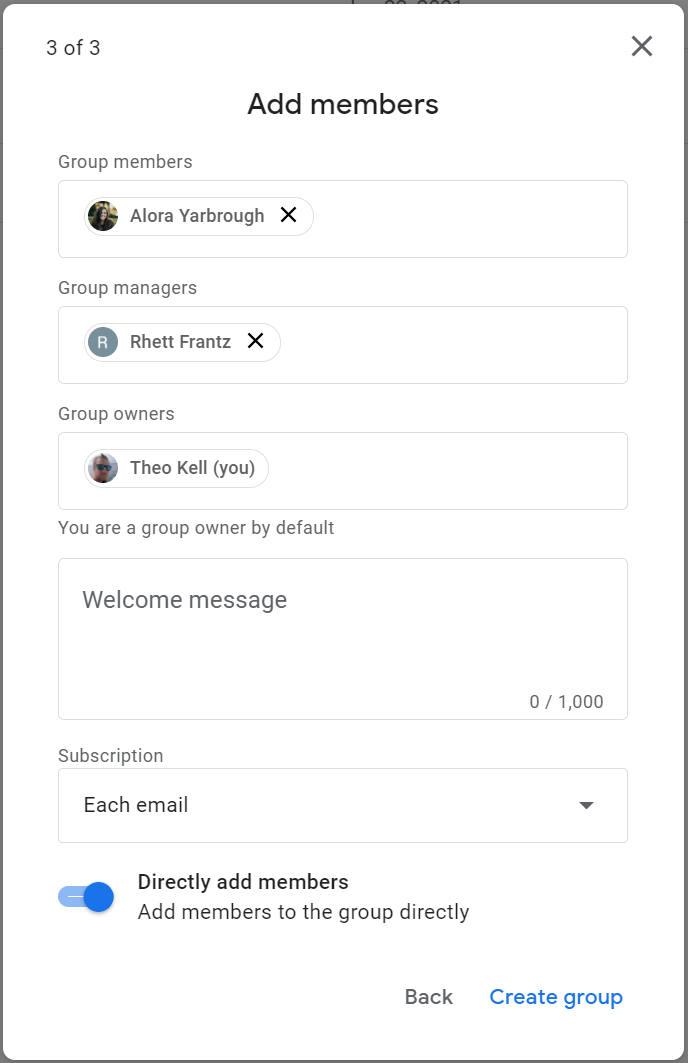
- Add members and managers to your group. You can add anyone with an SJSU account by name or SJSU email address. If you want to add people who do not have SJSU email addresses, you can do that after creating the group, in this section.

- Click Create group.

Change Group Settings:
- Go to groups.sjsu.edu.
- Locate the group that you wish to view/change settings for in the list of "My Groups" and click on it.
- Click Group settings in the list on the left:
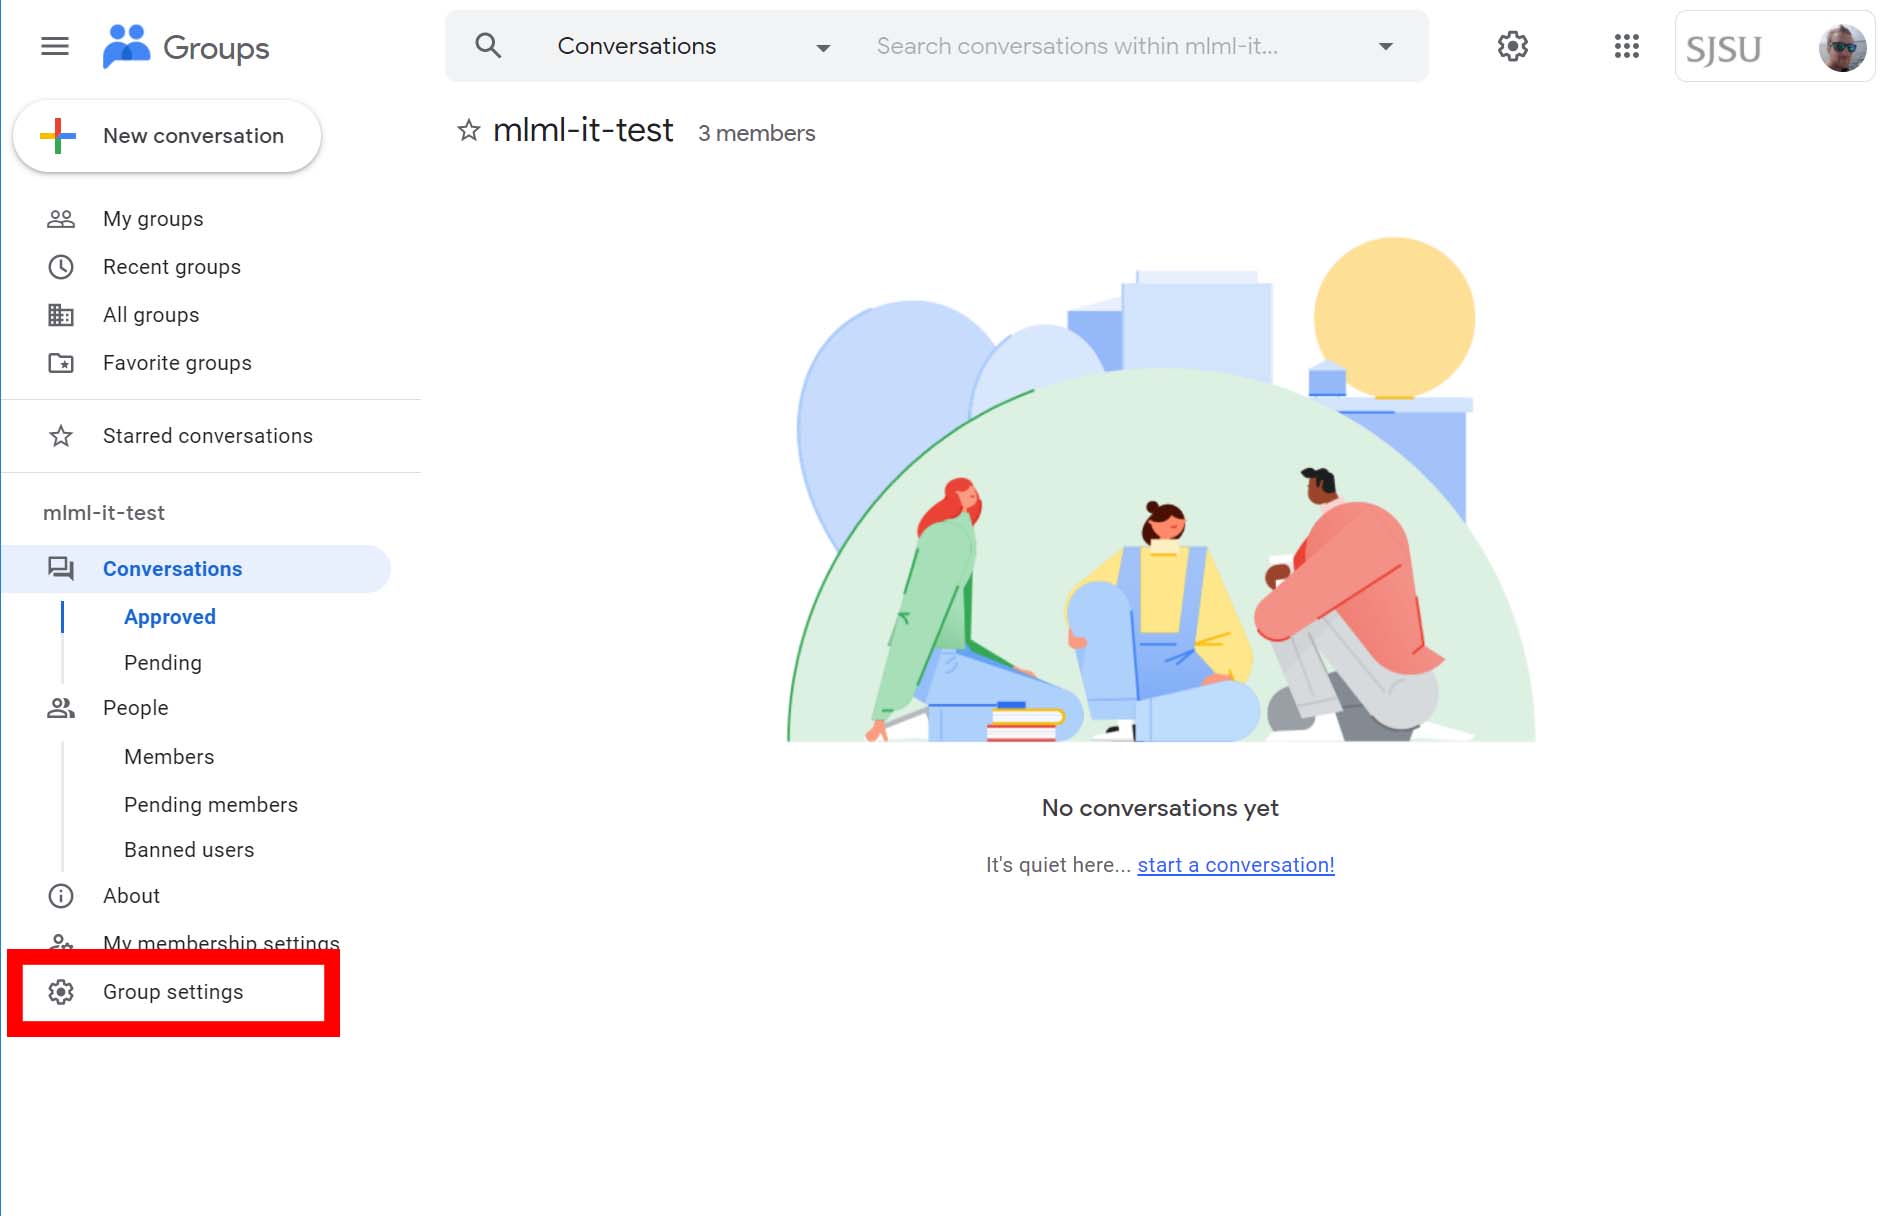
- Here you can view and change settings for your group.
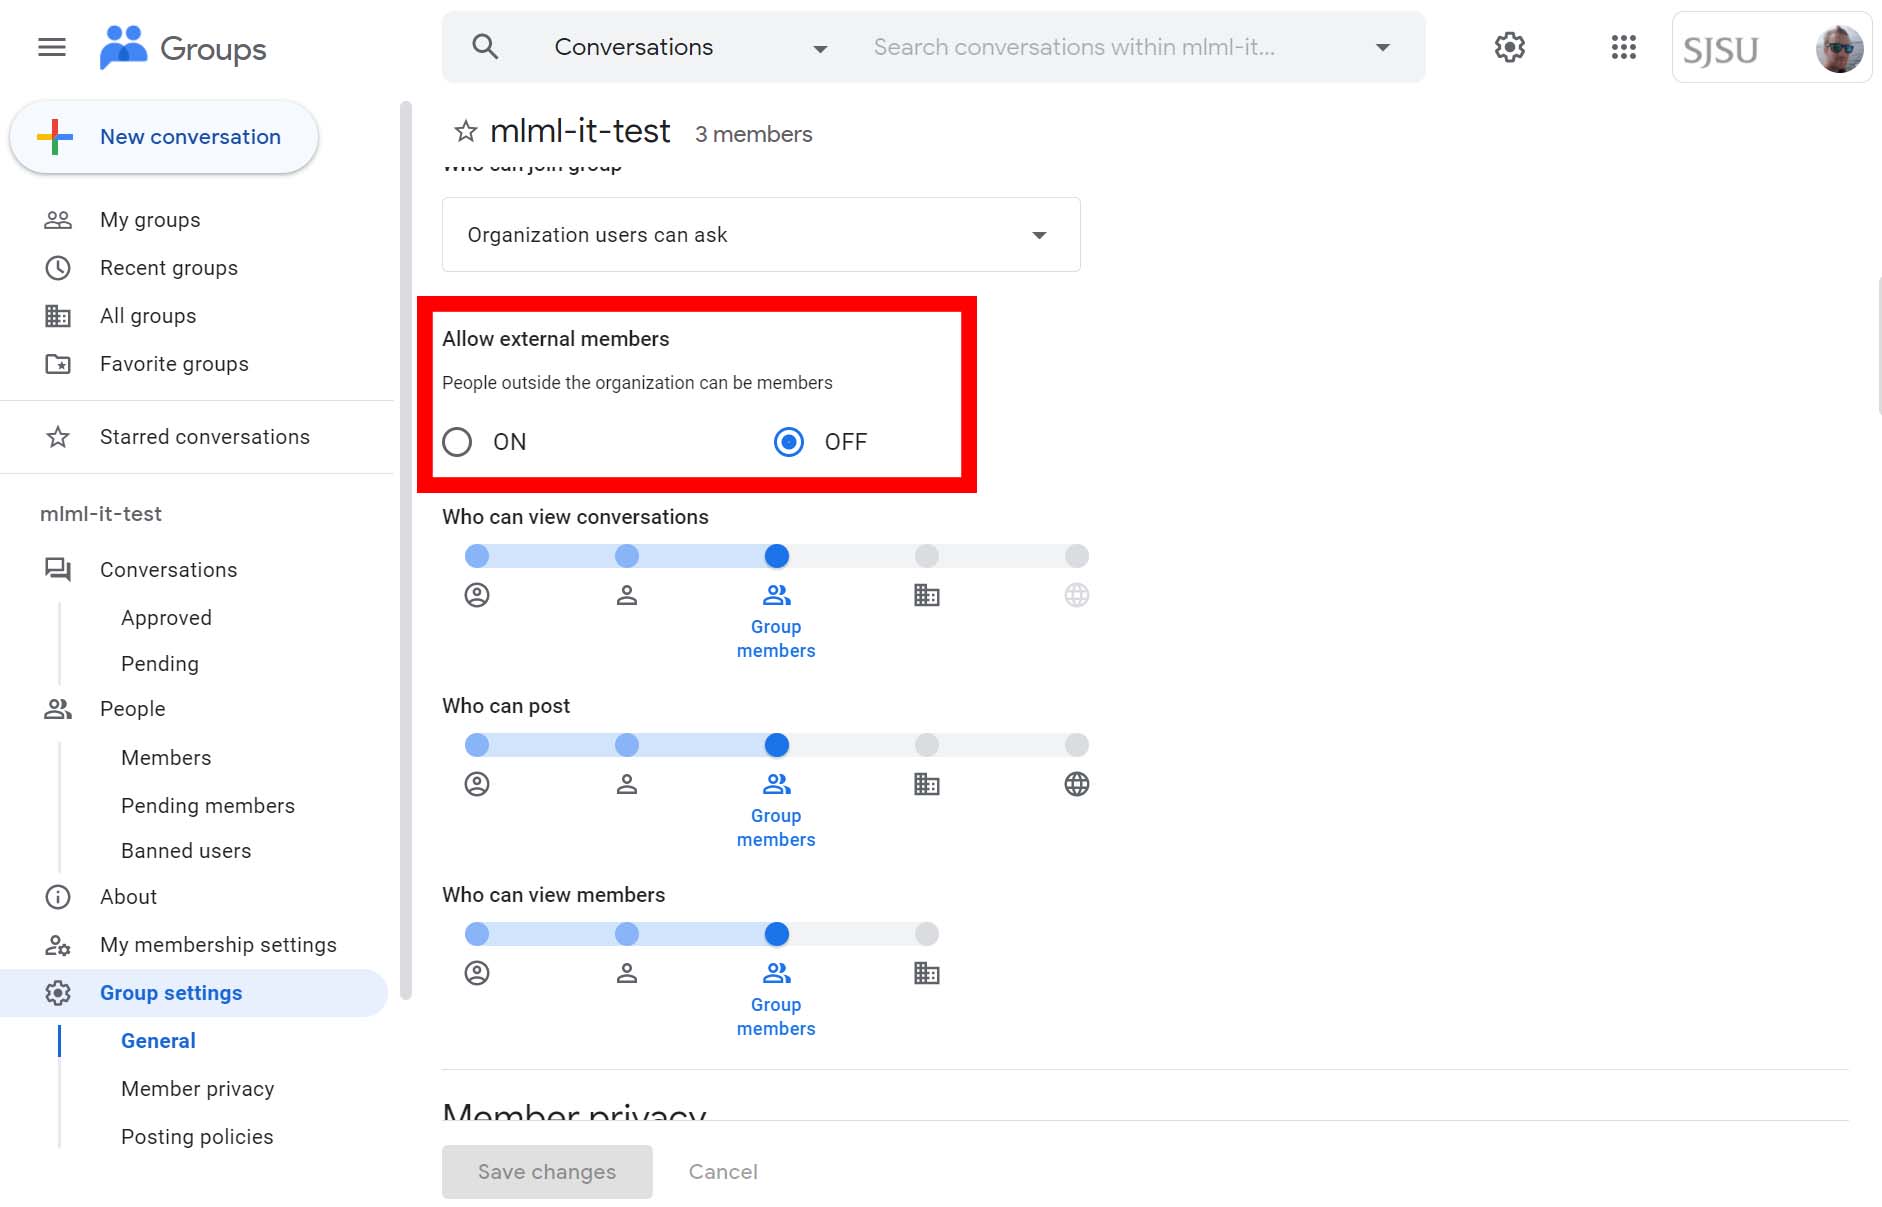
- If you want to allow group members who do not have SJSU Google Accounts, use the Allow external members setting under the General section:


To view Google Group members:
- Login to Gmail.
- Click on the Apps button (gray squares) in the upper-right corner of the page.
- Click on the Groups app, then click My groups.
- Select the group name you're interested in and follow the Members link.
At this point you should see a list of the selected group's members.
To Manage a Google Group:
NOTE: You must be an "Owner" of a Google Group in order to manage the Group settings and memberships.
- Login to Gmail.
- Click on the Apps button (gray squares) in the upper-right corner of the page.
- Click on the Groups app, then click My groups.
- Click the Manage link below the name of the group you want to manage.
At this point you should see the list of group members in the Google Group you chose to manage.
To add users to a Google Group:
- Click the green Manage button next to the group name or the Manage group link.
- Click the Direct add members link under the Members section on the left side of the page.
- Enter the email addresses you want to add to the group and compose a welcome message.
- You can change the email subscription options if you like, but the default "All Email" setting is probably fine.
- Click the Add button near the top of the page.
To invite users to a Google Group:
NOTE: If you choose to use invitations, the user must click the link in the invitation email in order to be added to the group. The link will expire after 1 week.
- Click the Invite members link under the Members section on the left side of the page.
- Enter the email addresses you want to invite to the group and compose an invitation message.
- Click the Send invites button near the top of the page.
To remove users from a Google Group:
- Check the checkbox next to each user you want to remove from the group.
- Click the Actions button at the top of the page, then click Remove from group.
NOTE: If a group that you manage needs to include users outside the MLML domain (e.g. not an @mlml.calstate.edu email address), please submit a Help Desk ticket to request that your group permissions be configured by your Google Apps administrator.