Installing Admin/Library Konica Minolta Copiers (Windows)
IMPORTANT:
|
Windows 10
These are instructions for setting up the new Konica Minolta copiers that were installed in December 2021 on Windows machines. If you find something that is out of date, please submit a Help Desk ticket.
1. Download the printer driver
-
- Click this link to be taken to the Konica Minolta driver website for this printer (C550i).
- Click on the category for your operating system (most likely Windows 10 64-bit)
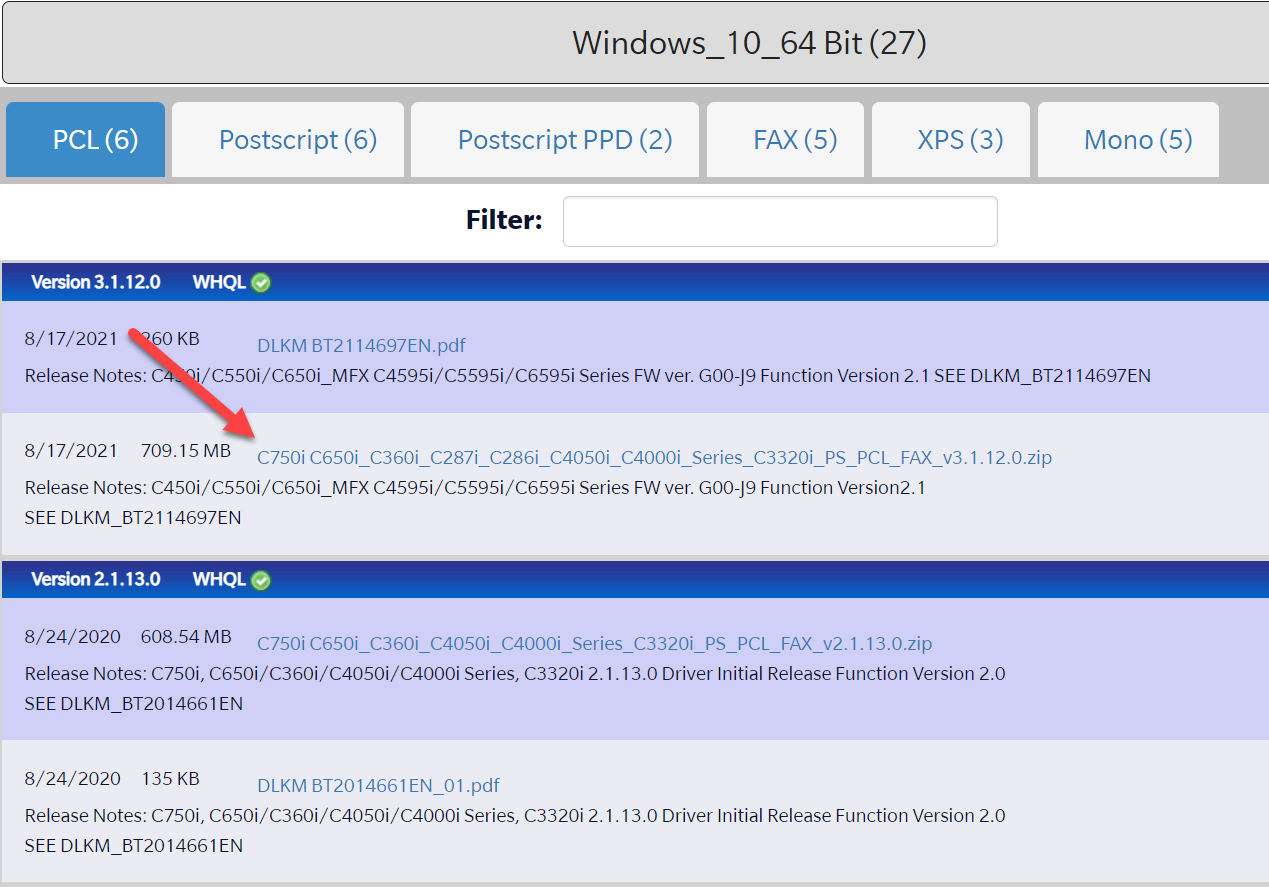
- The page has multiple files available for download. Download the newest version of the full printer driver (.zip), as shown below. There may be a newer version than what is shown in this screenshot.
- Save the .zip file to your computer, and open it when the download is complete.
- Extract the files to a folder:

- Most of the time, it will offer to extract the contents to same location where the zip file is saved (ex: Downloads folder)


2. Add the printer
-
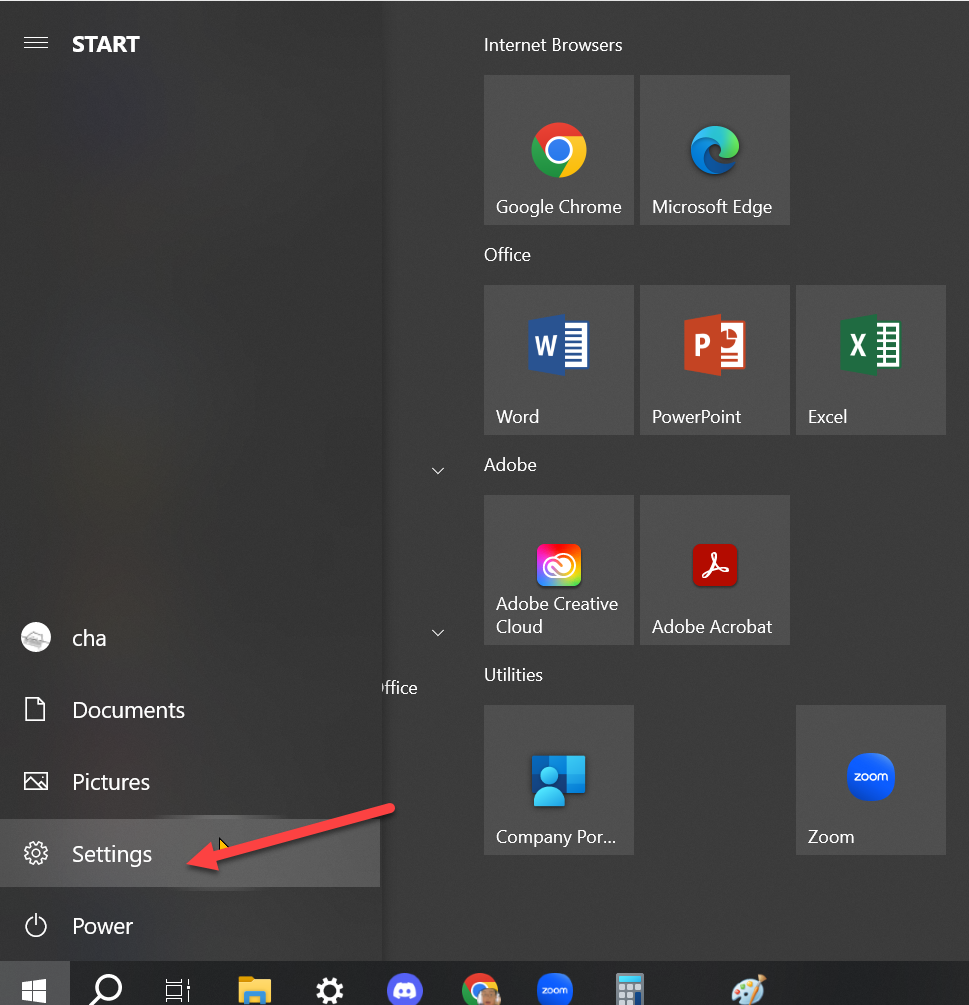
- Open the Windows Start Menu and find the Settings app:
- Open the Windows Start Menu and find the Settings app:
-
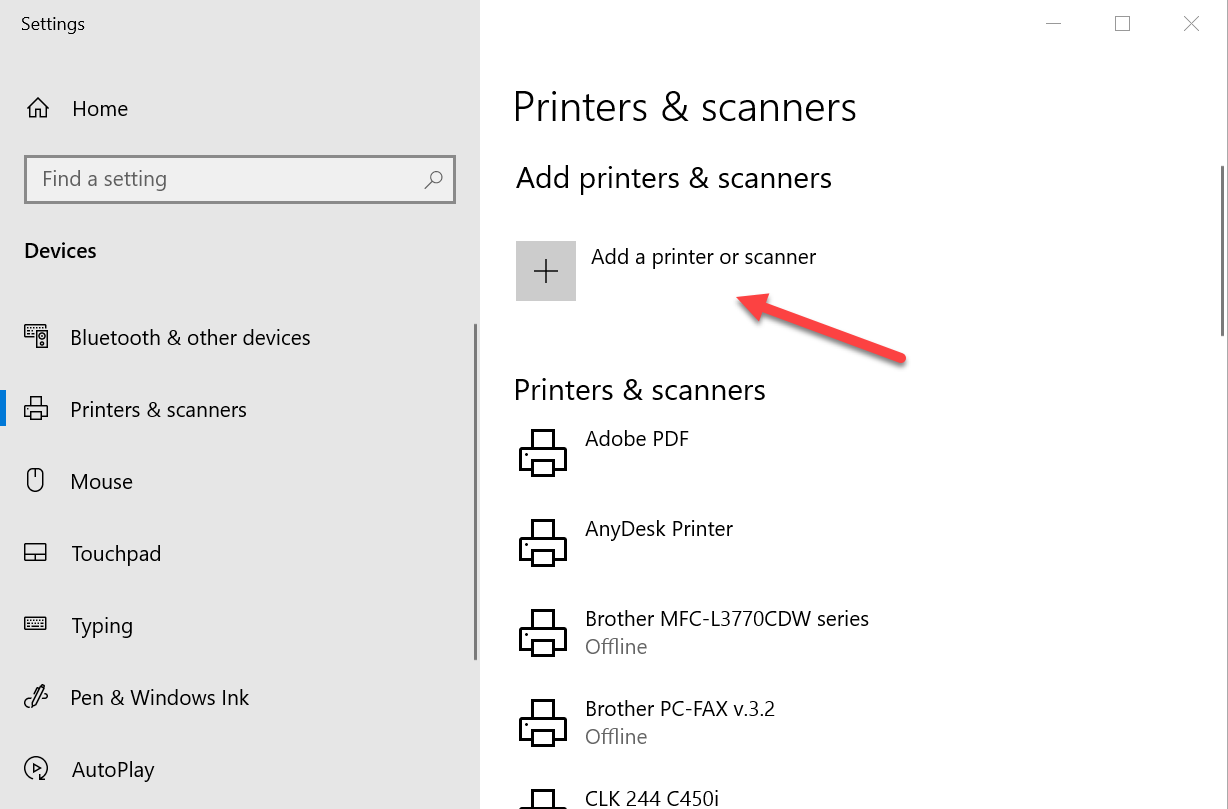
- In Settings, click Devices > Printers & scanners
- Click Add a printer or scanner.
- At the bottom of the list of printers, click The printer I want isn’t listed.

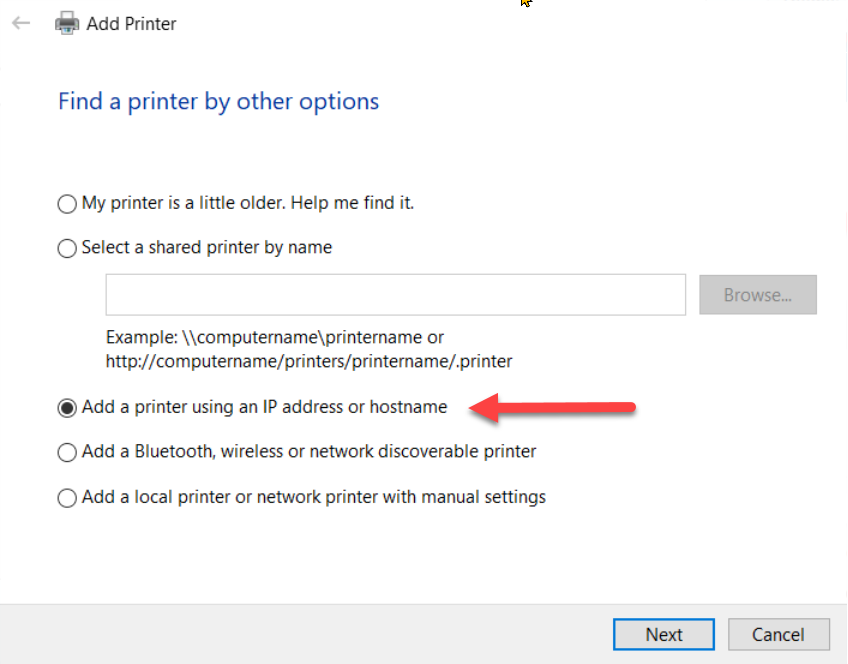
- Select Add a printer using an IP address or hostname and click Next.
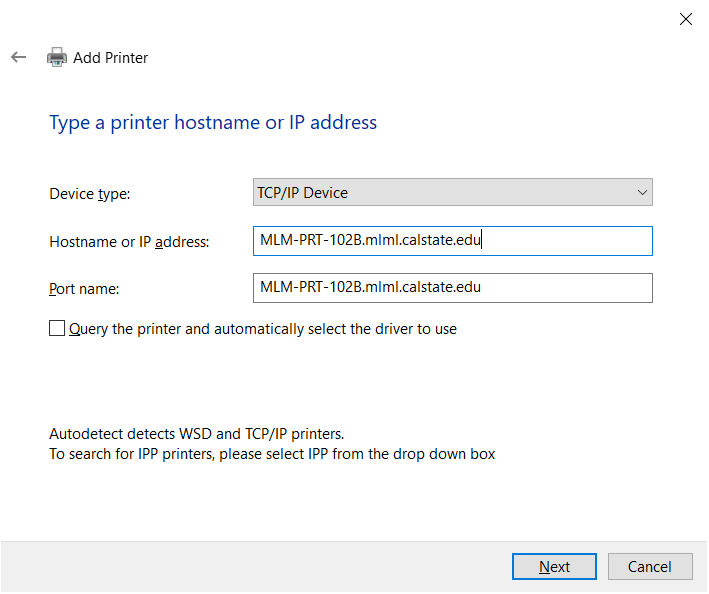
- Enter the following information:
- Device type: TCP/IP Device
- Hostname or IP Address:
- Library Copier: mlm-library-printer.sjsu.edu
- Admin Office copier: mlm-admin-printer.sjsu.edu
- Port name: this will auto-fill based on the hostname entered, you don’t need to change it.
- UNCHECK Query the printer and automatically select the driver to use.

- Click Next.
- You may be told that additional port information is required. Leave Generic Network Card selected and click Next.
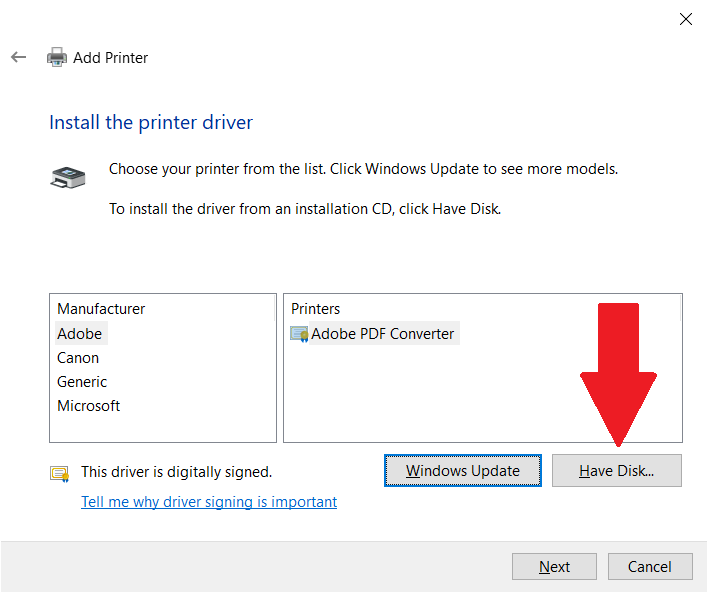
- Click Have disk.

- Click Browse and locate the folder that you extracted containing the driver files in Step 1.
- Inside the folder, navigate to Drivers/PCL/EN/Win_x64/
- Select the .inf file that appears in the folder and click Open.

- Click OK and then Next.
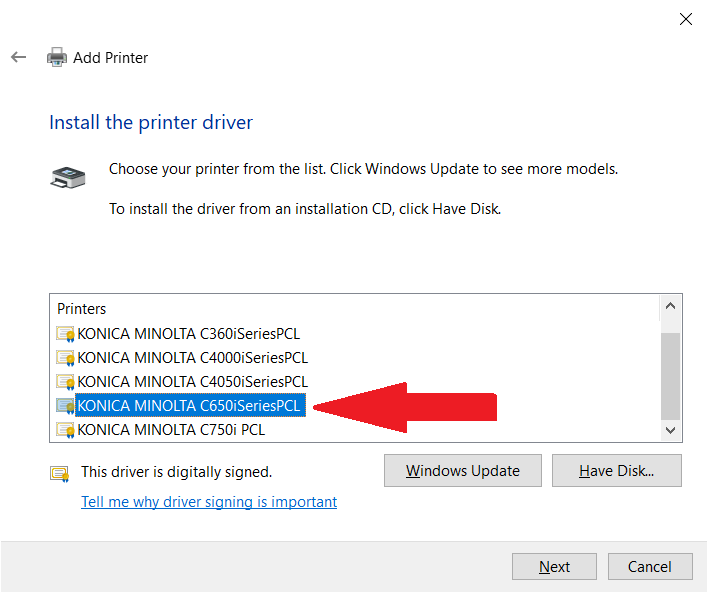
- Select KONICA MINOLTA C650iSeriesPCL from the list of drivers (The 550i and 650i use the same software):

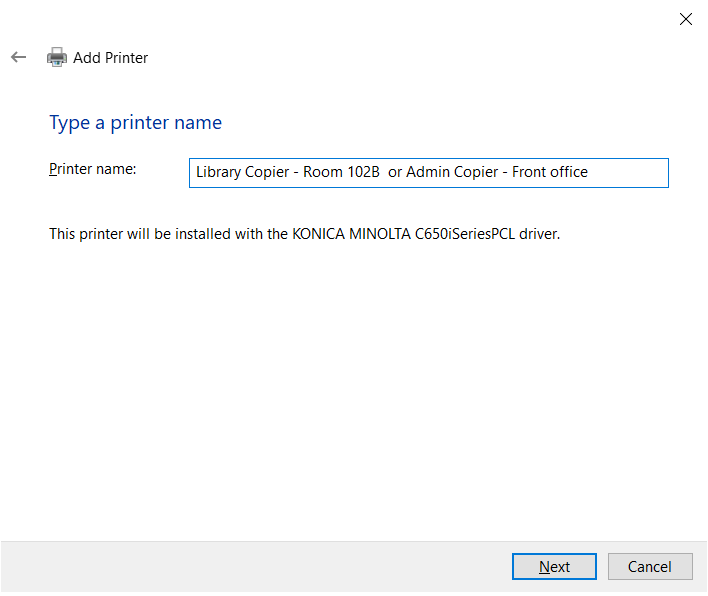
- Name the printer (E.g. “Library Copier - Room 102B” or “Admin Copier - Front office”)

- Click Next.
- You will be asked if you want to share the printer on the network. Select Do not share this printer and click Next.
- Click Finish. Do not print a test page. Uncheck the box for "Print a test page" if applicable.


3. Set Default Printing Settings
-
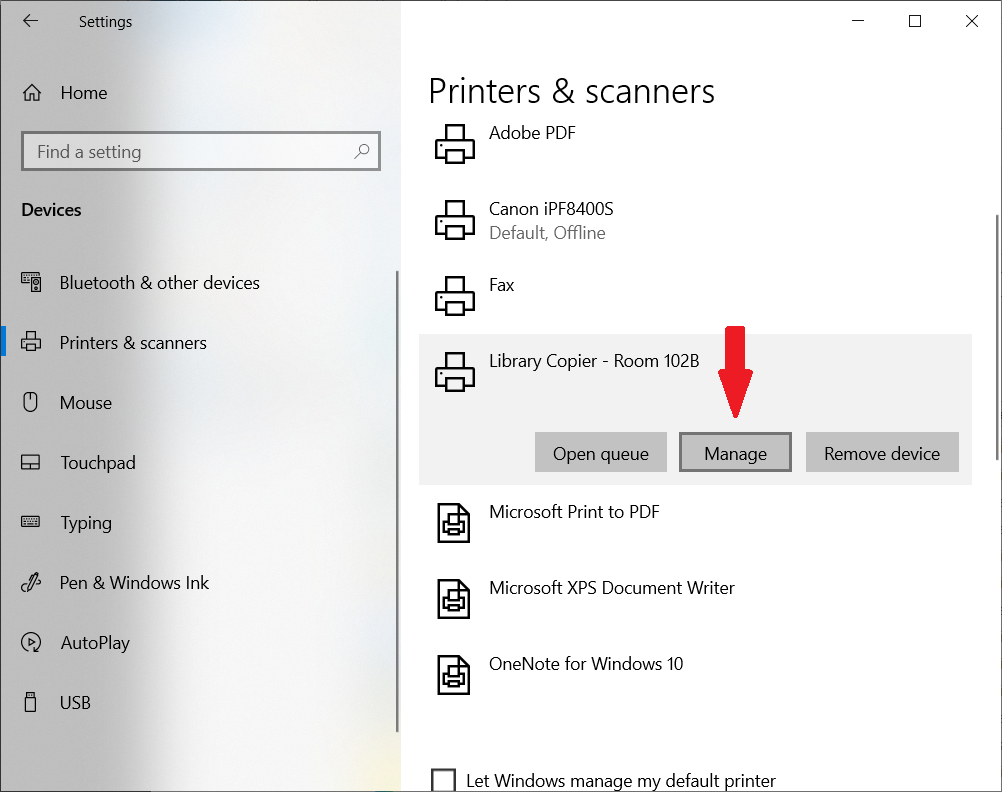
- Find the copier in your list of printers and click on it, then click Manage:
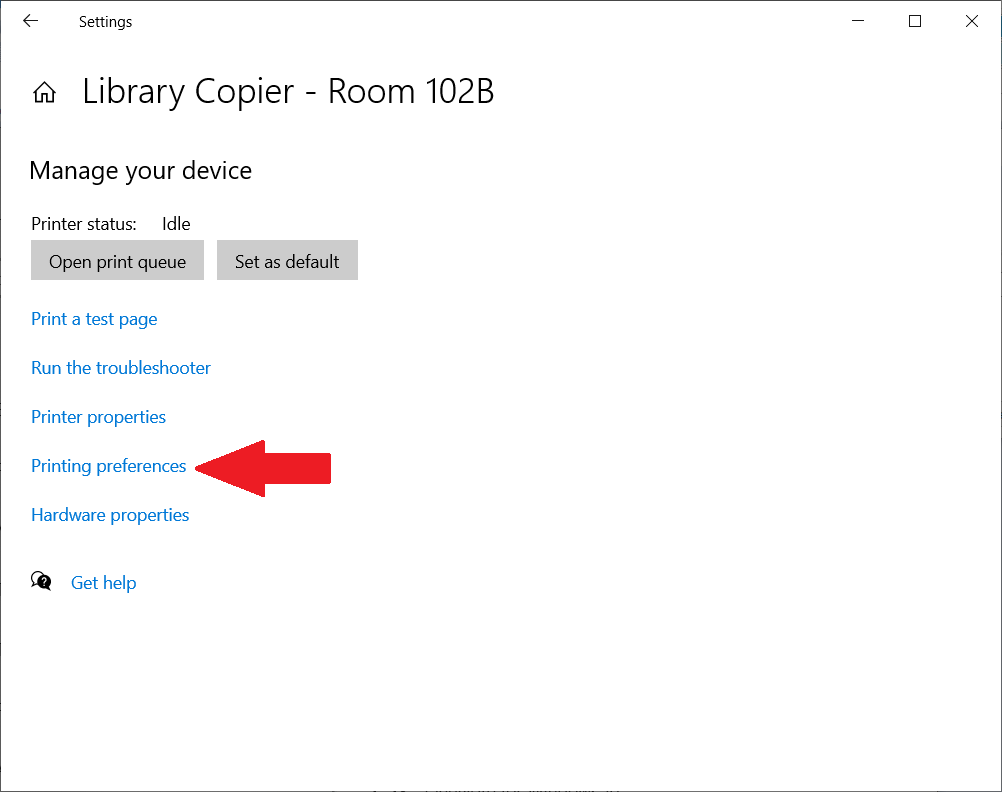
- Click Printing preferences:
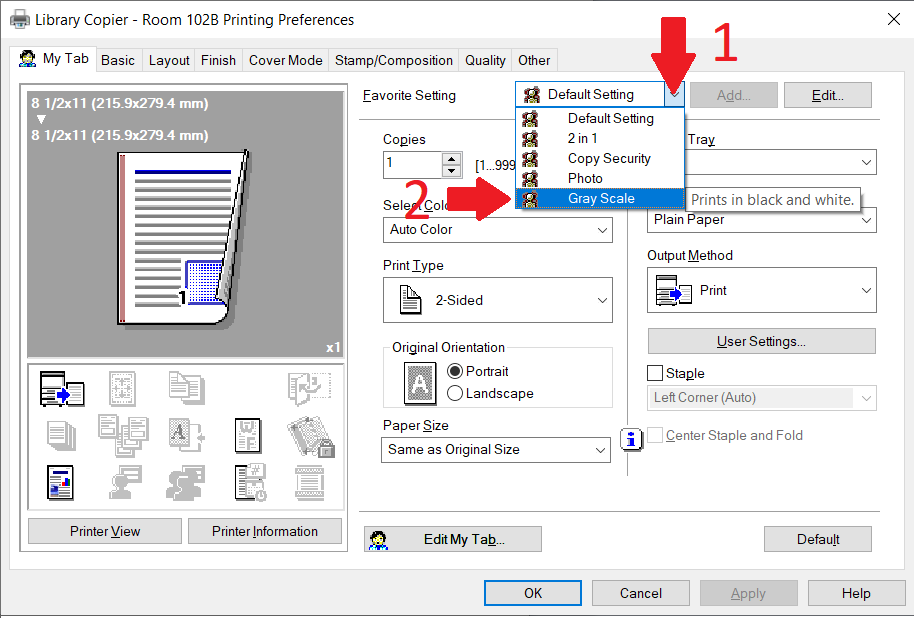
- Select the “Favorite Setting” dropdown and click Gray Scale:

- Click OK.
- This means that when you print, it will default to grayscale (black and white). If you need to print in color, you can select a color preset, but you should leave the default/favorite setting as grayscale.
- If you need to change other printing settings, the Printing preferences menu is where you access them. Remember to leave the default set to grayscale.
- The printer is now ready to be used.
- Find the copier in your list of printers and click on it, then click Manage:


No Comments