How to Install a Network Printer
macOS:Manual macOS Printer Install:
NOTE: Refer to this post if you want to print to a Konica Minolta (admin/library) copier on macOS.
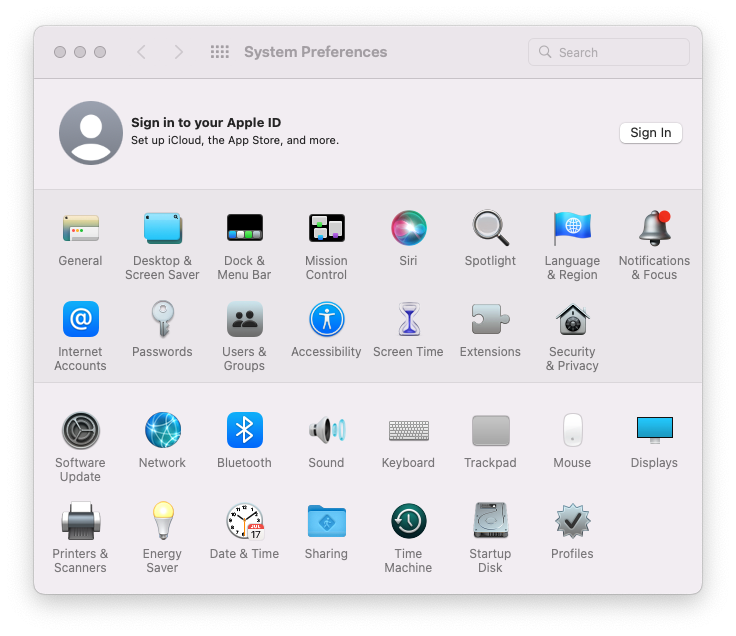
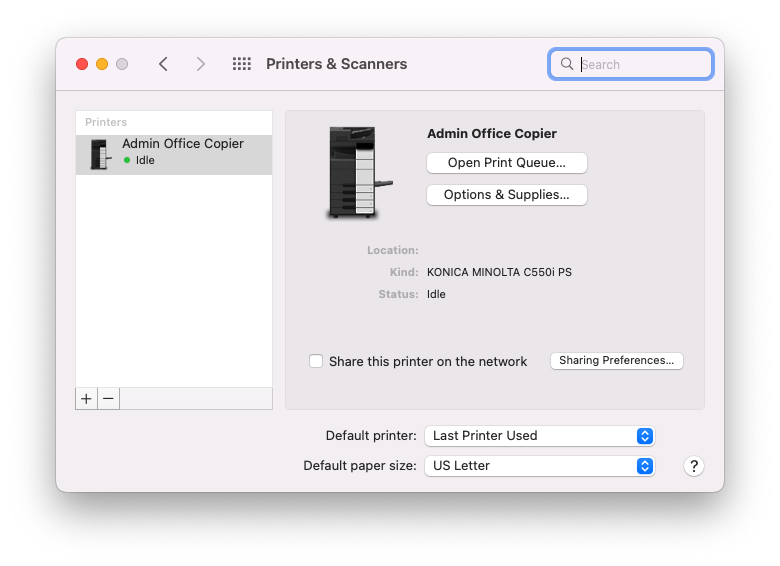
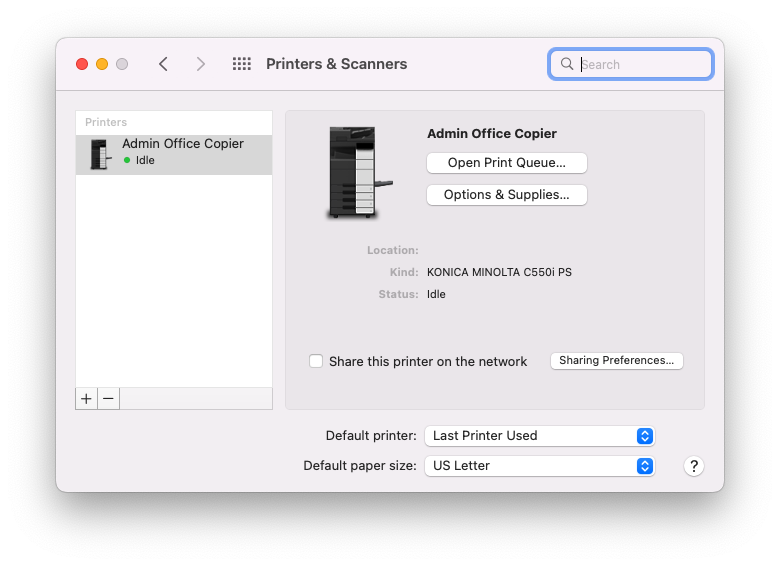
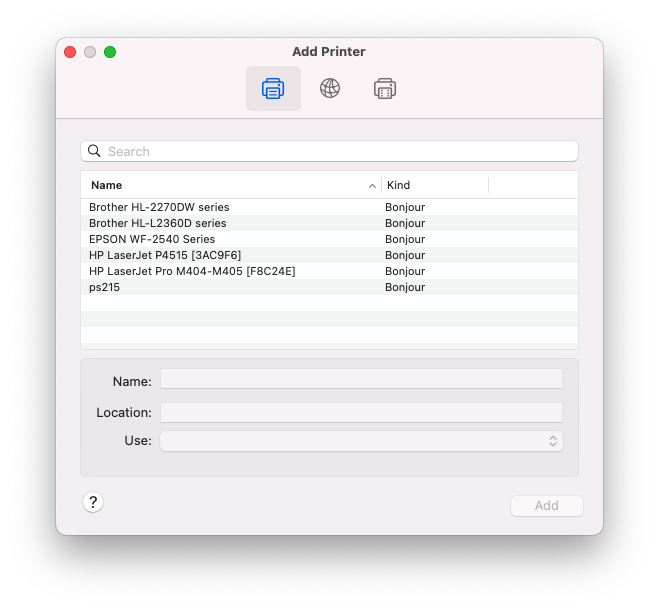
- Go to System Preferences > Printers & Scanners and click Setup Printers or the +
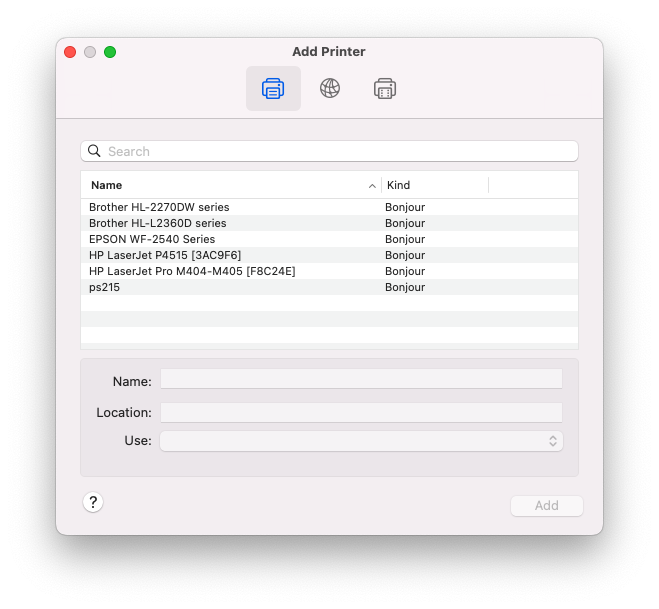
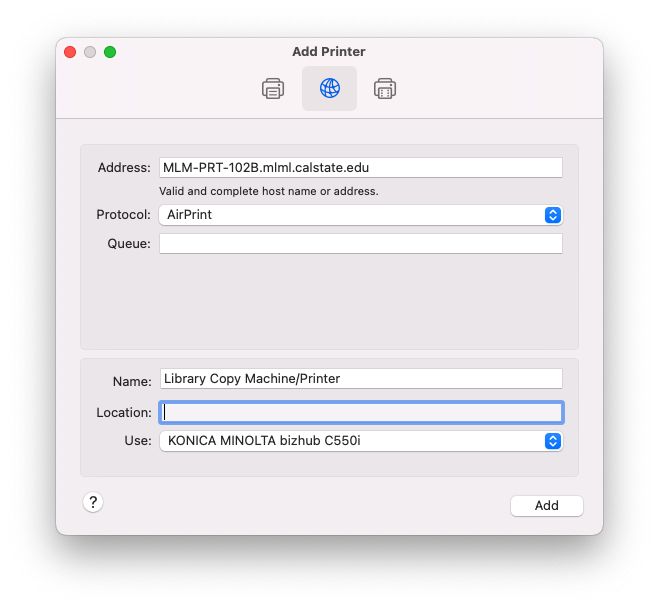
- Click the IP tab.

- Enter the following information:
- Protocol: AirPrint (if possible) or Line Printer Daemon - LPD
- Address:
foundfound here. (e.g.MLM-PRT-102B.mlml.calstate.mlm-library-printer.sjsu.edu) - Queue: leave blank
- Name:
- Print using:
- Your printer
modelmodel
- or - - Select a driver to use... >
- Your printer
- Click the Add button.
- Click Continue


Windows:Manual Windows Printer Install:
NOTE: Refer to this post if you want to print to a Kyocera (admin/library) copier on Windows.
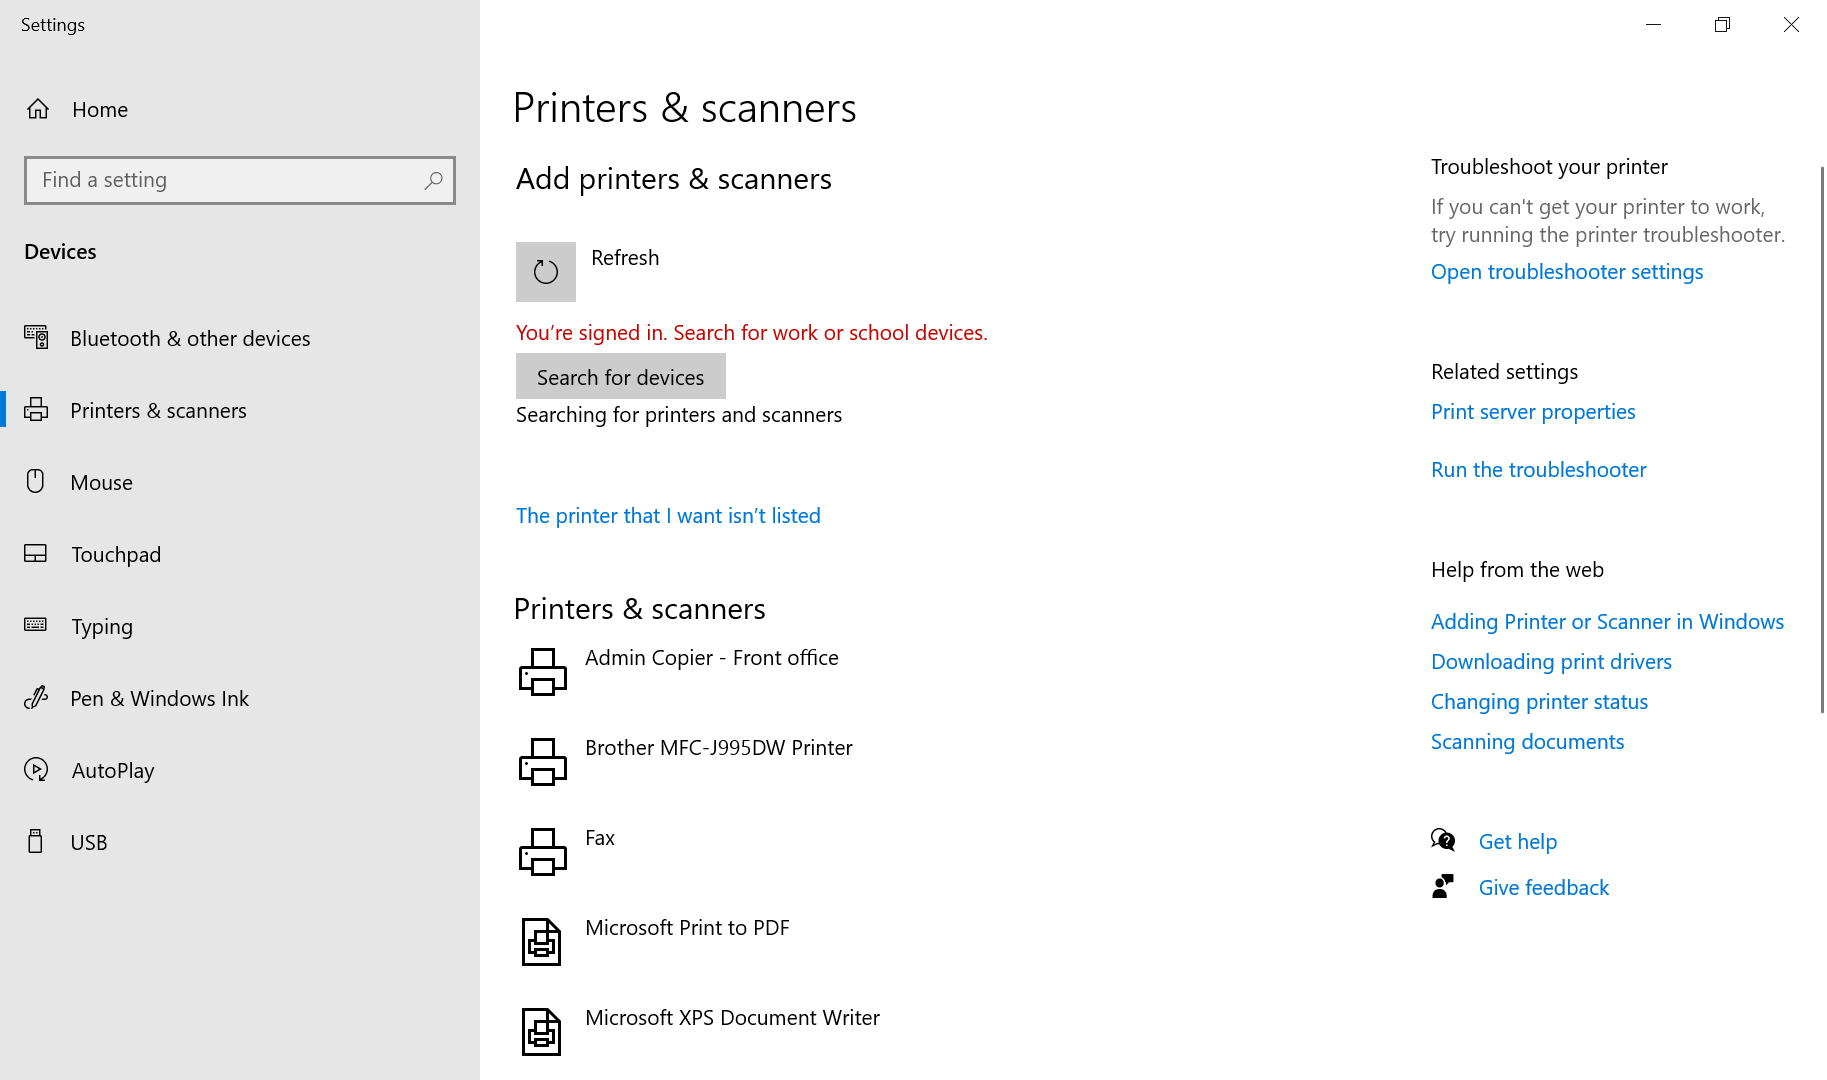
- Go
toto Printers & Scanners. You can find this by clicking the Start/Windows logo button and typing Printers & Scanners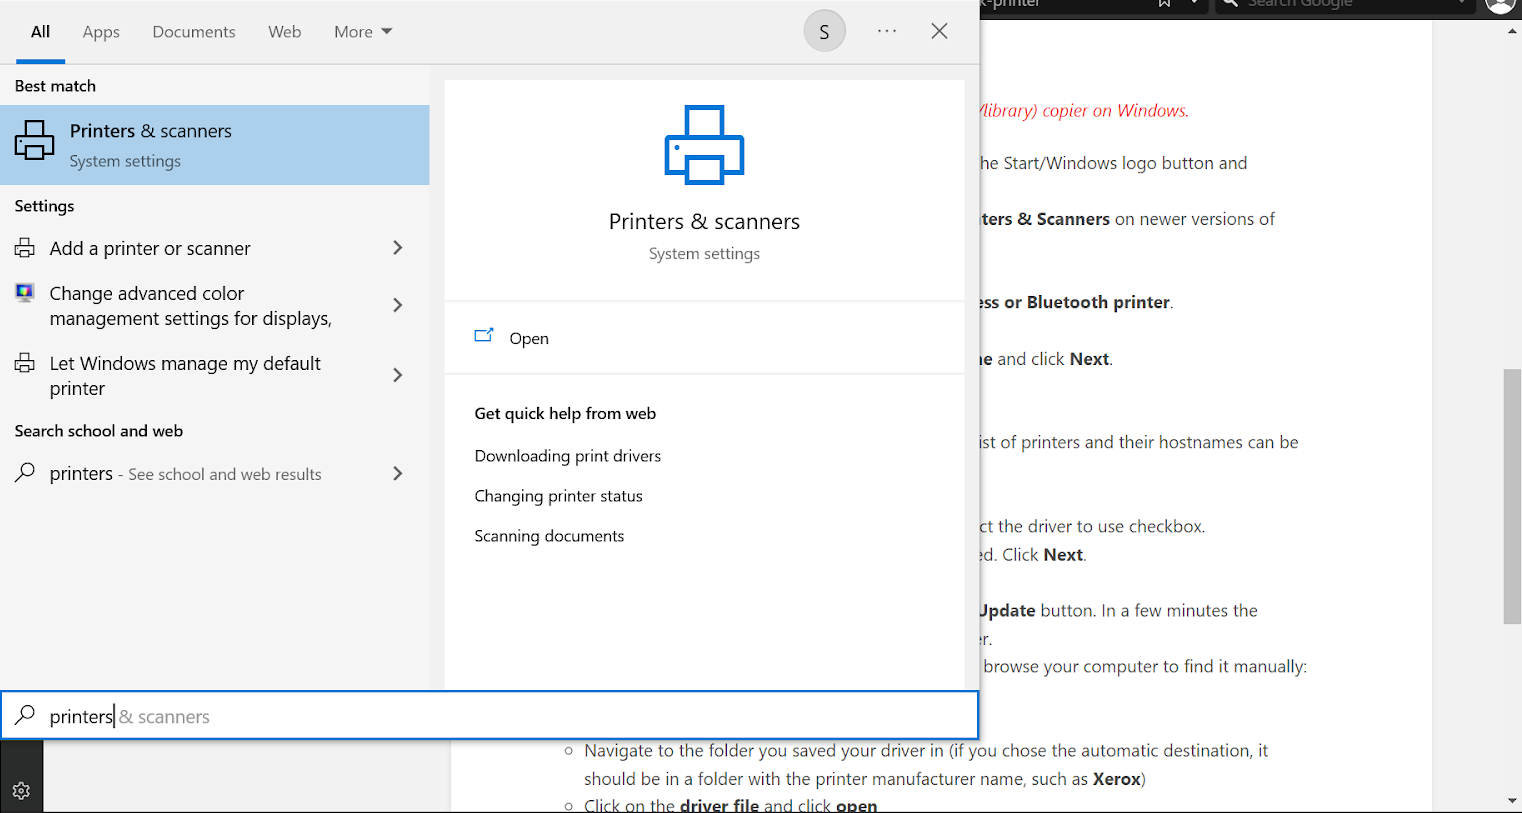
ClickClick Add a printer.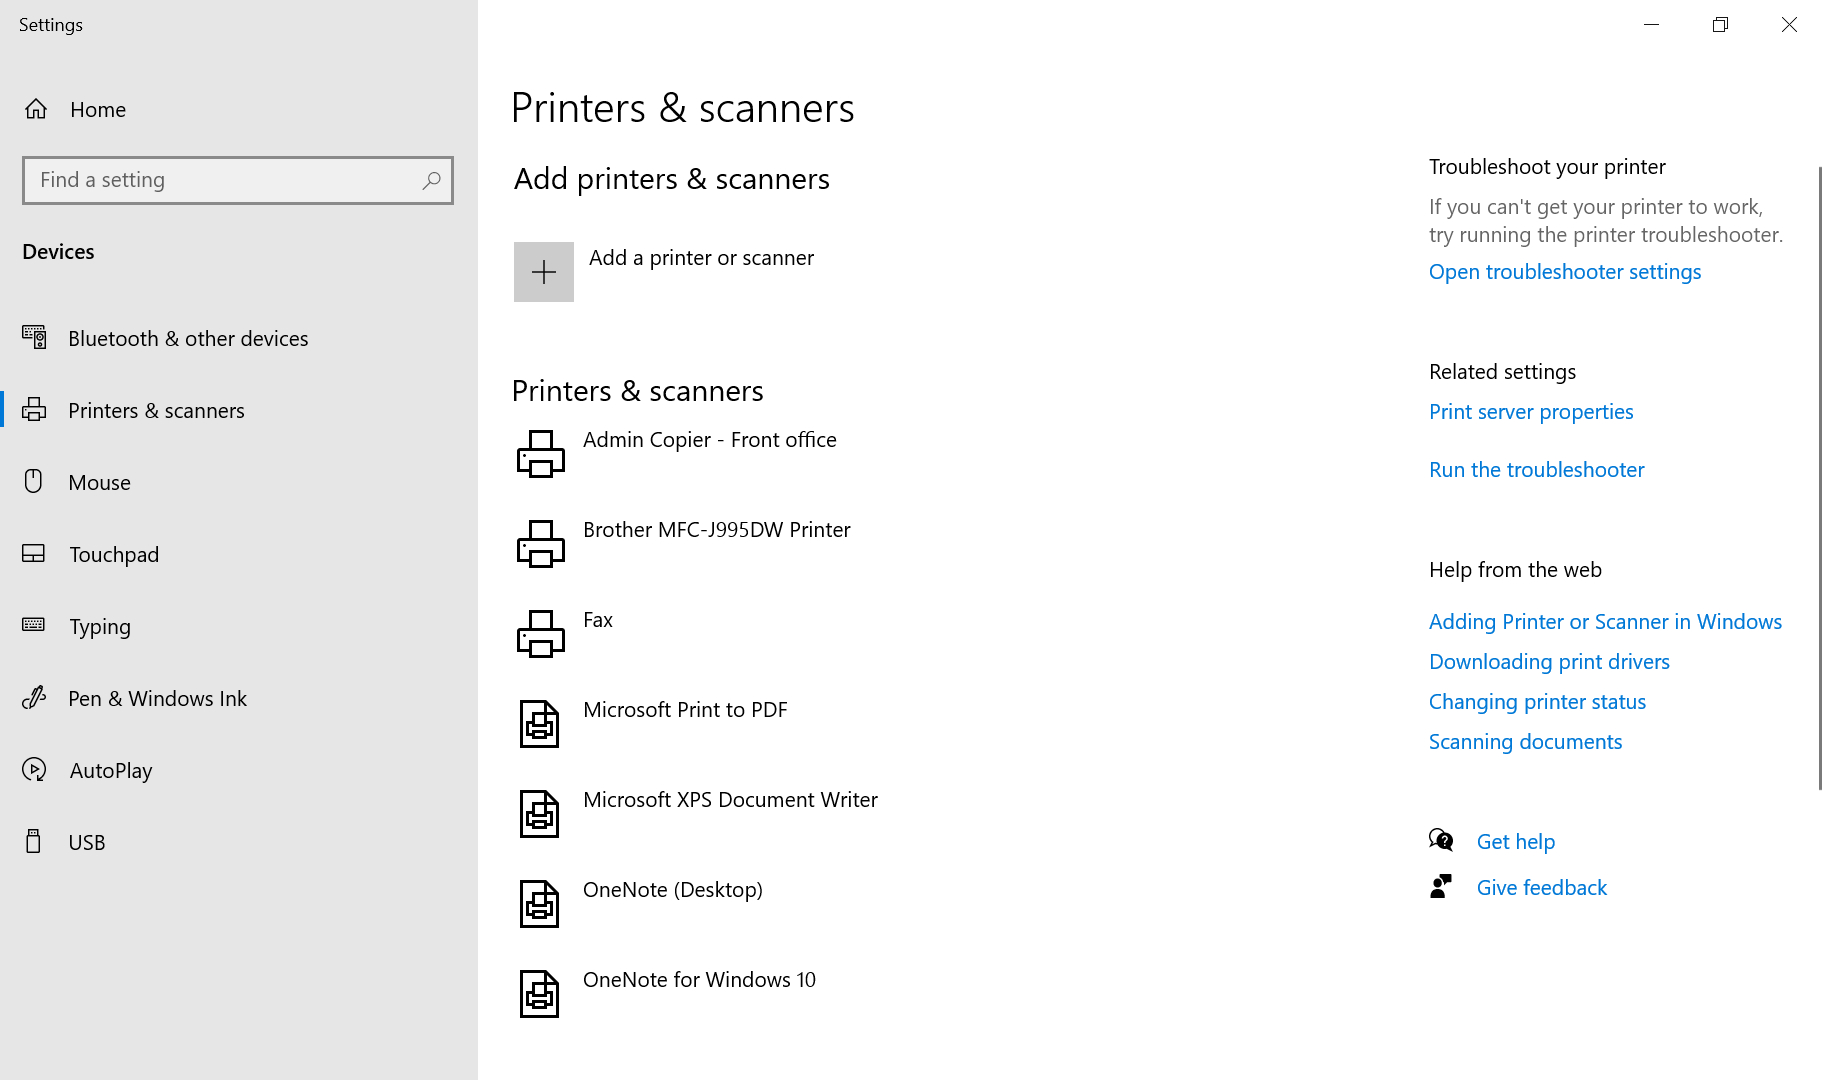
- On Windows Vista/7 only:
ClickClick Add a network, wireless or Bluetooth printer.
- On Windows Vista/7 only:
ClickClick The printer I want isn't listed
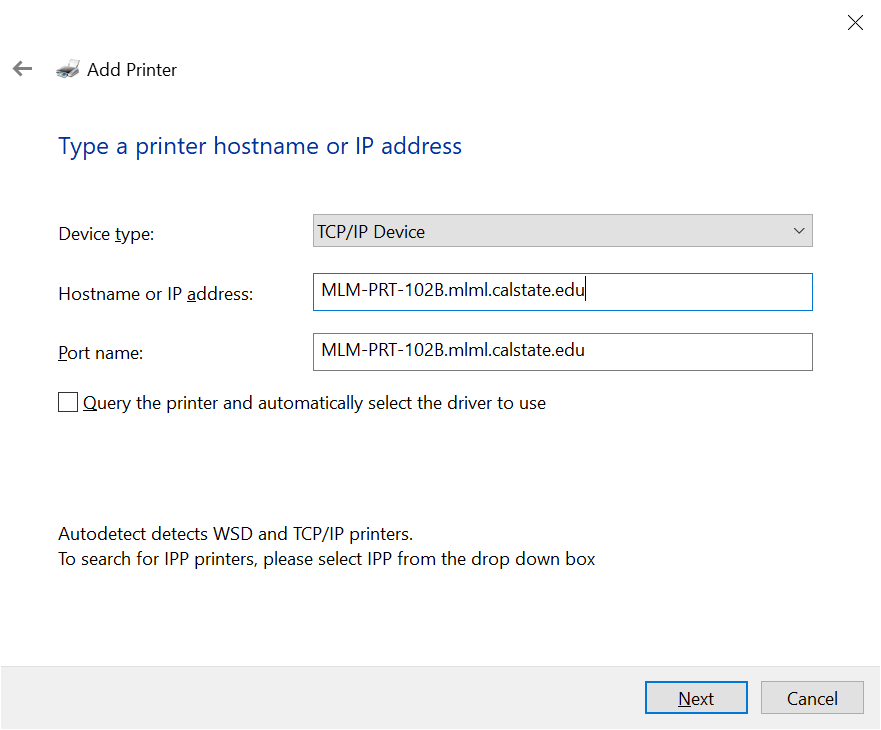
SelectSelect Add a printer using a TCP/IP address or hostnameclickclick Next.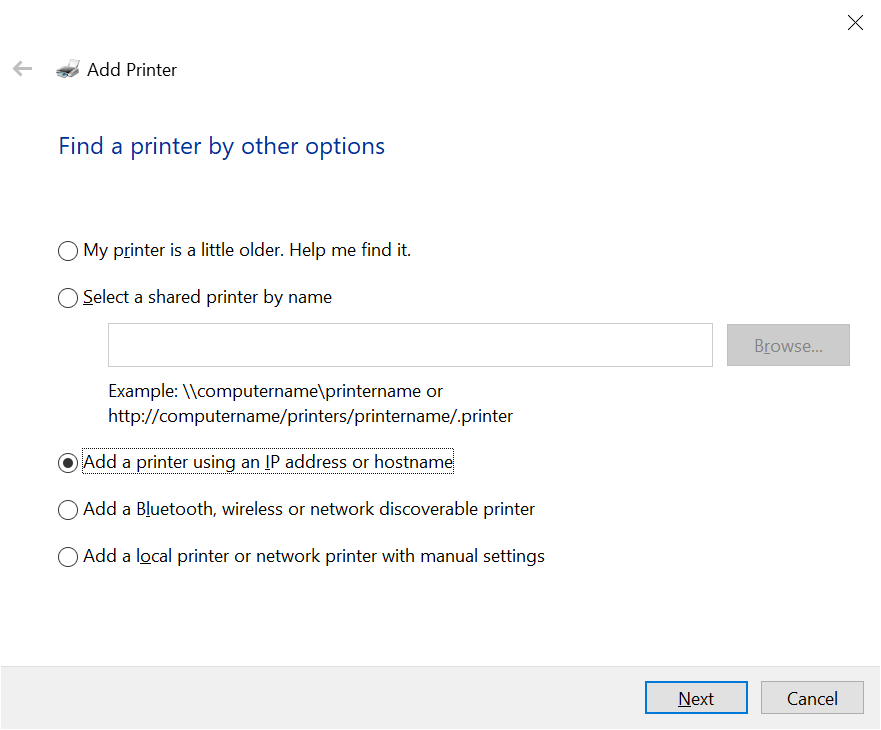
- Enter the following information:
- Device Type: TCP/IP Device
- Hostname or IP address:
foundfound here. (e.g.MLM-PRT-102B.mlml.calstate.mlm-library-printer.sjsu.edu) - Port Name: this will be auto-filled.
- Un-check

- You may be told that additional port information is required.
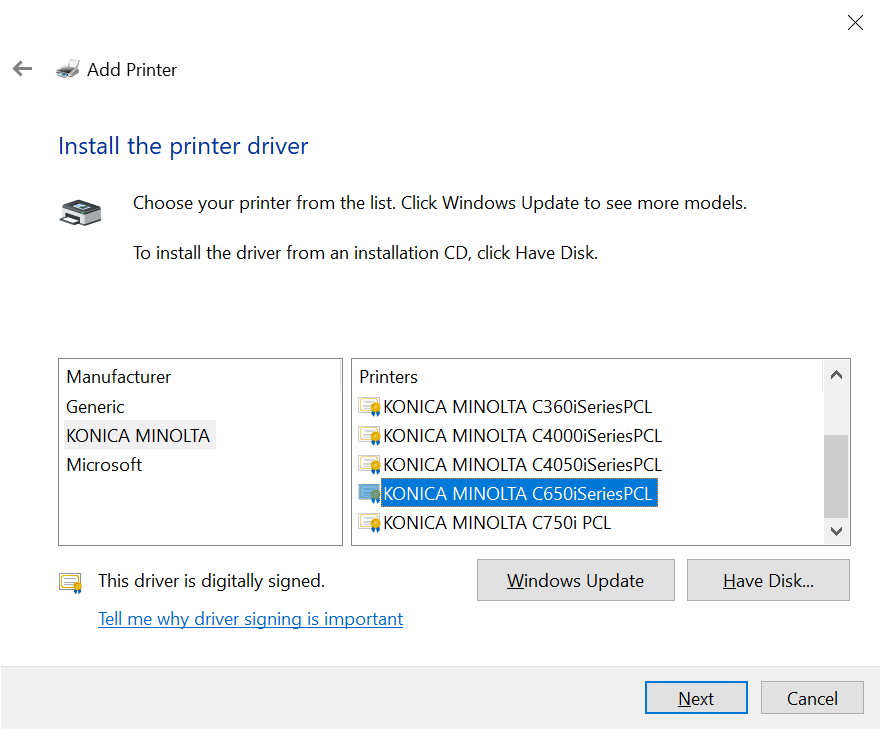
ClickClick Next. SelectSelect Your printermodelmodel and clickthethe Next
- If you can't find the printer model, click
thethe Windows Update - If you still can’t find the printer model, you will have to browse your computer to find it manually:
ClickClick Have Disk- Click
thethe Browse - Navigate to the folder you saved your driver in (if you chose the automatic destination, it should be in a folder with the printer manufacturer name, such
asas Xerox) - Click on
thethe driver fileclickclick open ClickClick OK- Now you should see the printer model. Select it and
clickclick Next.
- If this manual process is unsuccessful, you may have installed your driver incorrectly. Be sure to restart your computer after install, as this is important to complete the process. Also try a manual install of the driver itself if the automatic install does not seem to work (follow the instructions above to do so).
- If you can't find the printer model, click
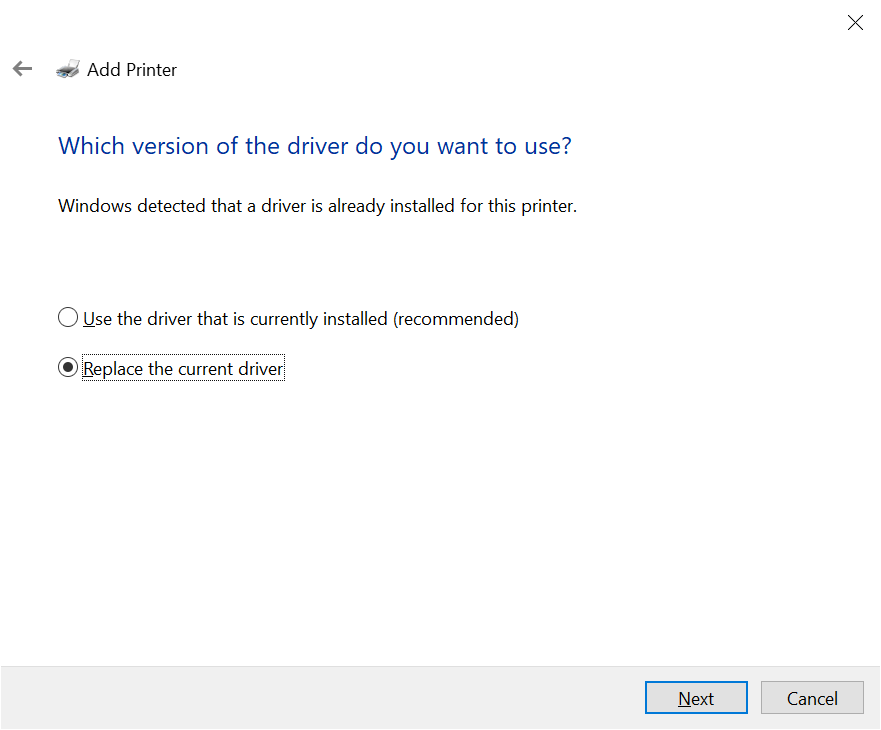
- If the installer detects that the driver is already installed,
selectselect Replace the current driver andclickclick Next.
- Name the
printerprinter Your printernamename andclickclick Next.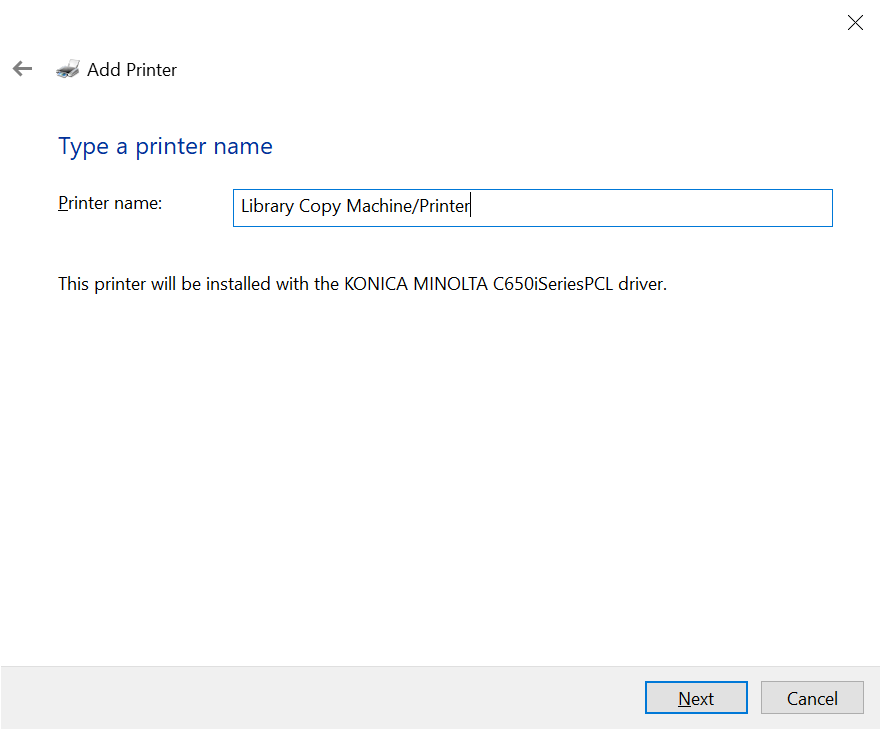
- If the option exists,
selectselect Do not share this printerclickclick Next.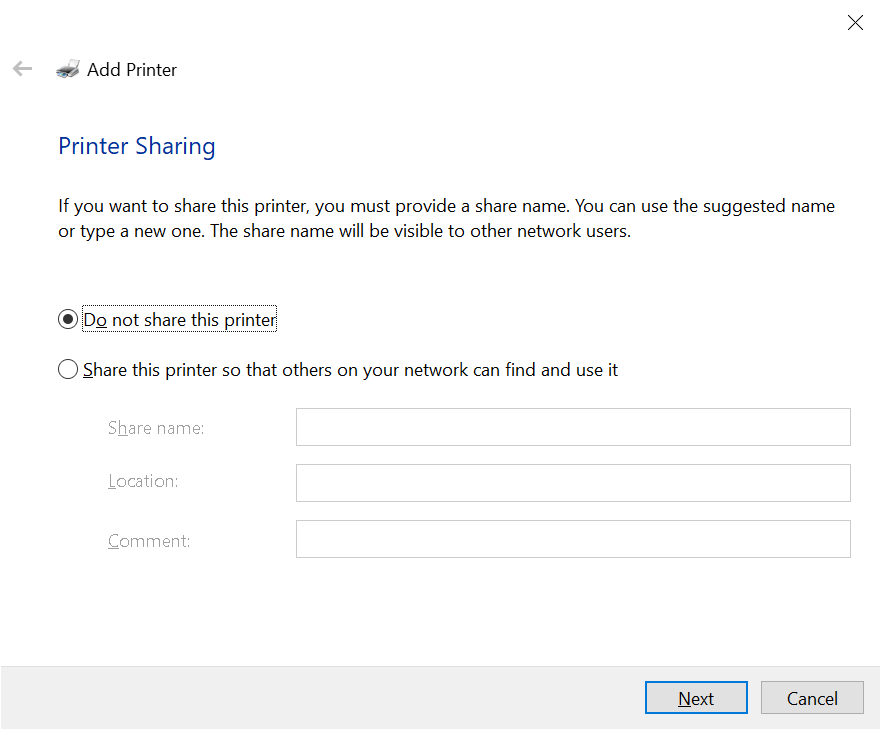
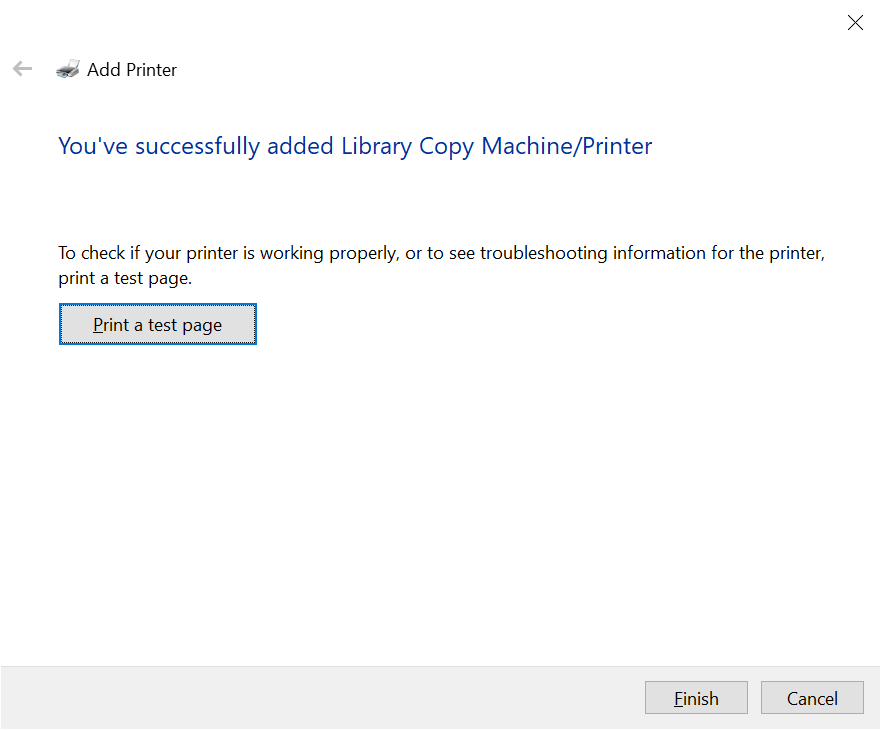
- Rather than clicking the Print a test page button, complete the printer installation procedure and print a document you need as not to waste paper.
ClickClick Finish.