How to Install a Network Printer
The Admin Printer and Library Printer are now being deployed automatically to managed devices through both Jamf Apple MDM and Intune Windows MDM. If your computer is properly enrolled, the printer drivers and printer setup should install quietly in the background with no action needed from you. (For all other printers, proceed with the manual installation guide below)
MLML Admin and Library Printers on a MacOS
MLML Admin and Library printers should normally be installed automatically on managed Mac computers. If your printer is missing or you are unable to print, you can install the printer manually using the Self Service app. (Managed devices ONLY)
Available Printers
The following printers are available through Self Service:
- MLM Library Printer - mlm-library-printer.sjsu.edu
- MLM Admin Printer - mlm-admin-printer.sjsu.edu
Both printers use the Konica Minolta bizhub C550i driver.
Install a Printer from Self Service
1. Open the Self Service app on your Mac
- You can find it in the Applications folder.
- You can also search for it using Spotlight by pressing Command + Space and typing Self Service.
2. In Self Service, under Catalog look for the Printers.
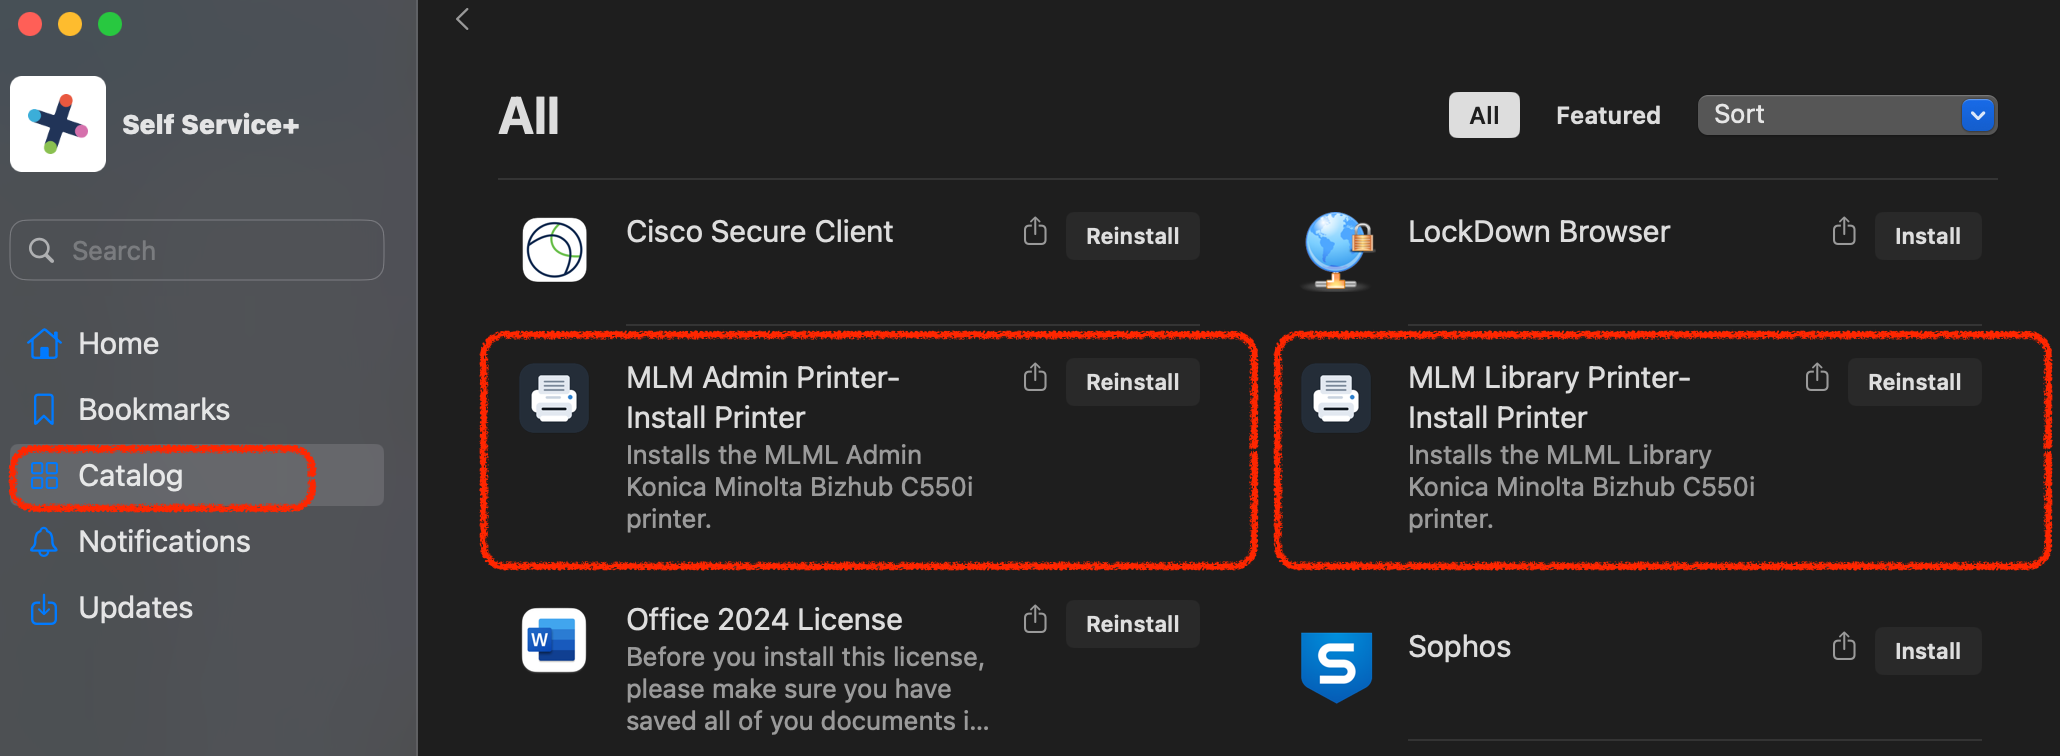
3. Select the printer you need:
-
- Install MLM Library Printer
- Install MLM Admin Printer
- Click Install
4. Wait for the installation to complete. This may take a few minutes.
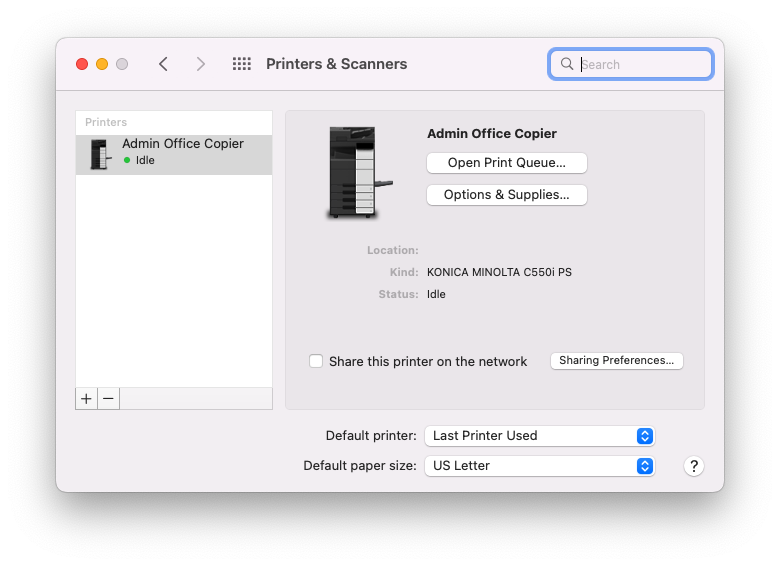
5. After the install finishes, go to:
System Settings > Printers & Scanners
6. Confirm the printer appears in your printer list.
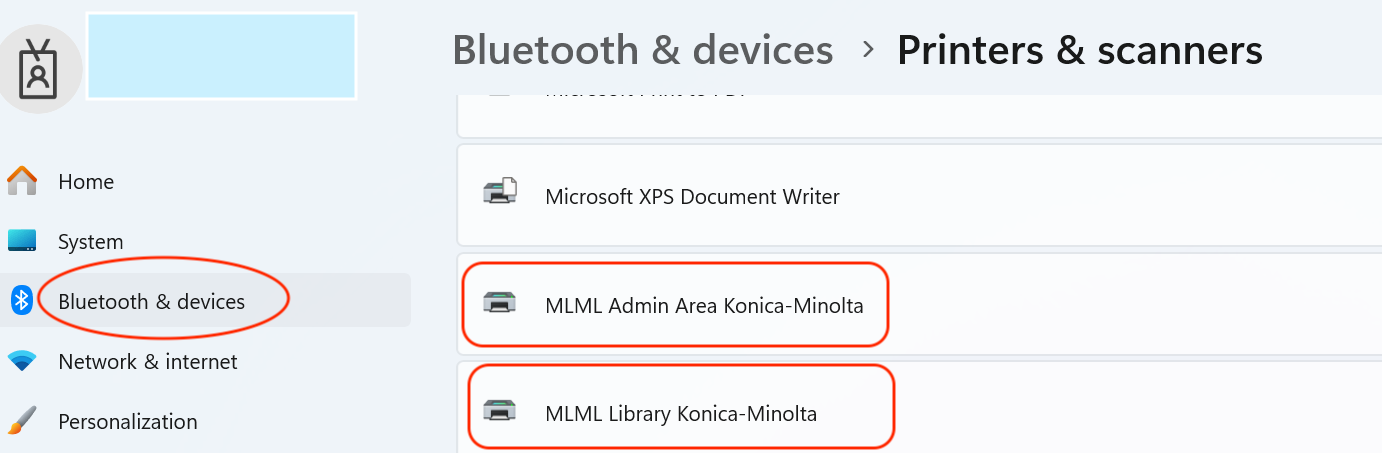
MLML Admin and Library Printers on a Windows
For Windows devices enrolled in Intune, the printer driver and printers are mapped automatically.
The printers should appear under Settings > Bluetooth & devices > Printers & scanners. If they do not show up, open the Company Portal app and sync your device.
1. Find the Company Portal app.
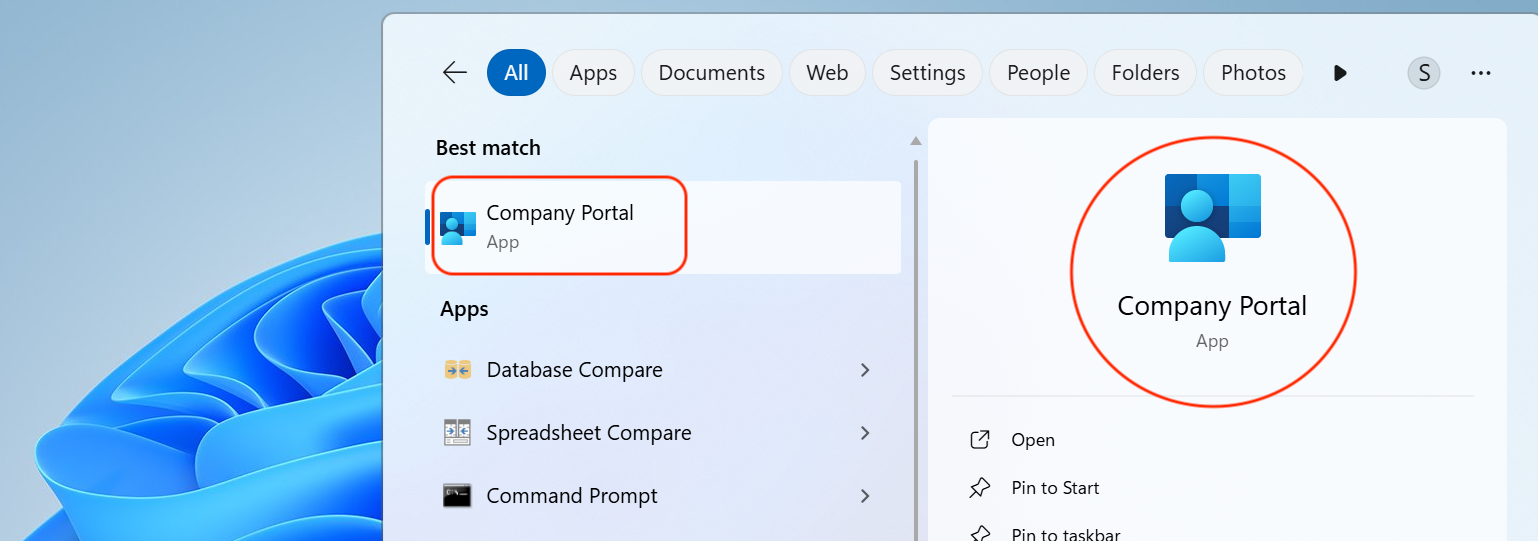
2. Click on the Settings wheel and select Sync machine with MDM.

3. Wait for the installation to complete. The printers will be mapped automatically.
Confirm the printers appear in your printer list.
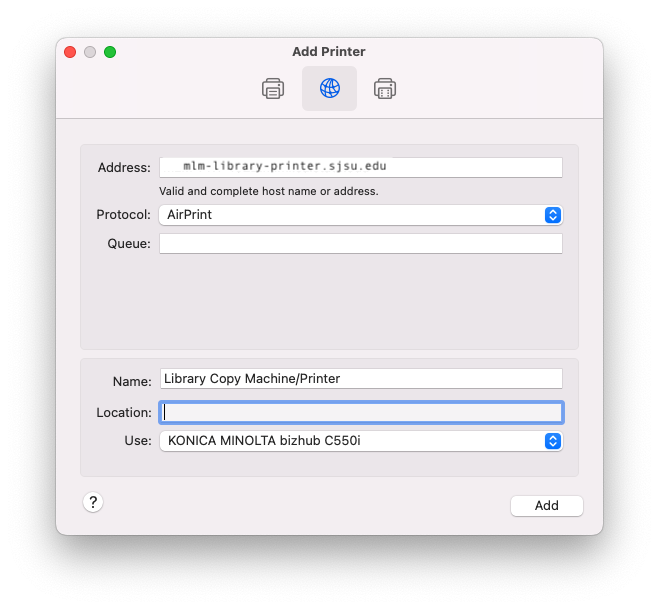
Manual macOS Printer Install:
NOTE: Refer to this post if you want to print to a Konica Minolta (admin/library) copier on macOS.
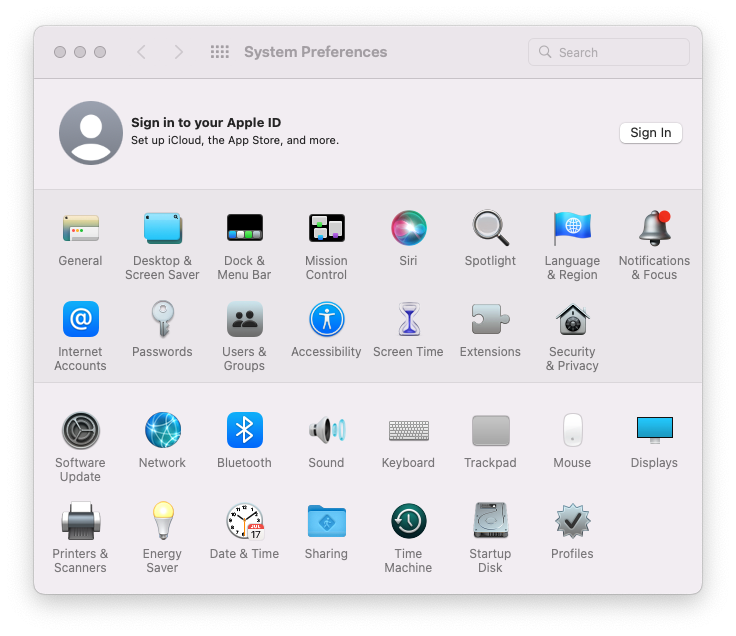
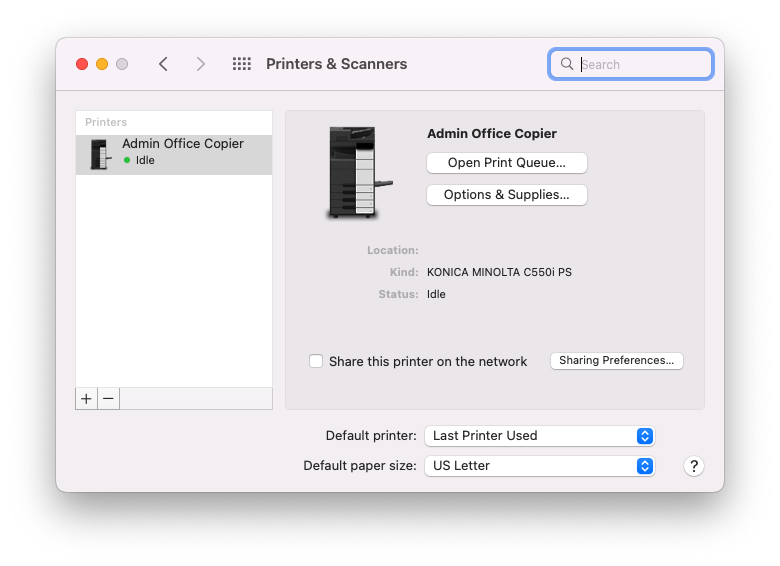
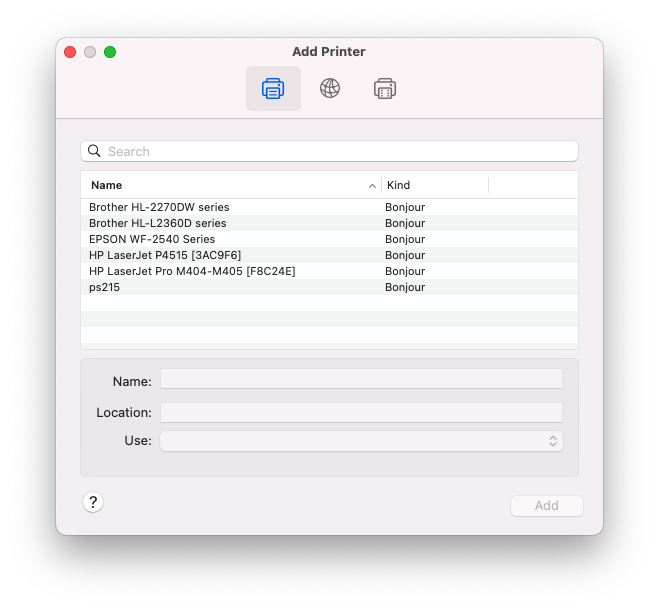
- Go to System Preferences > Printers & Scanners and click Setup Printers or the + button.
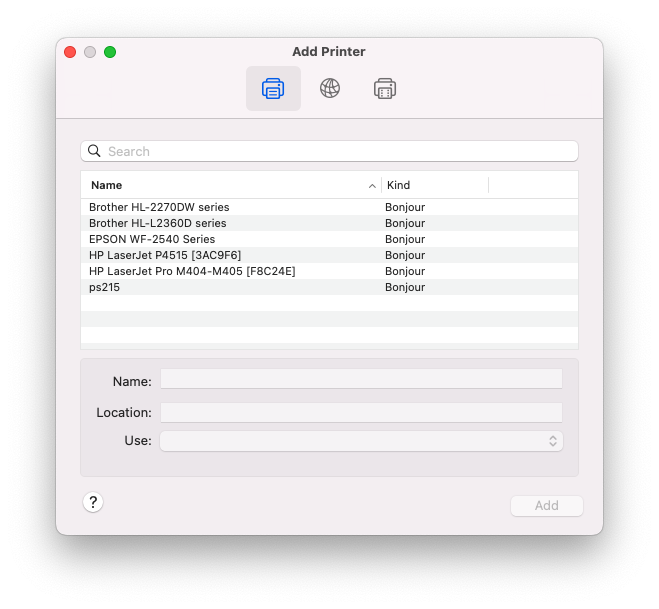
- Click the IP tab.

- Enter the following information:
- Protocol: AirPrint (if possible) or Line Printer Daemon - LPD
- Address: ps... or use the IP address. A list of printers and their hostnames can be found here. (e.g. mlm-library-printer.sjsu.edu)
- Queue: leave blank
- Name: Your printer name - ps...
- Print using:
- Your printer model
- or - - Select a driver to use... > Your printer model
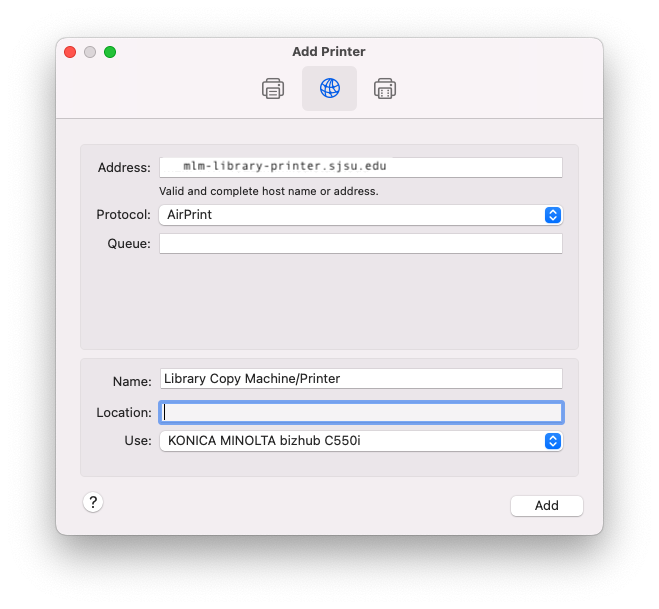
- Your printer model
- Click the Add button.
- Click Continue


Manual Windows Printer Install:
NOTE: Refer to this post if you want to print to a Kyocera (admin/library) copier on Windows.
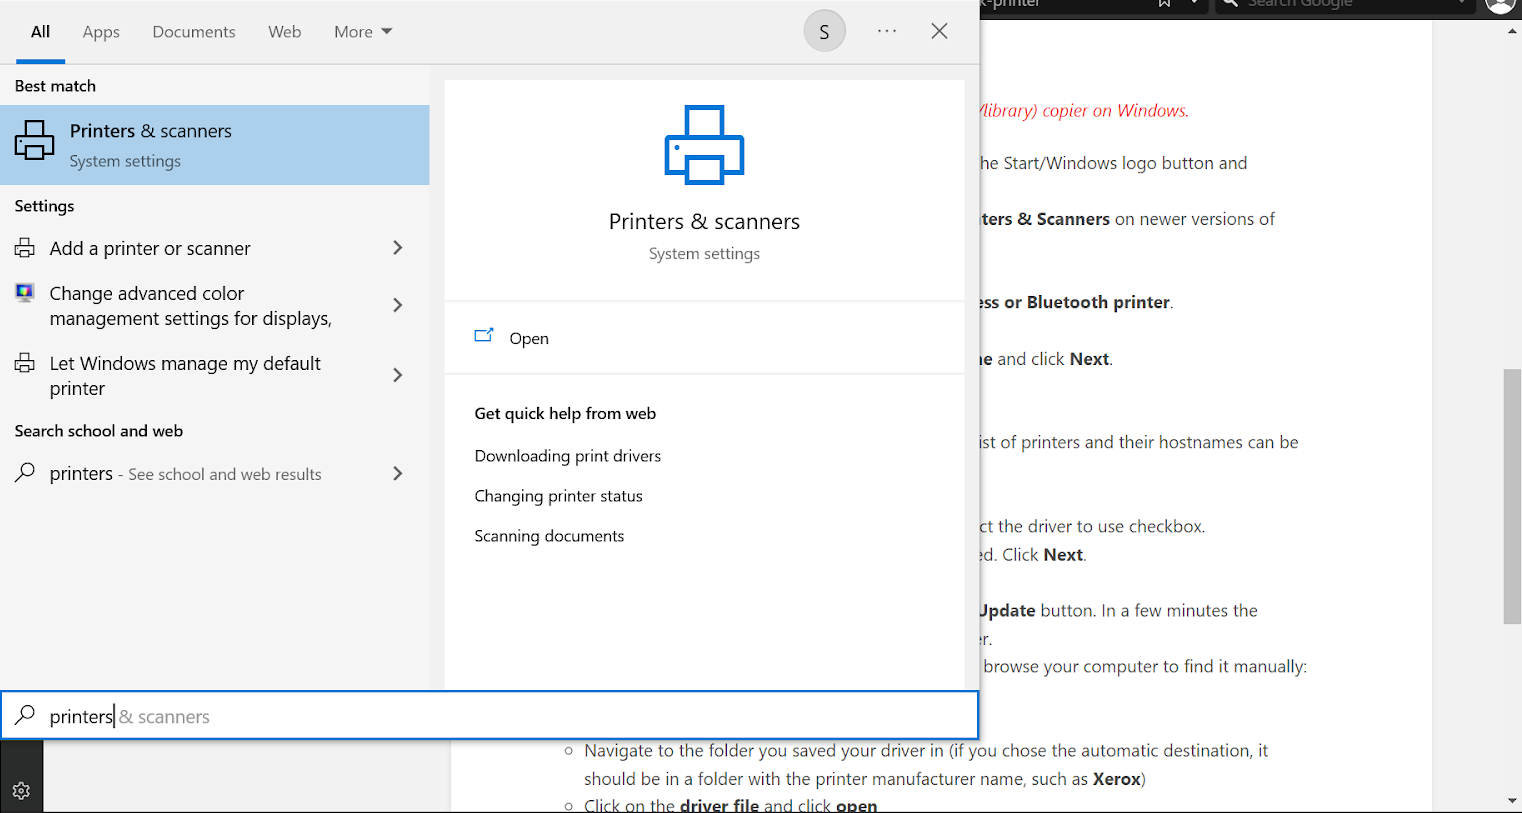
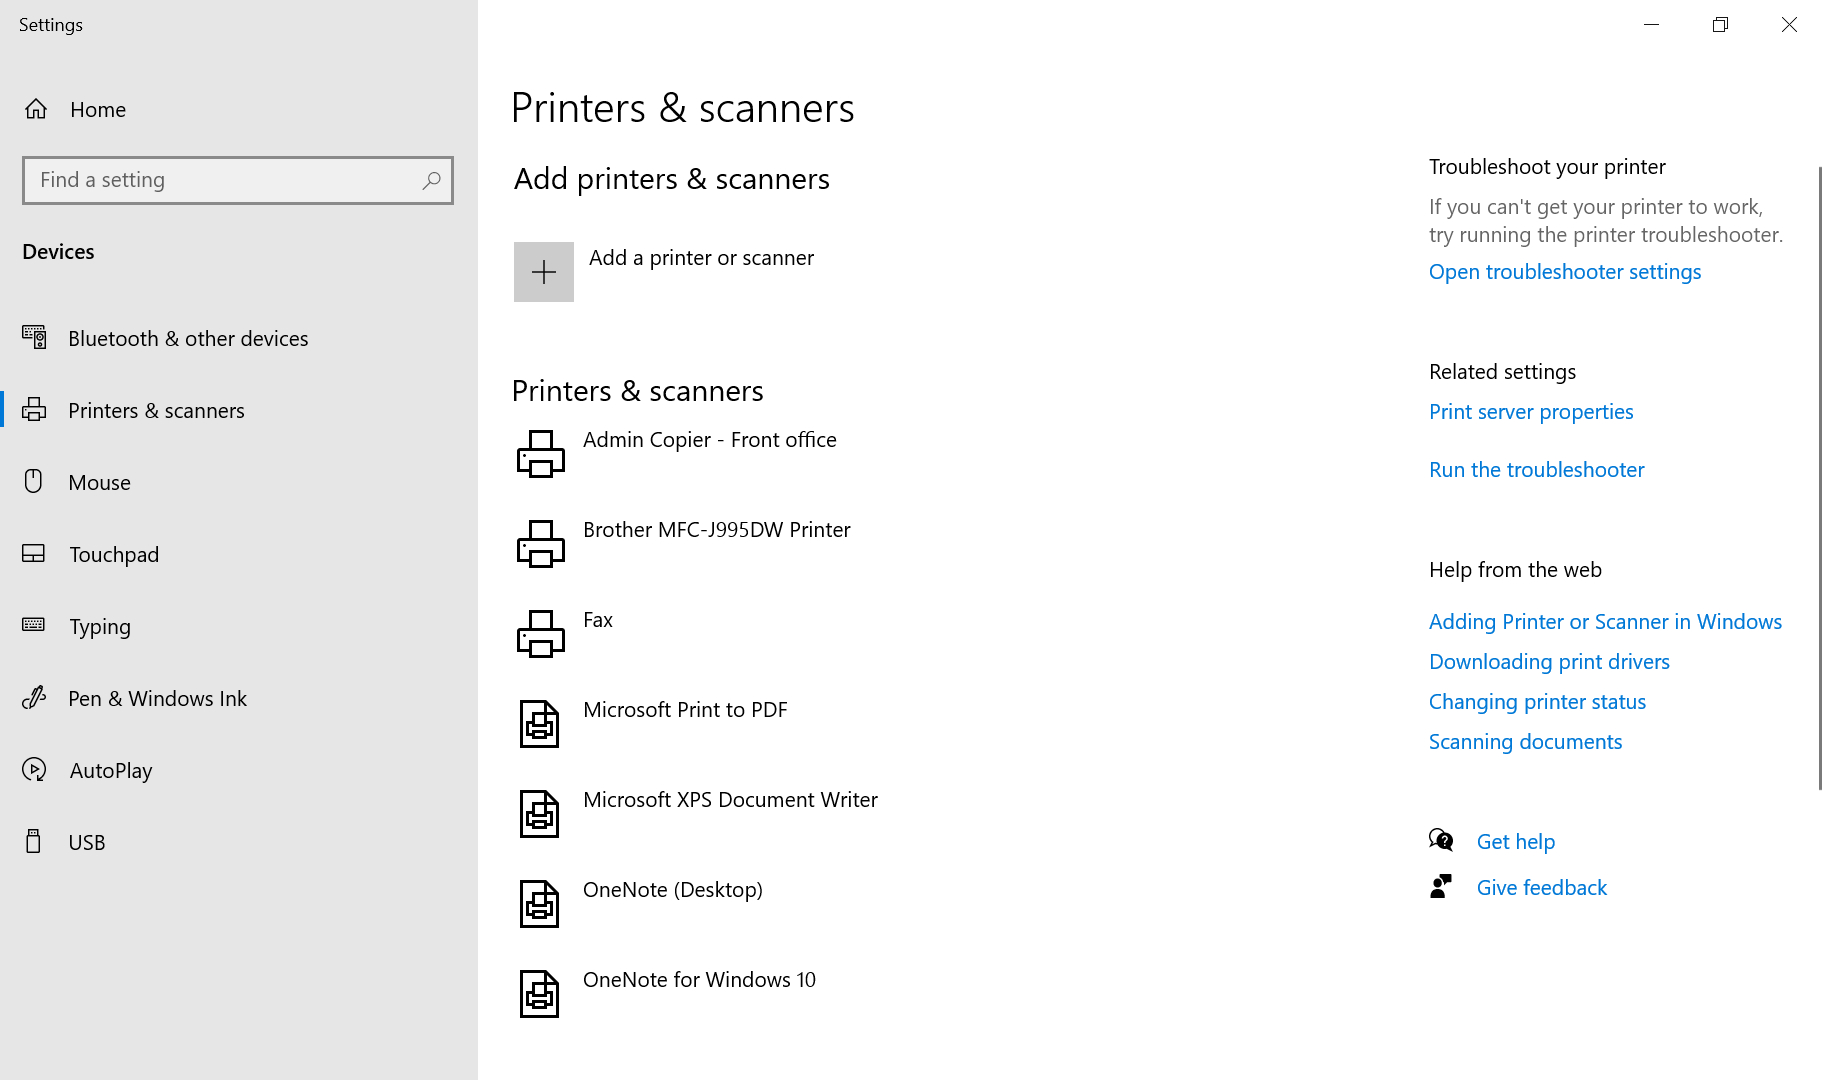
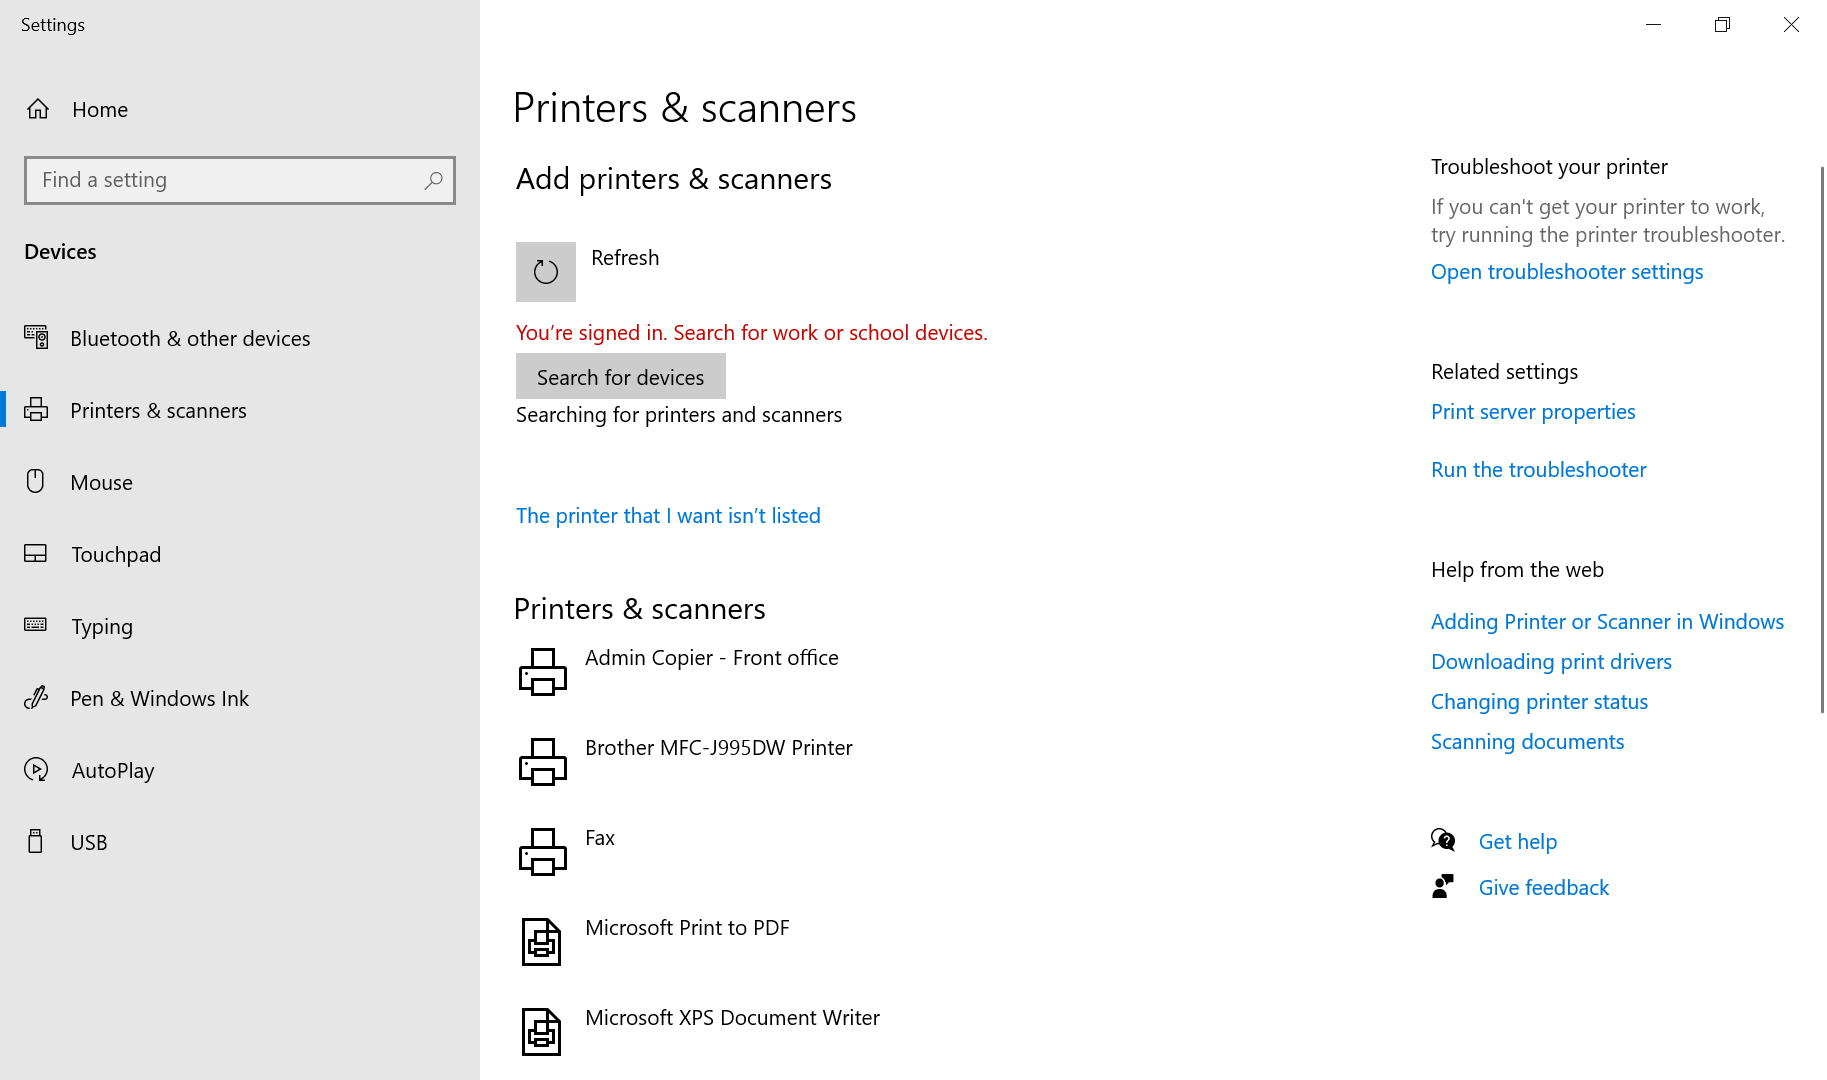
- Go to Printers & Scanners. You can find this by clicking the Start/Windows logo button and typing Printers & Scanners into the search bar.
- Click Add a printer.
- On Windows Vista/7 only: Click Add a network, wireless or Bluetooth printer.
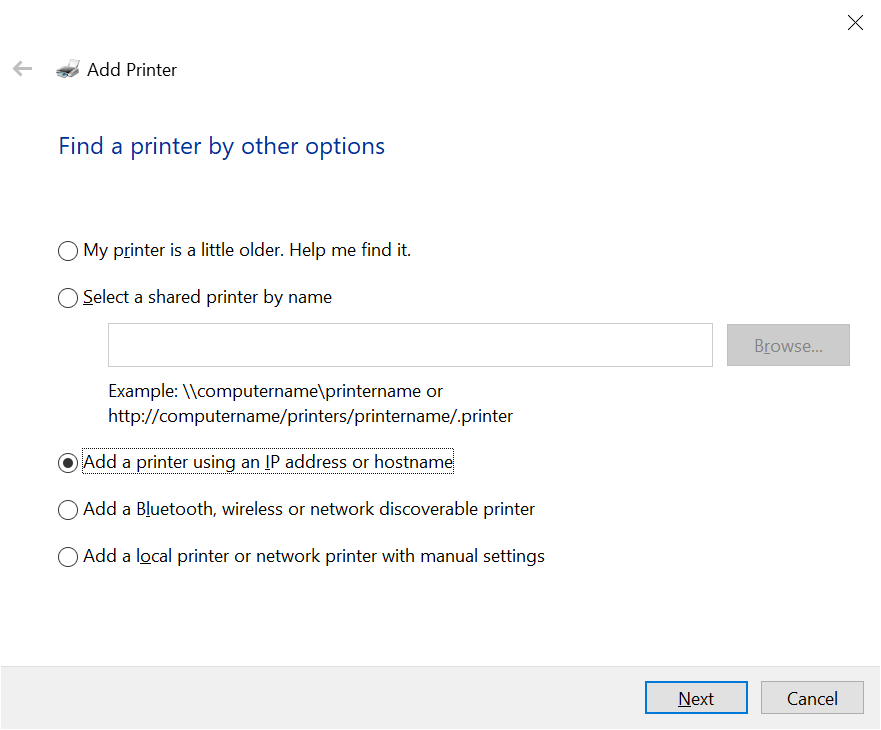
- Click The printer I want isn't listed

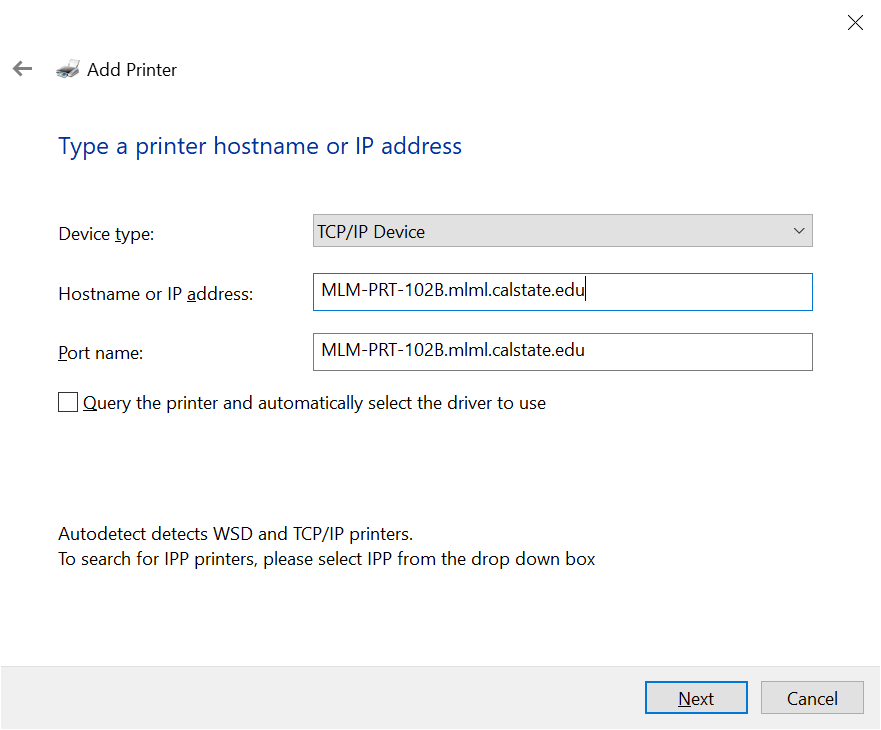
- Select Add a printer using a TCP/IP address or hostname and click Next.
- Enter the following information:
- Device Type: TCP/IP Device
- Hostname or IP address: ps... or use the IP address. A list of printers and their hostnames can be found here. (e.g. mlm-library-printer.sjsu.edu)
- Port Name: this will be auto-filled.
- Un-check the Query the printer and automatically select the driver to use checkbox.

- You may be told that additional port information is required. Click Next.
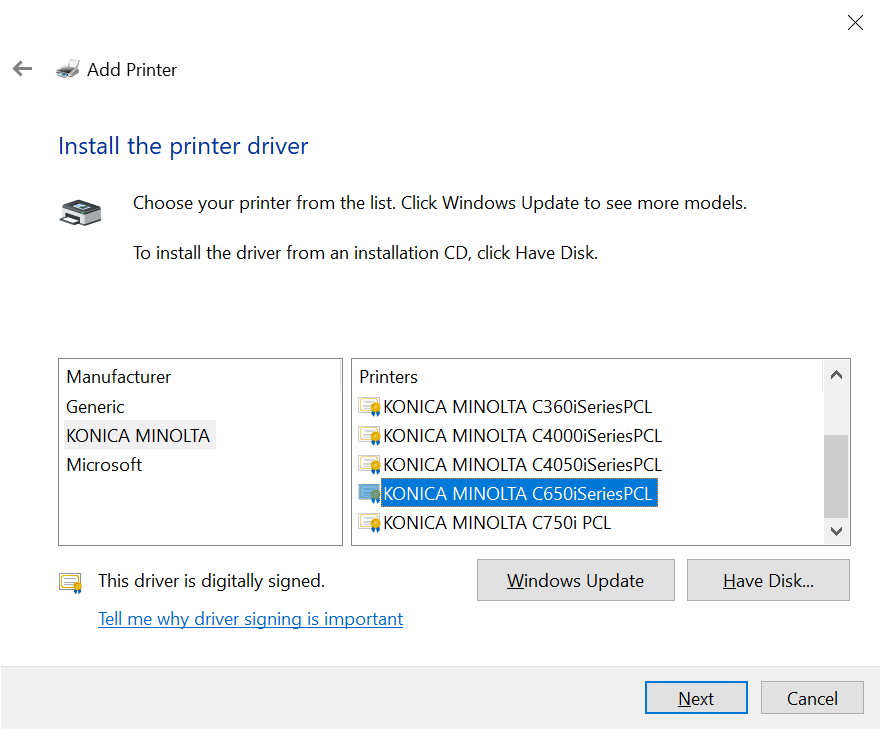
- Select Your printer model and click the Next button.

- If you can't find the printer model, click the Windows Update button. In a few minutes the available selection of printer models will be much larger.
- If you still can’t find the printer model, you will have to browse your computer to find it manually:
- Click Have Disk
- Click the Browse button
- Navigate to the folder you saved your driver in (if you chose the automatic destination, it should be in a folder with the printer manufacturer name, such as Xerox)
- Click on the driver file and click open
- Click OK
- Now you should see the printer model. Select it and click Next.
- If this manual process is unsuccessful, you may have installed your driver incorrectly. Be sure to restart your computer after install, as this is important to complete the process. Also try a manual install of the driver itself if the automatic install does not seem to work (follow the instructions above to do so).
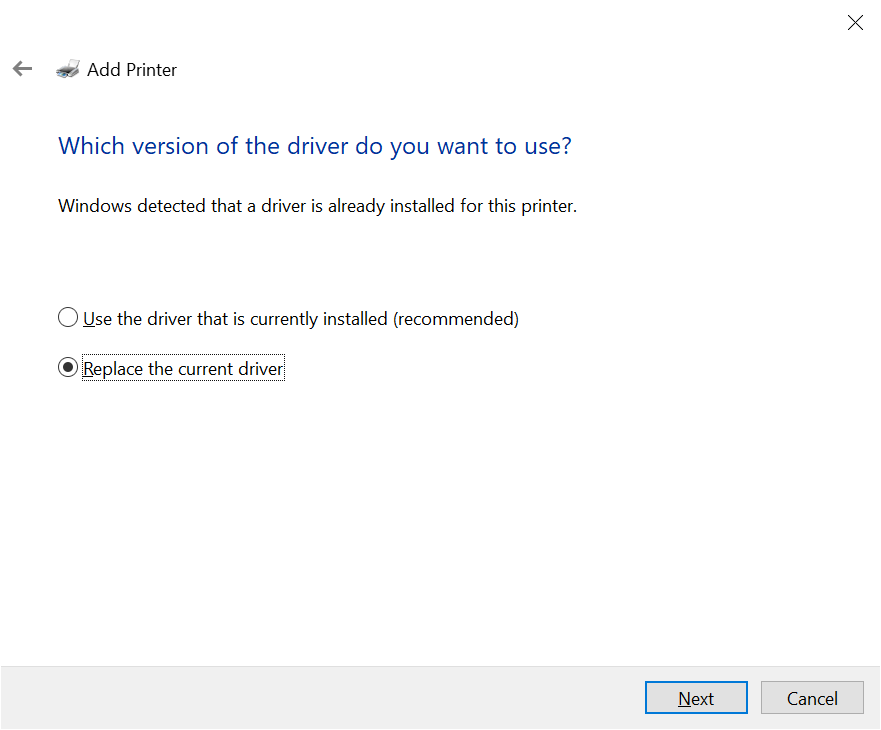
- If the installer detects that the driver is already installed, select Replace the current driver and click Next.

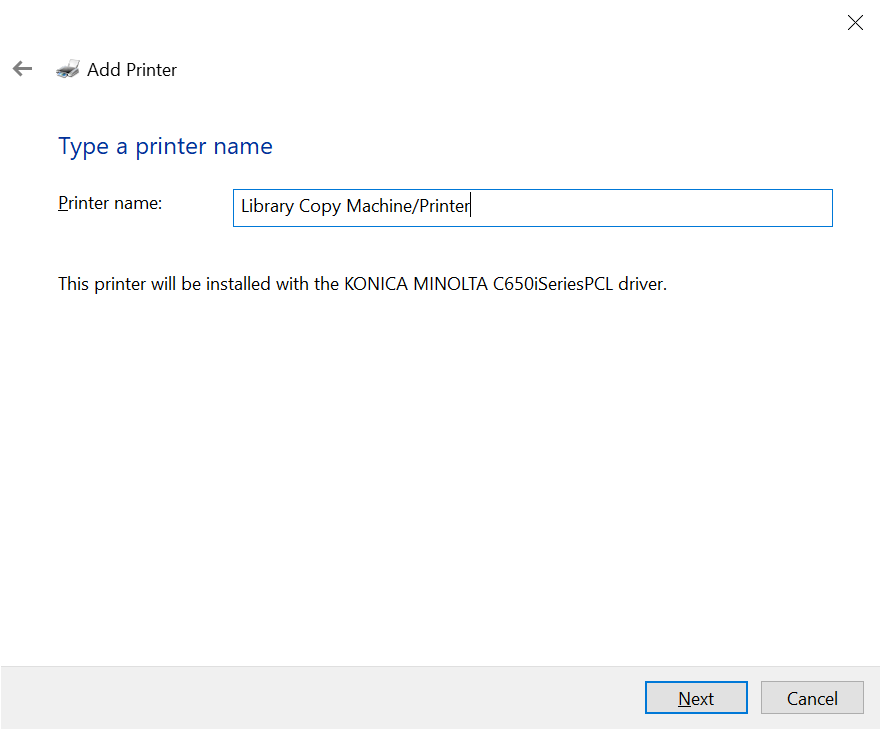
- Name the printer Your printer name and click Next.
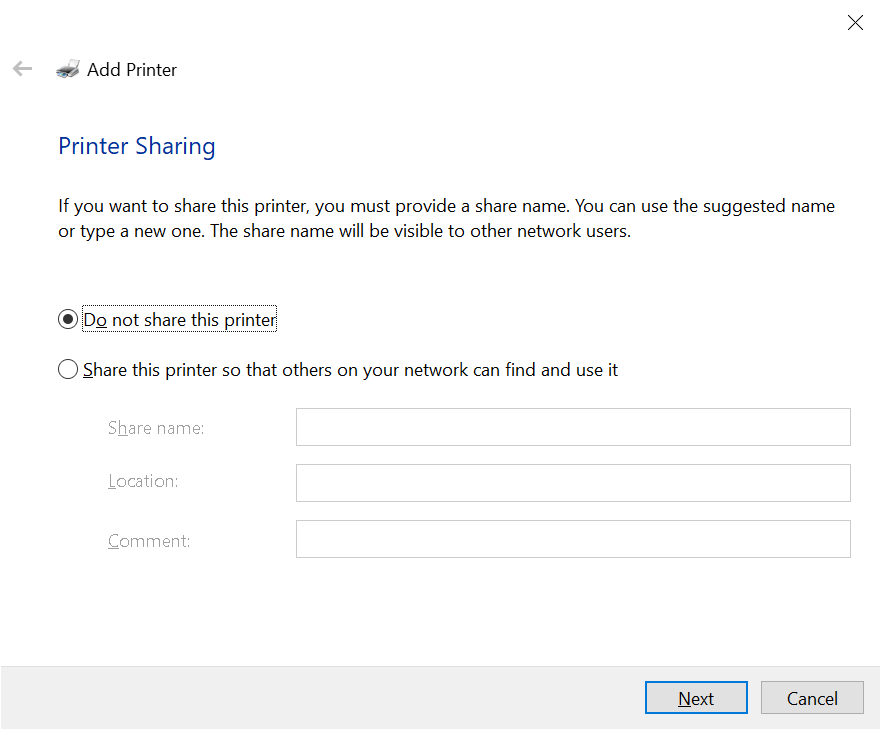
- If the option exists, select Do not share this printer and click Next.
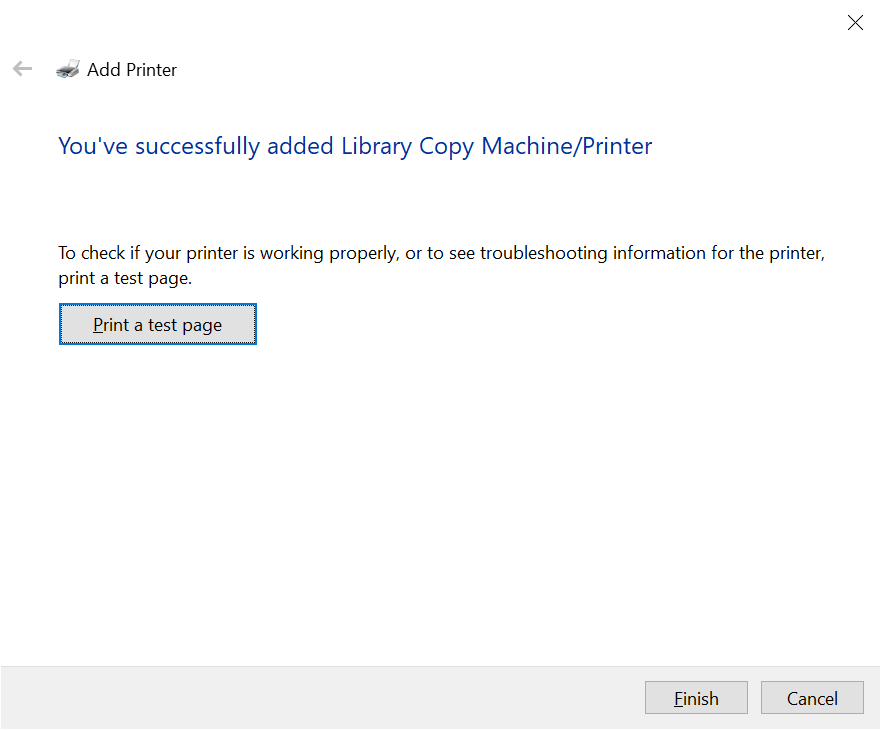
- Rather than clicking the Print a test page button, complete the printer installation procedure and print a document you need as not to waste paper.
- Click Finish.


No Comments