How to Use the Whiteboard Owl
The Whiteboard Owl is camera for capturing video of a whiteboard for conferencing and remote instruction, it may be used with any classroom or personal computer, and is available for checkout at the IT Help Desk. The meeting Owl Pro is required to use the Whiteboard Owl.
How to Use the Whiteboard Owl:
- Setup Meeting Owl Pro. Instructions can be found here.
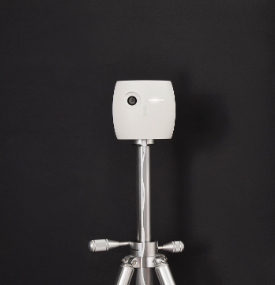
- Attach Whiteboard Owl to a tripod using the screw mount on the back of the Whiteboard Owl.
- Plug in Whiteboard Owl and position tripod so that the camera faces the whiteboard.
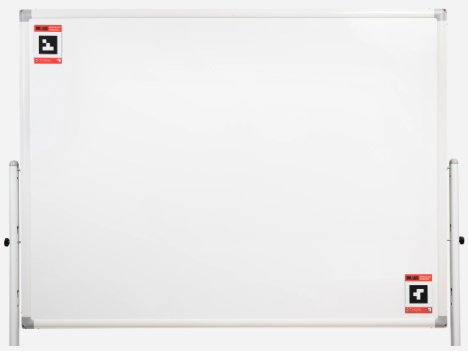
- Place one Whiteboard Tag in the top-left corner of the whiteboard and the other Whiteboard Tag in the bottom-right corner of the whiteboard.
- The tag must be upright, with the Owl Labs logo at the top. It does not matter which side of the Whiteboard Tag is facing out.
- LED Behavior:
- The LED on the Whiteboard Owl will blink throughout the setup process.
- When the first meeting is started:
- The LED will turn solid when the Whiteboard Tags are in view of the camera.
- The Whiteboard Owl will automatically crop the camera field of view based on the placement of the Whiteboard Tags.
- Start a meeting using your preferred video conferencing software. Make sure the Meeting Owl Pro is selected as your camera, speaker, and microphone.
- Change the camera view to the Whiteboard Owl by turning over one of the Whiteboard Tags.
- Switch back to the Meeting Owl Pro view by turning over one of the Whiteboard Tags again.
- Further setup tips can be found here.
No Comments